Boy Makes

26/09/2013

One for the lads

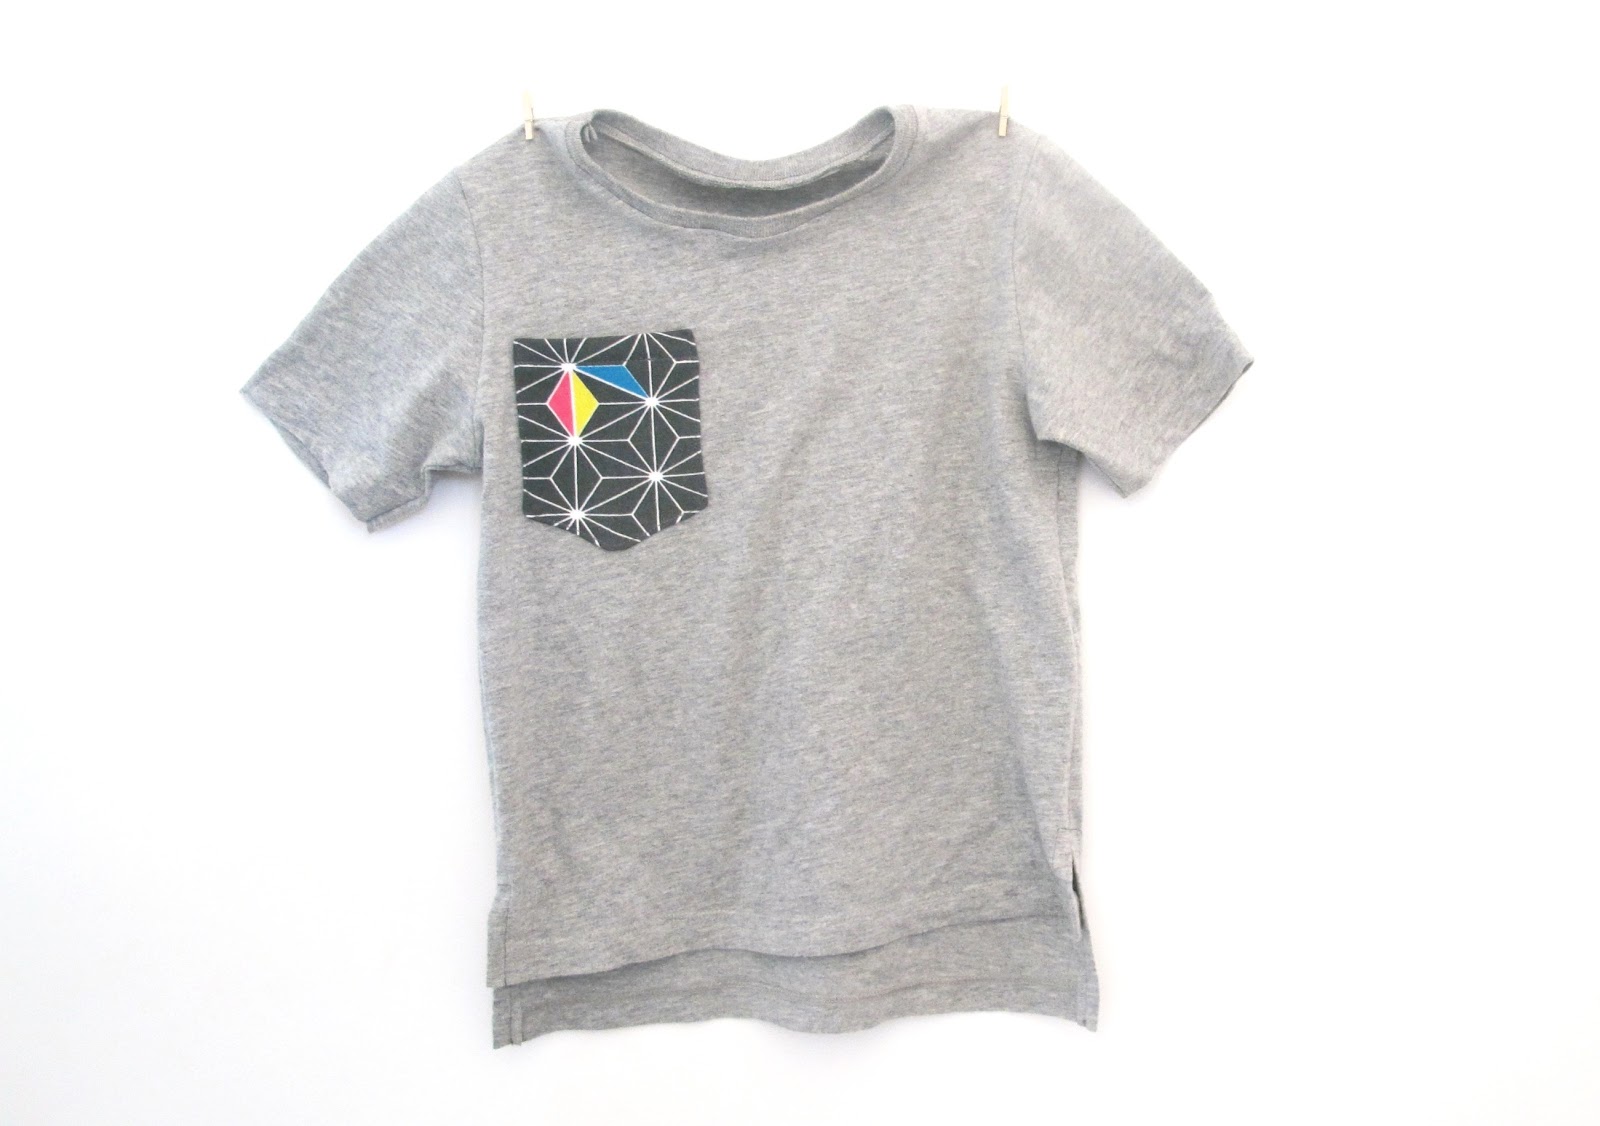
It’s been a while hasn’t it? I feel like I’ve dropped off the kiddo sewing bandwagon. It’s not that I don’t love sewing for my boys anymore, but more the fact that I’m working in a fabric store, surrounded only by apparel fabric for adults. That and the thrills I get from the challenge of sewing adult clothes that, on a good day, can look not so distinguishable from store bought stuffs, may have something to do with it. Every week is selfish sewing week over here! But I do miss boy sewing, and it was totally refreshing to be back playing with thriftstore t-shirts, unlikely prints and weird iron-on transfers, testing out a new kids pattern, the Bateau Neck Top pattern by Aesthetic Nest.

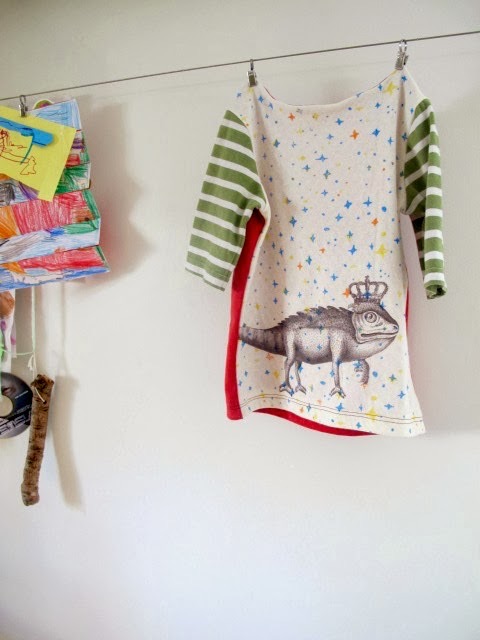
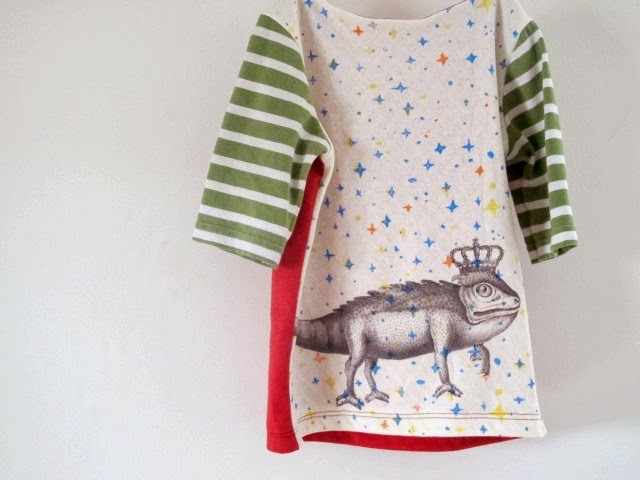
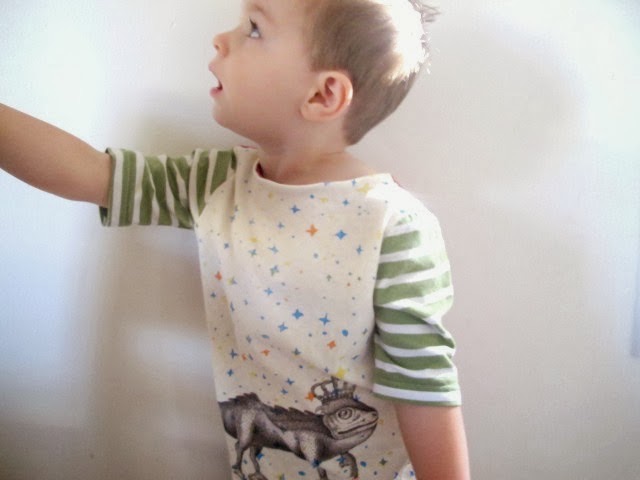
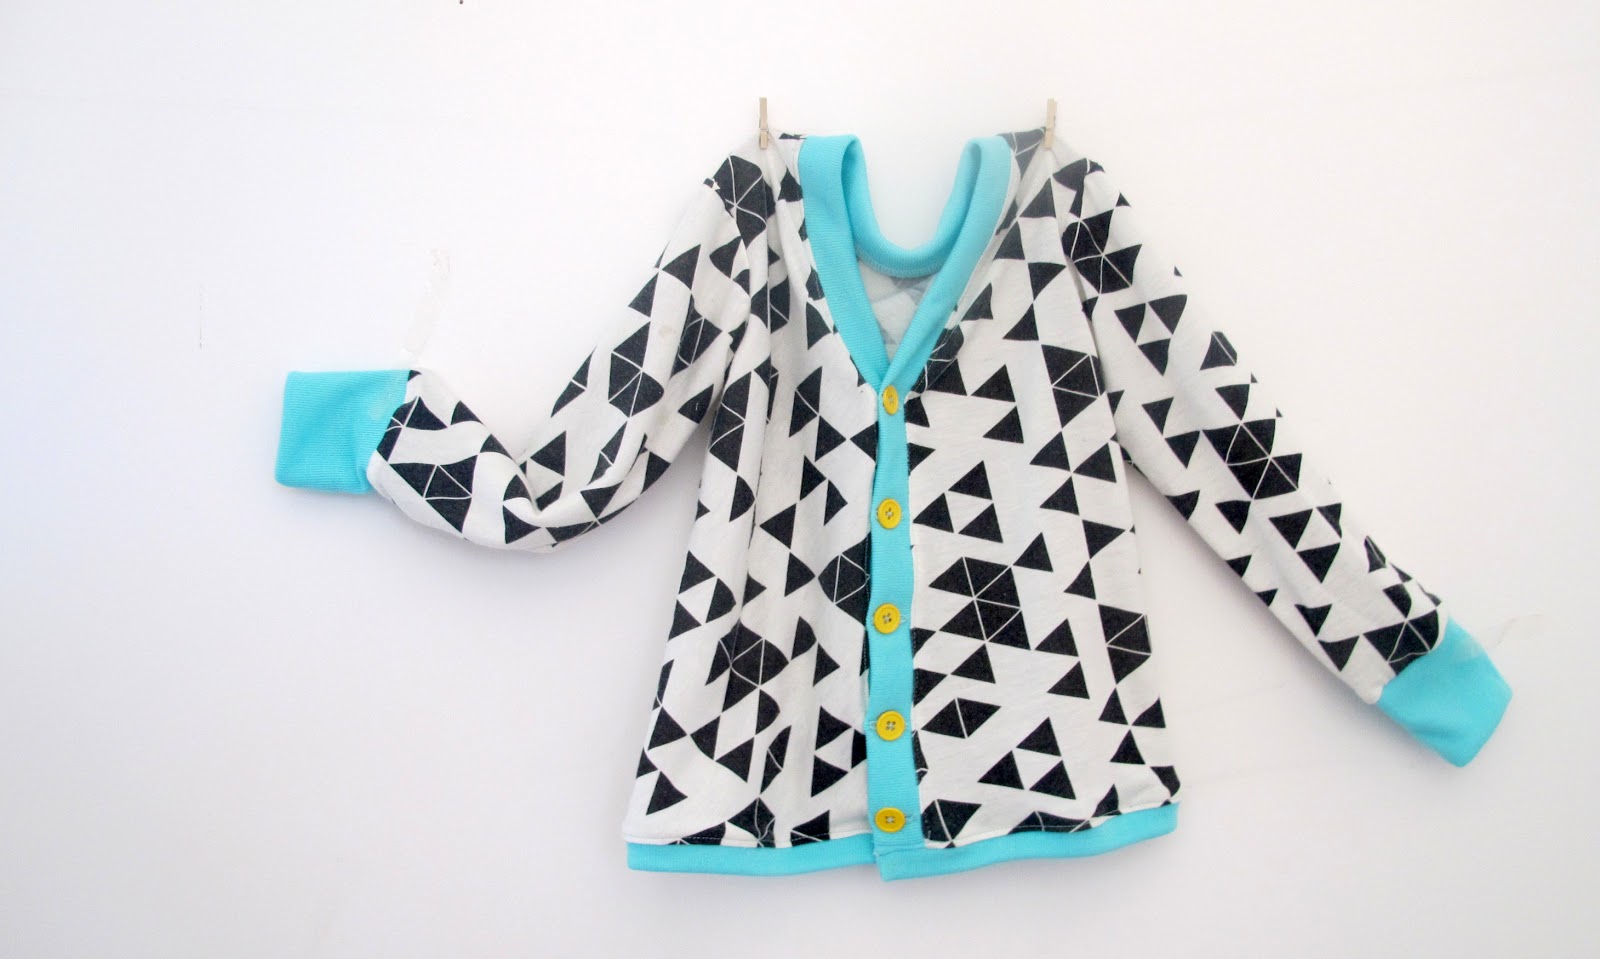
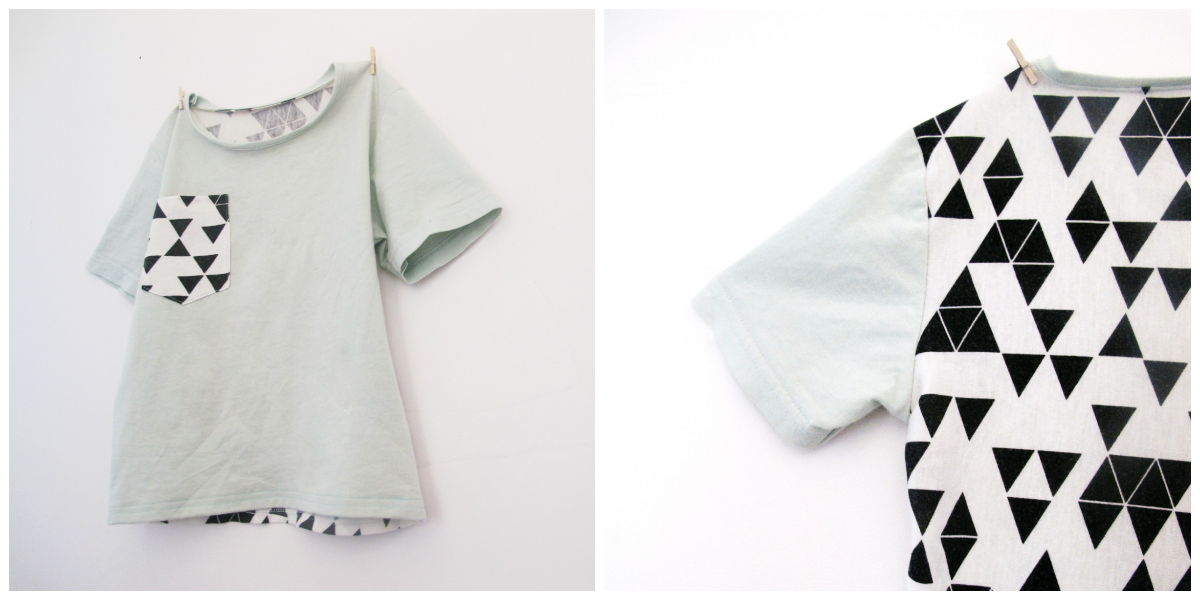
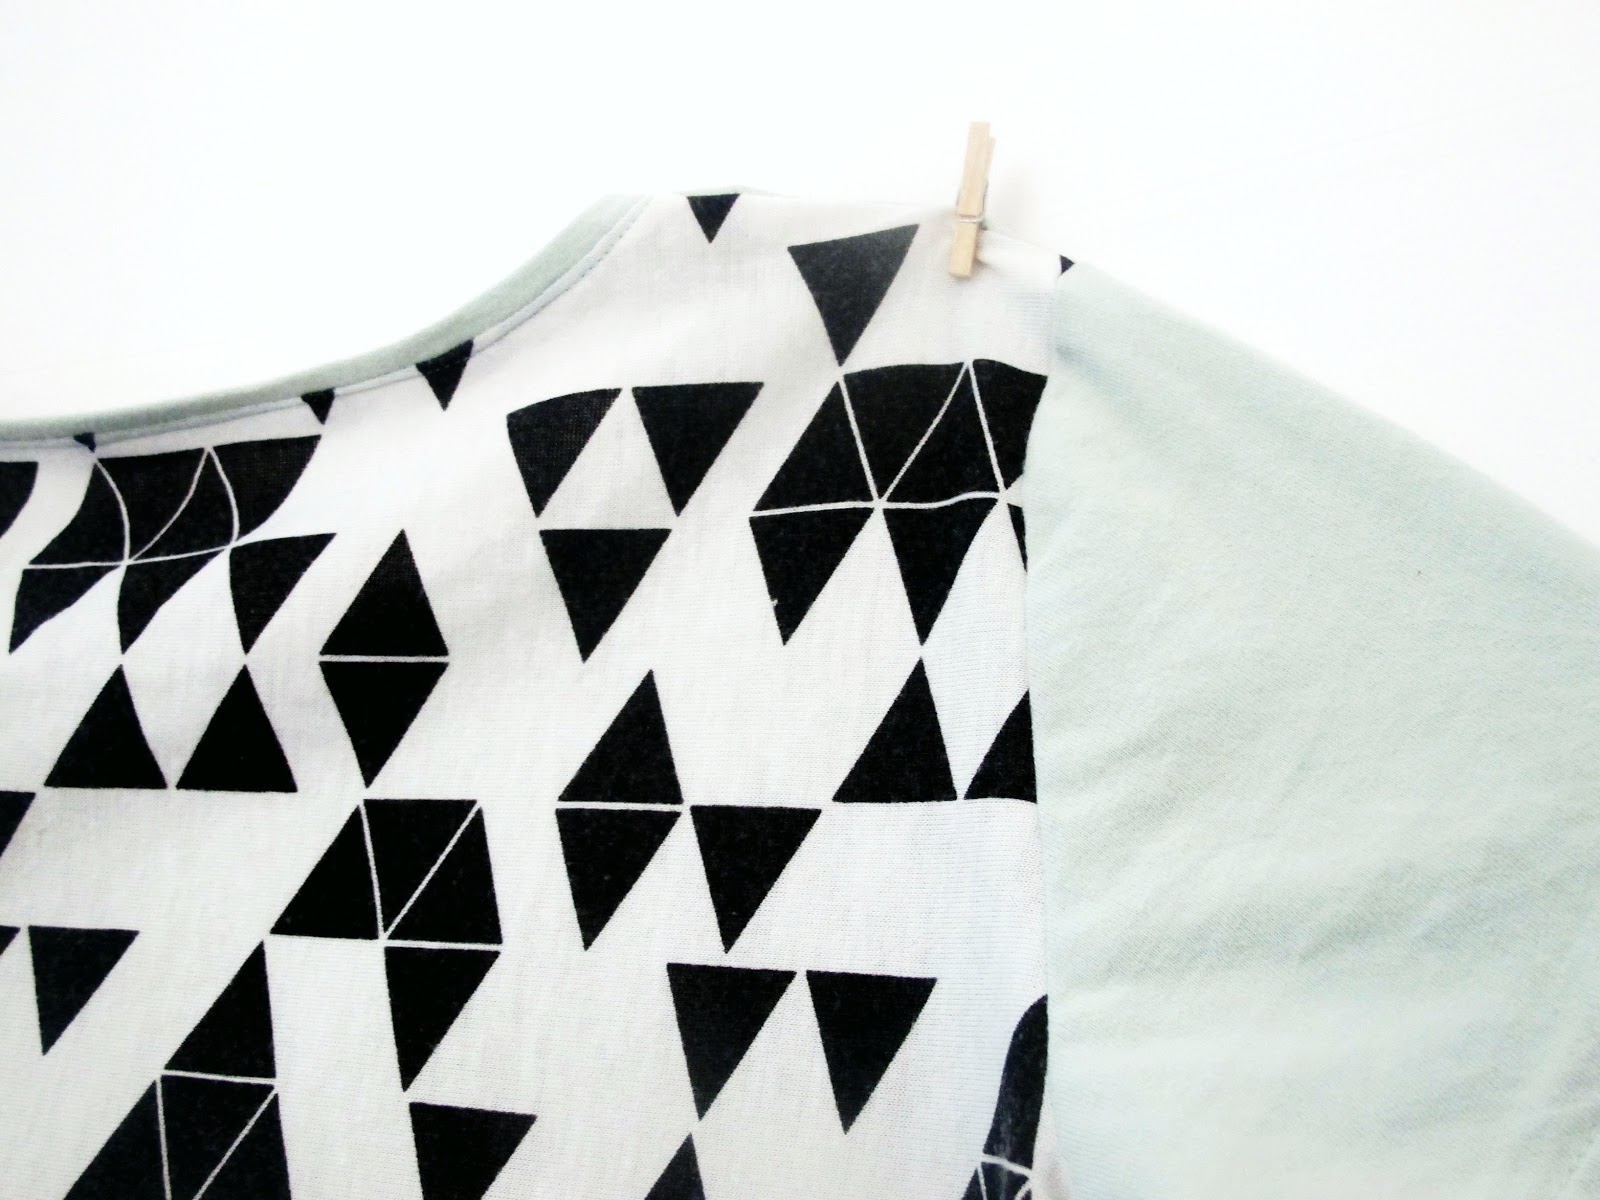
I love a good neutral pattern and when I checked out all the cute girl versions of the Bateau I wondered what Anneliese thought I would do with such a cute ‘pretty’ looking pattern. Didn’t she know I come from the land of trucks and testicles? Anyway turns out she had this all in mind and lured me in with the challenge of coming up with a boy-ish Bateau. I didn’t have to try very hard to make it look ‘boyish’, the Bateau is actually cleverly drafted to be quite a gender neutral shape, much like the Oliver and S Sailboat top. There are lots of cute add-ons like ruffles and pleats and a dress extension that I didn’t think Hudson would appreciate so I just made him a straight up Bateau with the addition of a lizard king, in a size 4. He is 2, but a whopper and currently sharing some of Archie’s sized 4-5 clothes, so it made sense.

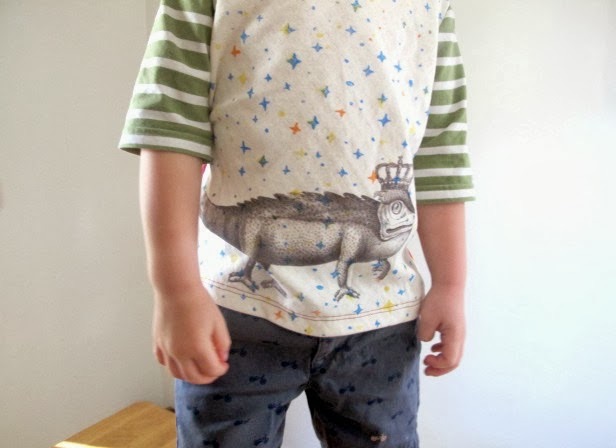
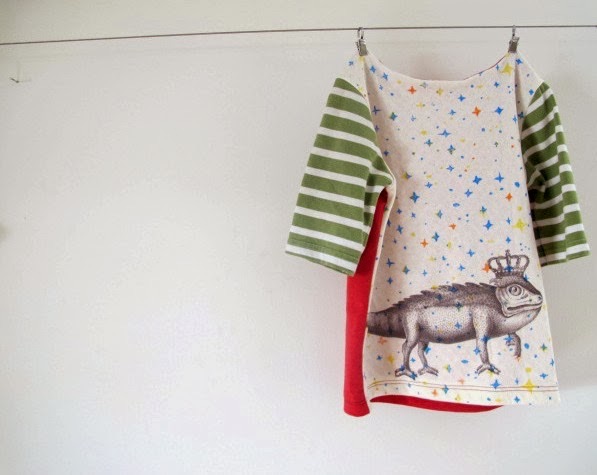
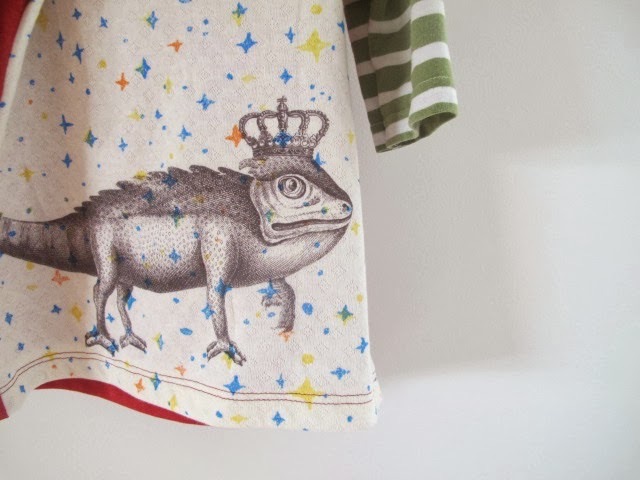
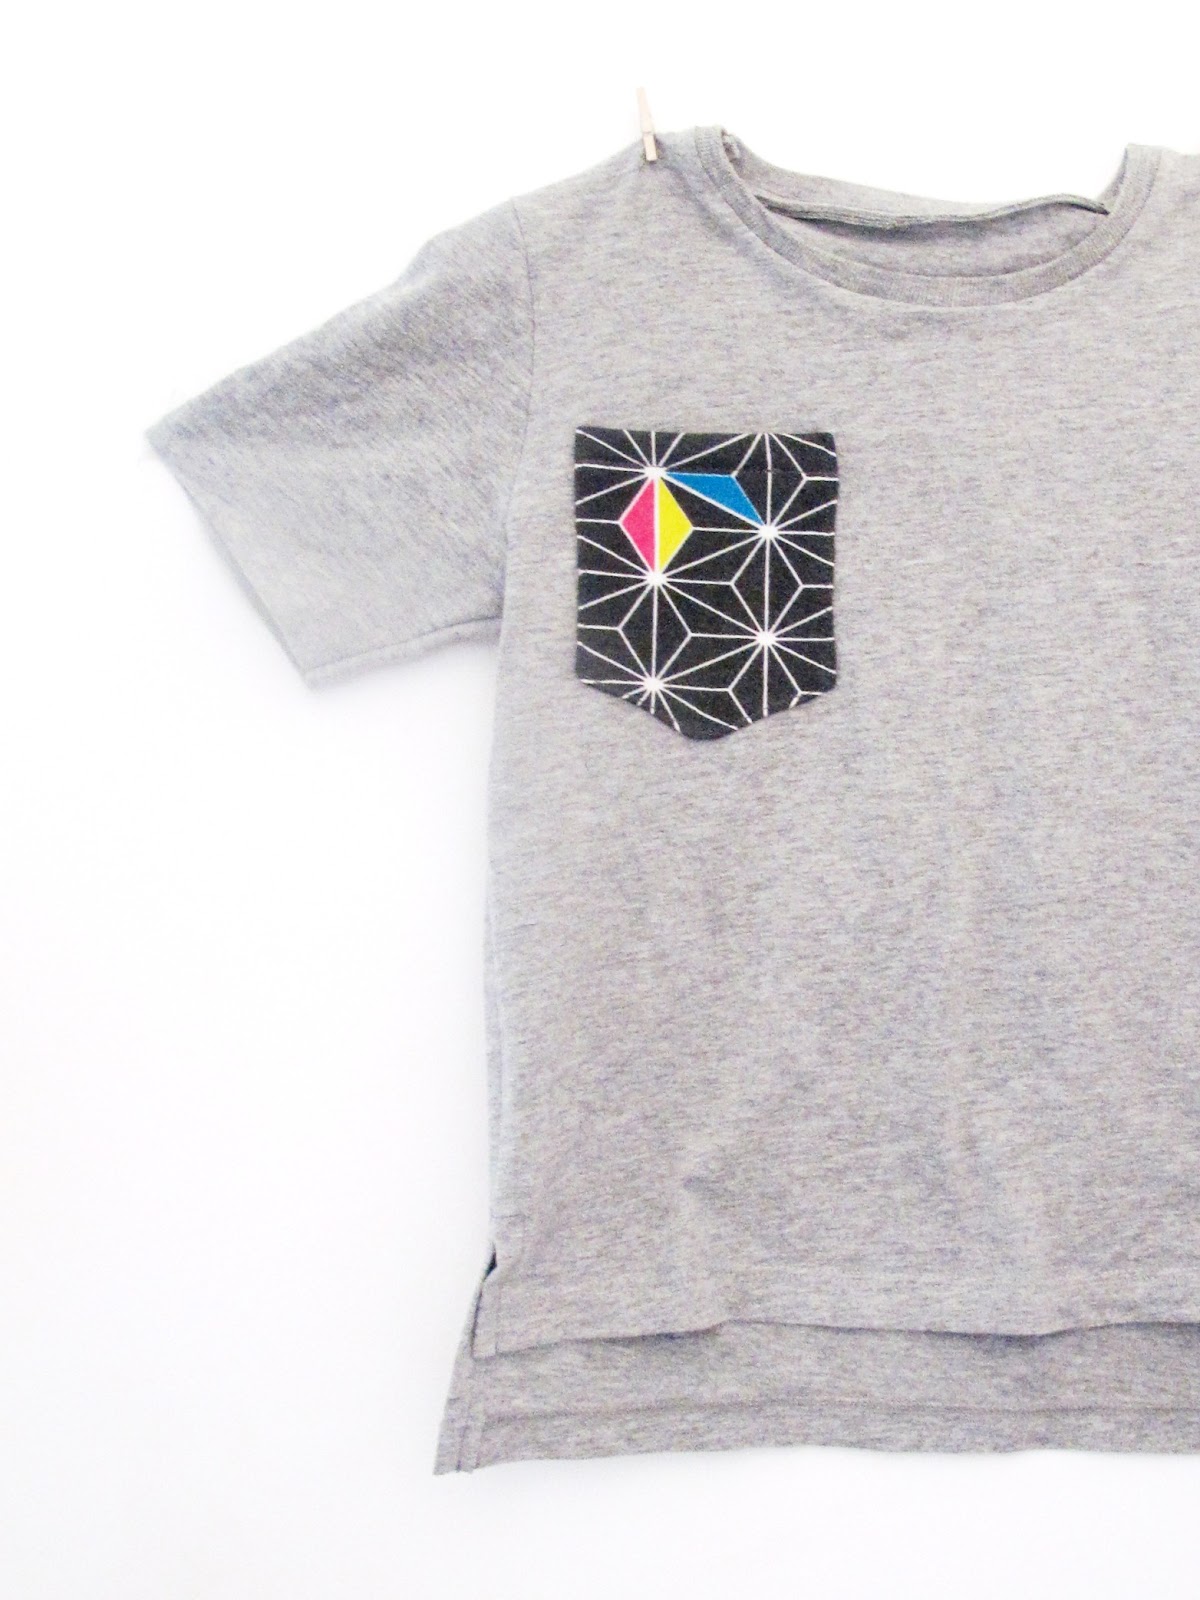
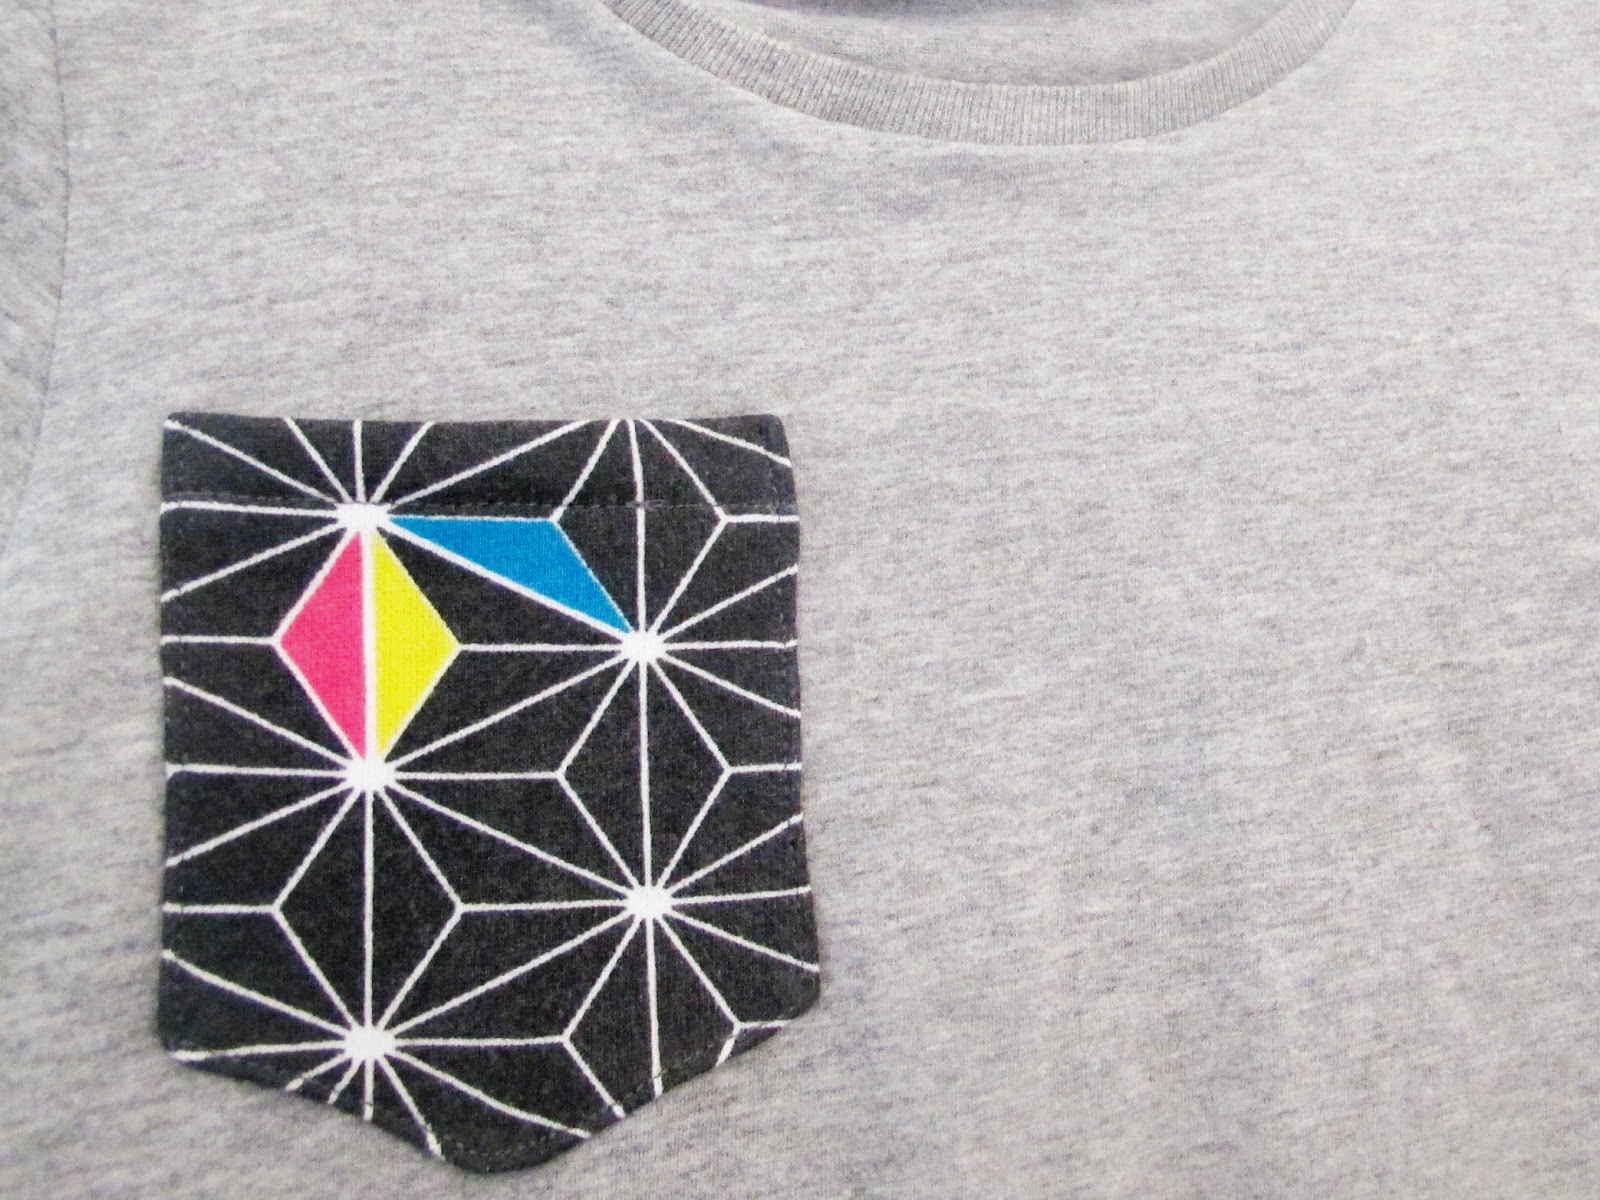
The main fabric is a Nani Iro knit, the back a thrift store knit and the sleeves cut from one of his baby sweaters. Something else I’d forgotten about sewing for kids is how much faster everything is. These days, ‘whipping’ something up equates to half a days sewing. That’s instead of a week. So the Bateau takes no time at all, probably an hour from start to finish and quicker still when you’re pinching already hemmed parts! I loved that the neckline is faced and not attaching ribbing was a pleasure. The royal lizard made an appearance with some Leslie Riley Artist transfer paper (print it out, iron it on ) except this was the second attempt because the first lizard was about six months old and didn’t take to the fabric at all. So if you’re going to use this stuff, print it fresh.

Oh now I remember, it was the blurry photos that did my head in!

18/03/2013

La Gelateria

Today I’m bringing home a diy project from Bugaboo Mini Mr & Me’s novel Hand-made Gift Series. I have to admit, there once was a time when I felt a little awkward about home-made gifts and their fairly strong association with paddle pop stick photo-frames. But home-made gifts, done well, really can beat the pants off anything store bought! And as anyone on Pinterest knows there’s no shortage of inspiration out there. So here’s a little something to consider before undertaking a gift of the hand-made, hand-stitched felt food variety: do you love the recipient? How much? Because let me tell you, hand-stitching the waffle on a waffle cone is not something you do for just anyone. What starts off as a labor of love, quickly becomes just plain labor. A beautiful, heirloom, one of a kind gift for your kids? Absolutely. A beautiful, heirloom, one of a kind gift for the kids up the street? Think twice, my friends, think twice.

Now just putting it out there there. In the DIY gift arena, you would be hard pressed to find anything cooler than an entirely felt ice-cream parlor?  As well as being pretty to look at, it’s a tactile wonderland. The ice-cream scoops and cones are detachable with velcro which means you can have your chocolate mud-cake in a waffle. Or your peppermint chock chip in a cake cone. Or a strawberry chunk surprise (with real strawberries), orange sherbet and caramel triple scoop. Lets not forget the cherry. Kids or no kids, I would probably still have made and gifted this to myself.

Etsy is an absolute mecca for felt food ideas. There’s everything from roast chickens to dim-sims to seafood platters. I came across this one particular shop that sells pdf patterns for some seriously delicious felt delicacies and the kits to make them with good quality wool blend felt. Buying a kit with the right felt colours already included made it all a bit too easy so I got a bit excited and purchased the ice-cream set, the pizza and the hamburger lunch.

Pattern: You can buy the pattern from here or a ready-to-go kit, which is the way to go. The felt has a good wool content, feels nice to touch and has a soft muted palette which I think adds to that ice-cream parlor of yesteryear charm. I gathered the other bits, tacky glue, needles, velcro and thread and set off on what was supposed to be the slow-food equivalent for sewing. Impatience reigned and finished the whole thing in a week.
Difficulty: The instructions are clear and the actual construction is not complicated, but a willingness to develop a decent callous is necessary.
Time spent: Probably between 15 and 20 hours. A couple of hours each day here and there. There’s the tracing, the cutting and then the assembling.

Worth it: ABSO-FREAKIN-LUTELY! Look at these babies. This is the sort of hand-made gift that blows anything store bought out of the water.
Love-o-meter: Played with for hours, cherished forever and passed down from generation to generation. That’s the best case scenario, most likely they be loved hard and live a short, saliva drenched life.

20/10/2012

KCWC leftovers: Geographic Manligan

I swear there was every intent of starting and finishing this project during KCWC! But ya know it just didn’t happen, being show time at the circus and all. Archie’s teeth op went fine, naturally he thought the whole thing was pretty amusing while mummy rocked herself back and forth in the corner. With that out of the way, I’ve snatched a few moments at the sewing machine to transform the last few scraps of my geometric dress into a mod-manligan for Hudson, to go next to his old-manligan from last KCWC. The knit fabric is light enough for spring, so I’m hoping it will get some wear before he grows / it gets too hot / it gets completely trashed. Why I’m drawn to light / white fabrics when I sew for my dirt-loving boys I do not know. Maybe its because it makes them look clean.
Pattern: Darling Cardigan pattern by Owly Baby.
Fabric: Pre-loved knit dress + ribbing.
Mods: I went for a narrow band along the bottom instead of a wide one, purely for cosmetic reasons.
So there ya go! After this KCWC I’m having a bit of an inspiration overload so I’ll leave you with some of my personal fav’s from the flickr pool by some seriously creative mamas. Thanks Meg for another amaze-balls KCWC!

13/10/2012

KCWC day two & three: Geo Tees

  In an act of random loveliness I received a copy of Figgy’s Banyan pattern from flickr member and KCWC regular Fabricate. I love free stuff. Especially free patterns that I actually want to buy!  I decided to make a couple of summer tees for Archie and went to town on my pile of to-be-re-purposed clothing. Right now I’m feeling pretty pleased with myself that both of these t-shirts are made entirely from pre-loved clothing items. Sure, there’s the eco factor, but really I get a kick out of seeing Archie walking around in stuff that frankly, in my opinion, looks pretty dang fabulous, rivals anything store bought; knowing it’s made from old shirts.
The Banyan T-shirt has lots of possibilities for personalizing. You can make it as subtle or loud as you like, whatever your boy style may be. The little pocket on the front is a nice feature and I also like that the neckline binding can be made out of the same fabric as the body of the tee, rather than ribbing. Here I’ve used a handed down spearmint t-shirt of daddy’s and a re-tired el-cheapo dress of mine, that was $5 new and really too small but I bought it anyway for obvious geometric fantasticness.
For this one I wanted to make a plain tee with a party on the pocket. The geometric fabric is from a thrifted sweater, also seen here on these pants. And the grey is another daddy shirt. My favourite thing about using old tees to make a new tees is the time you save by not hemming by lining up the pattern pieces so they sit over the already hemmed parts of the tee. I did this with both the sleeves and the hem on both tees and so they took under an hour each. I have plans to a whole heap more, they’re just so fun!
I thought I’d play around with a little feature at the bottom in an attempt at a high low hem. I think its pretty cute and any sort of top stitching really adds to a plain shirt like this. 

12/10/2012

Sew Yummy Series

Today I am taking a little mid-KCWC detour and visiting Craftstorming to take part in Laura’s enticing Sew Yummy Series. Where baking meets sewing and falls in love and has lots of little sewing-baking related babies. There’s been some spectacular posts so far like a pleated bundt pan pillow, these cute saucepan handle covers and I think I am going to have to hold some sort of sewing party just to have an excuse to make some of these sewing cupcakes. I am sharing an easy peasy kid project for those little helpers around the kitchen, or the play kitchen. It’s a mini-mitt to hold hot %&$t. Check it out…

Sew Yummy Button

© Ada Spragg. Design by The Darling Tree. Developed by Brandi Bernoskie.

Back To Top

";