 The title says it all really. La Maison Victor magazine has just released its virgin version in English! This is exciting news and I can imagine not a small task to create an entirely english version of an already established sewing magazine. But they did and we are luckier for it! Just last year, I found a beautiful dress pattern in the French version of La Maison Victor and a very very nice sewing buddy in Europe mailed me a copy of the pattern in exchange for fabric. Because sewing friends are the best friends. And no longer do we have to pester our sew pals or try and figure out why Google translates ‘pattern’ in French to ‘boss’! Of course I gladly signed up as a willing promoter of their first issue on the World Blog Tour. Inside there are a handful of patterns, not as many as the French version but this is okay because there seems to be good variety so far and it’s only a baby. It needs time to grow.

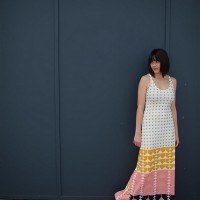
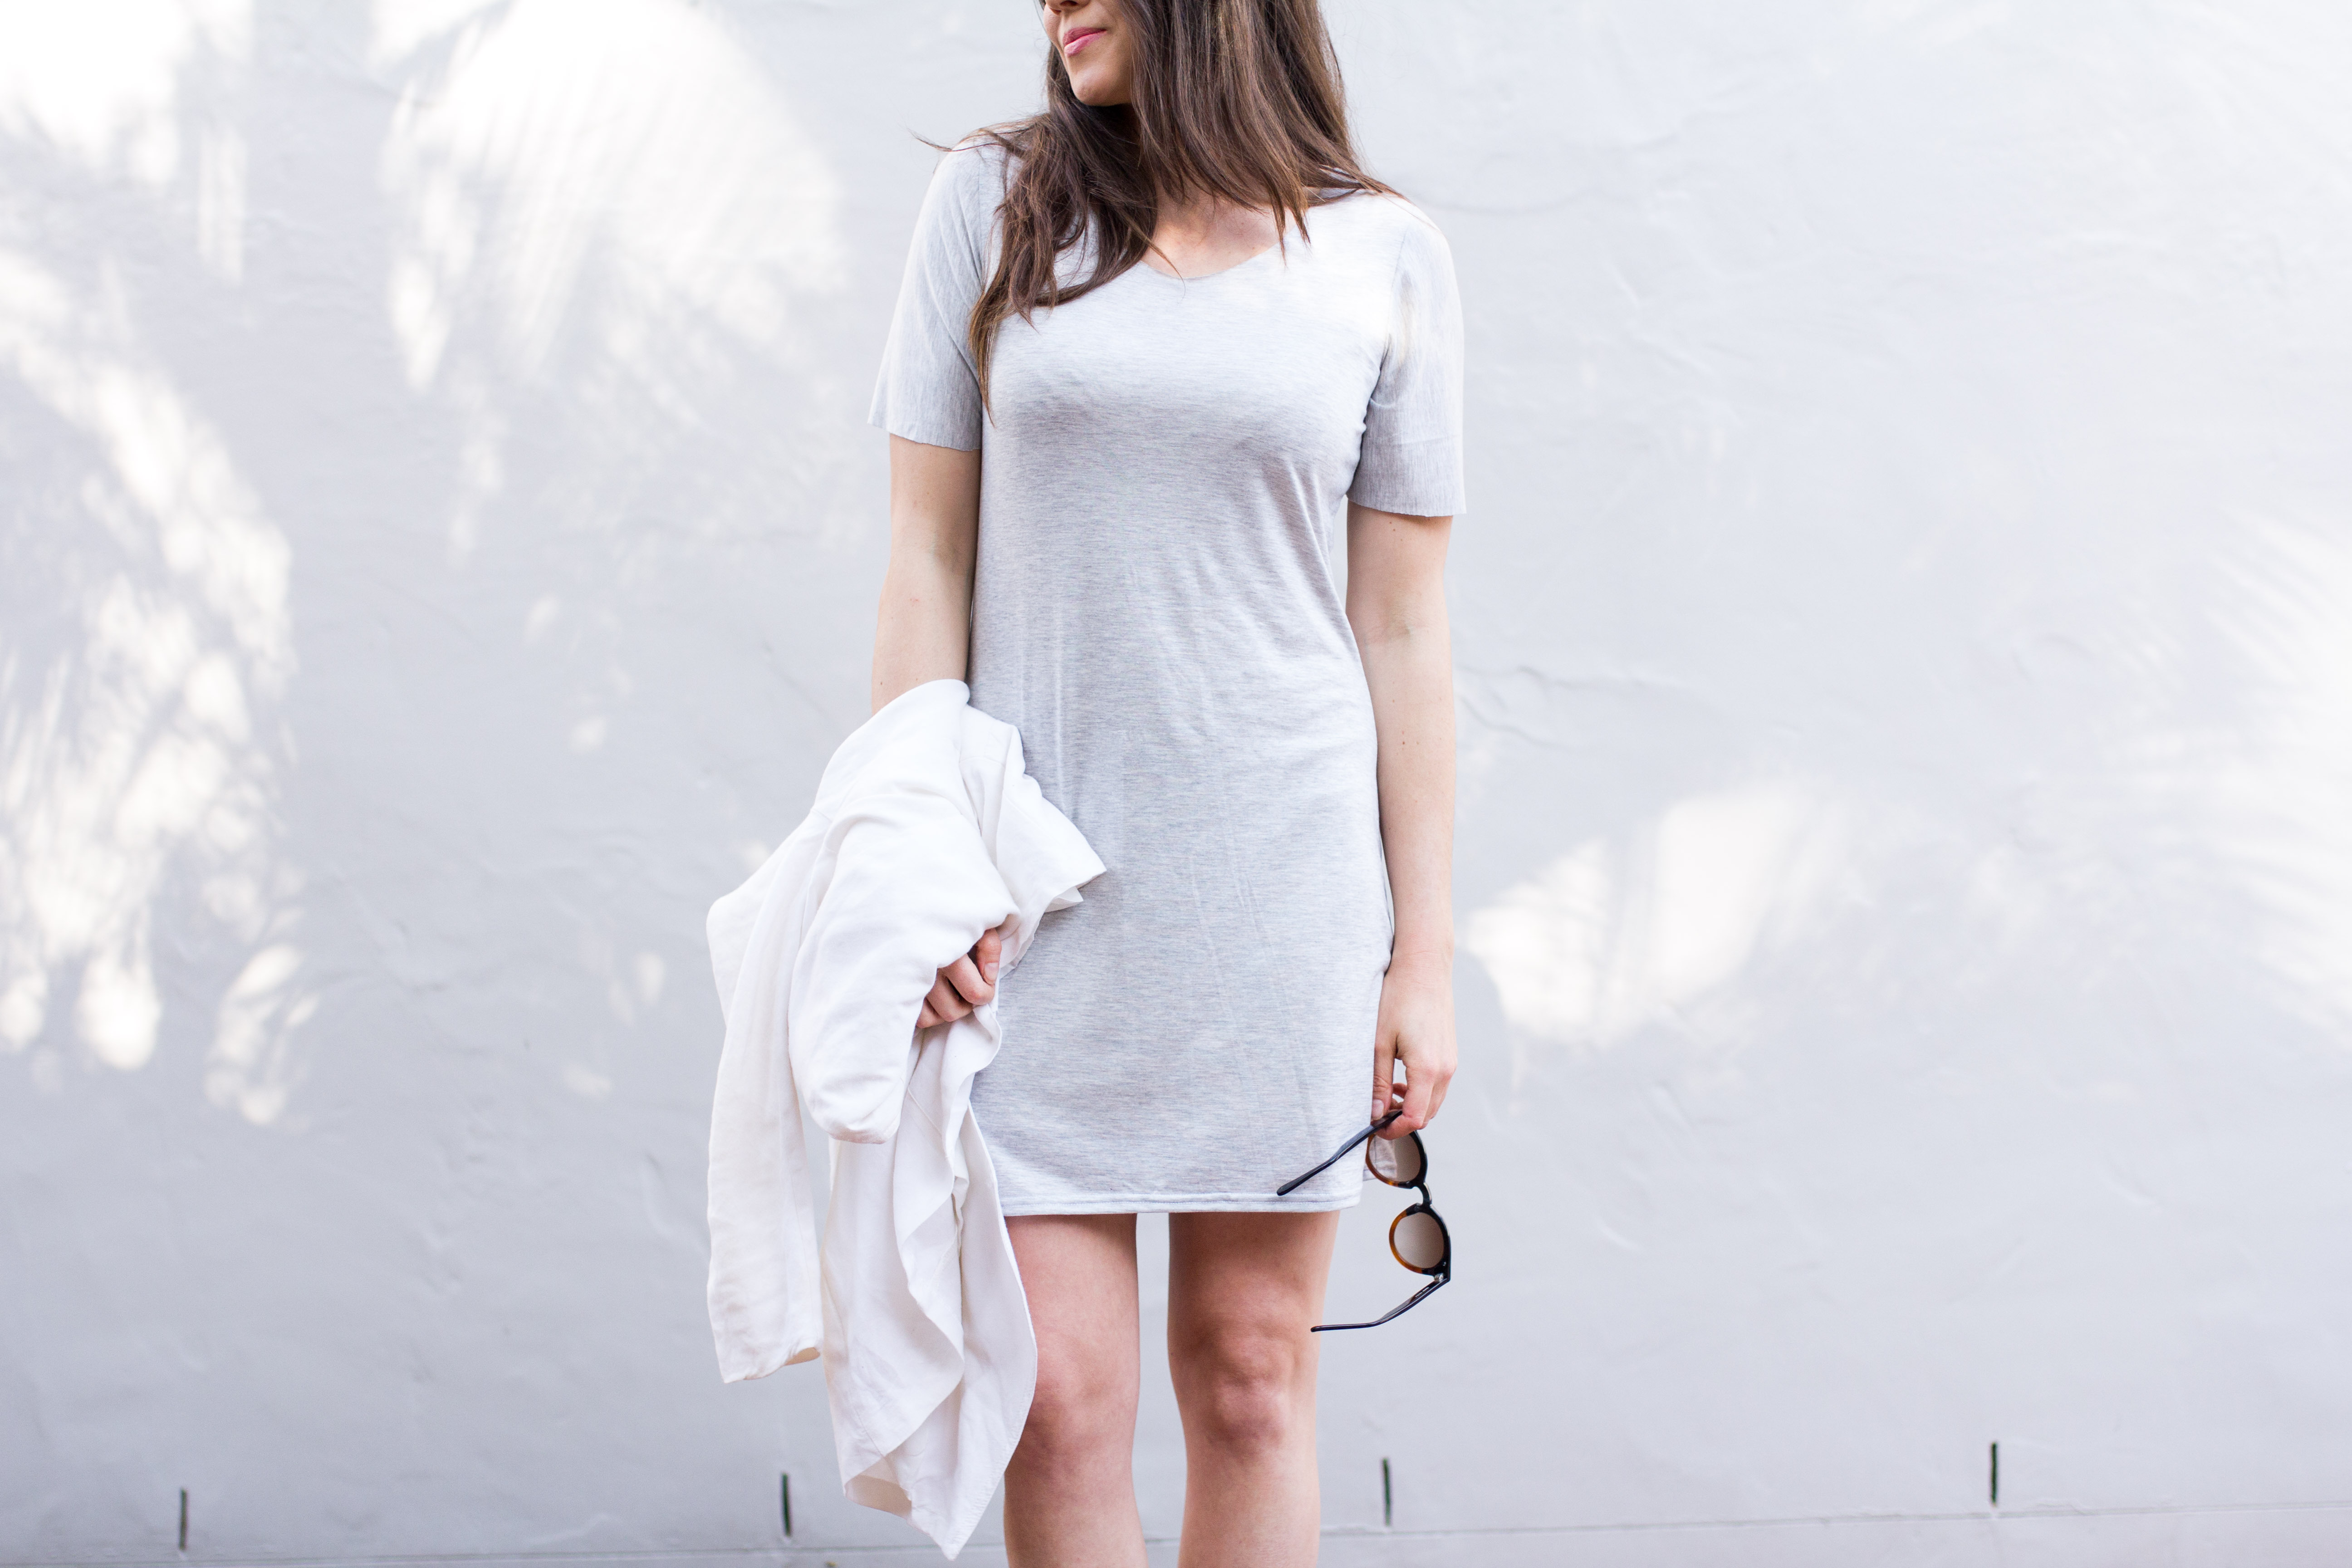
 I chose the ‘Solange’ dress and I’ll just cut to the chase by saying that I didn’t expect to love it THIS much. Because it’s a basic and I struggle with this concept. Solange is a short sleeved, shift-dress with pockets and an exposed zipper at the back, meant for stable knits like french terry and friends. I didn’t have any French terry or stable knit fabrics but thought, since the bones were good, why not try and make it in something drapey. I didn’t want to go buy fabric and, to be fair, I just wanted slouchy, loungey goodness. As someone who has worn the same outfit of yoga pants and a black turtleneck all winter because a) I don’t believe in winter sewing b) mild life slump and health issues, I’ve been desperate for something fresh but not quite ready for full spring sewing. So I shopped my stash and found this featherweight grey marle jersey perfectly perfect to lift me out of black turtle stupor!

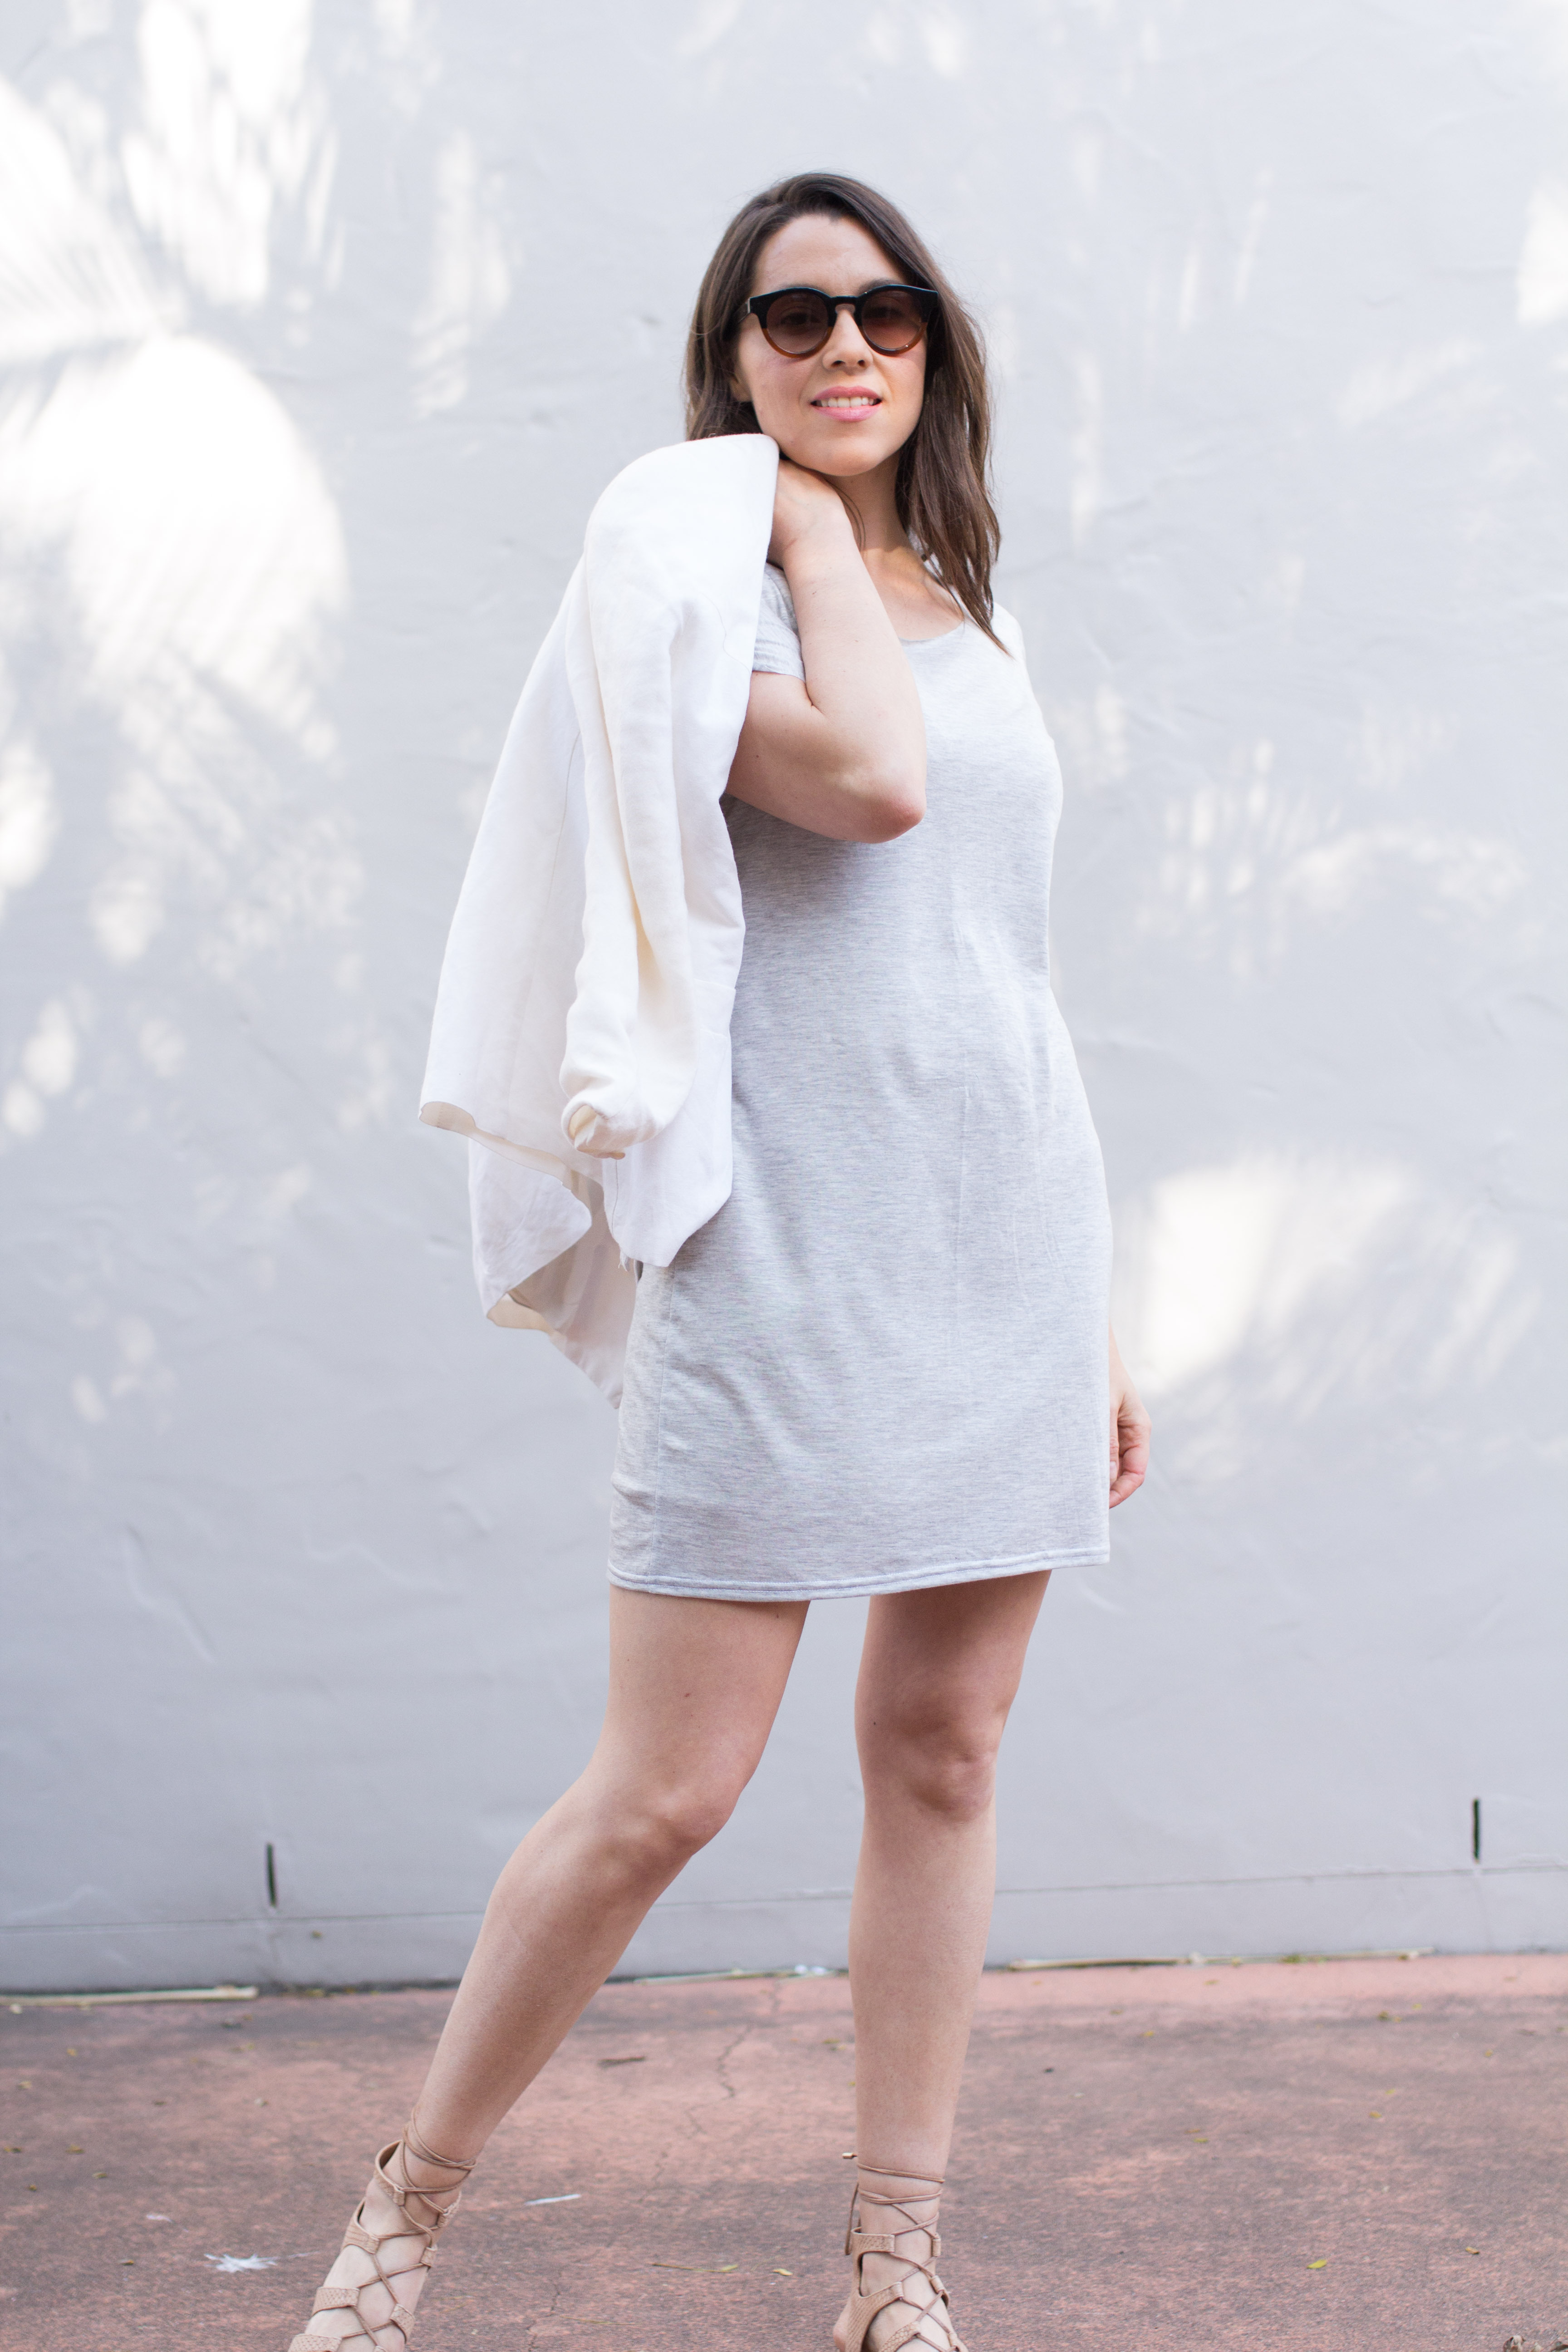 I was in no mood for fuss so I paired back (savaged) the pattern and eliminated the bust dart, left off the pockets to reduce bulk and did without the centre back closure. Call it laziness or design inspiration; I decided to leave the neckline and arms unhemmed and coverstitched the hem only. Partly, I really liked the unhemmed length of the sleeves when I tried it on and figured that, being delicate and silky, it worked to just go from fabric to skin without any bulk or fuss. It’s raw! Primal. Grrrr.

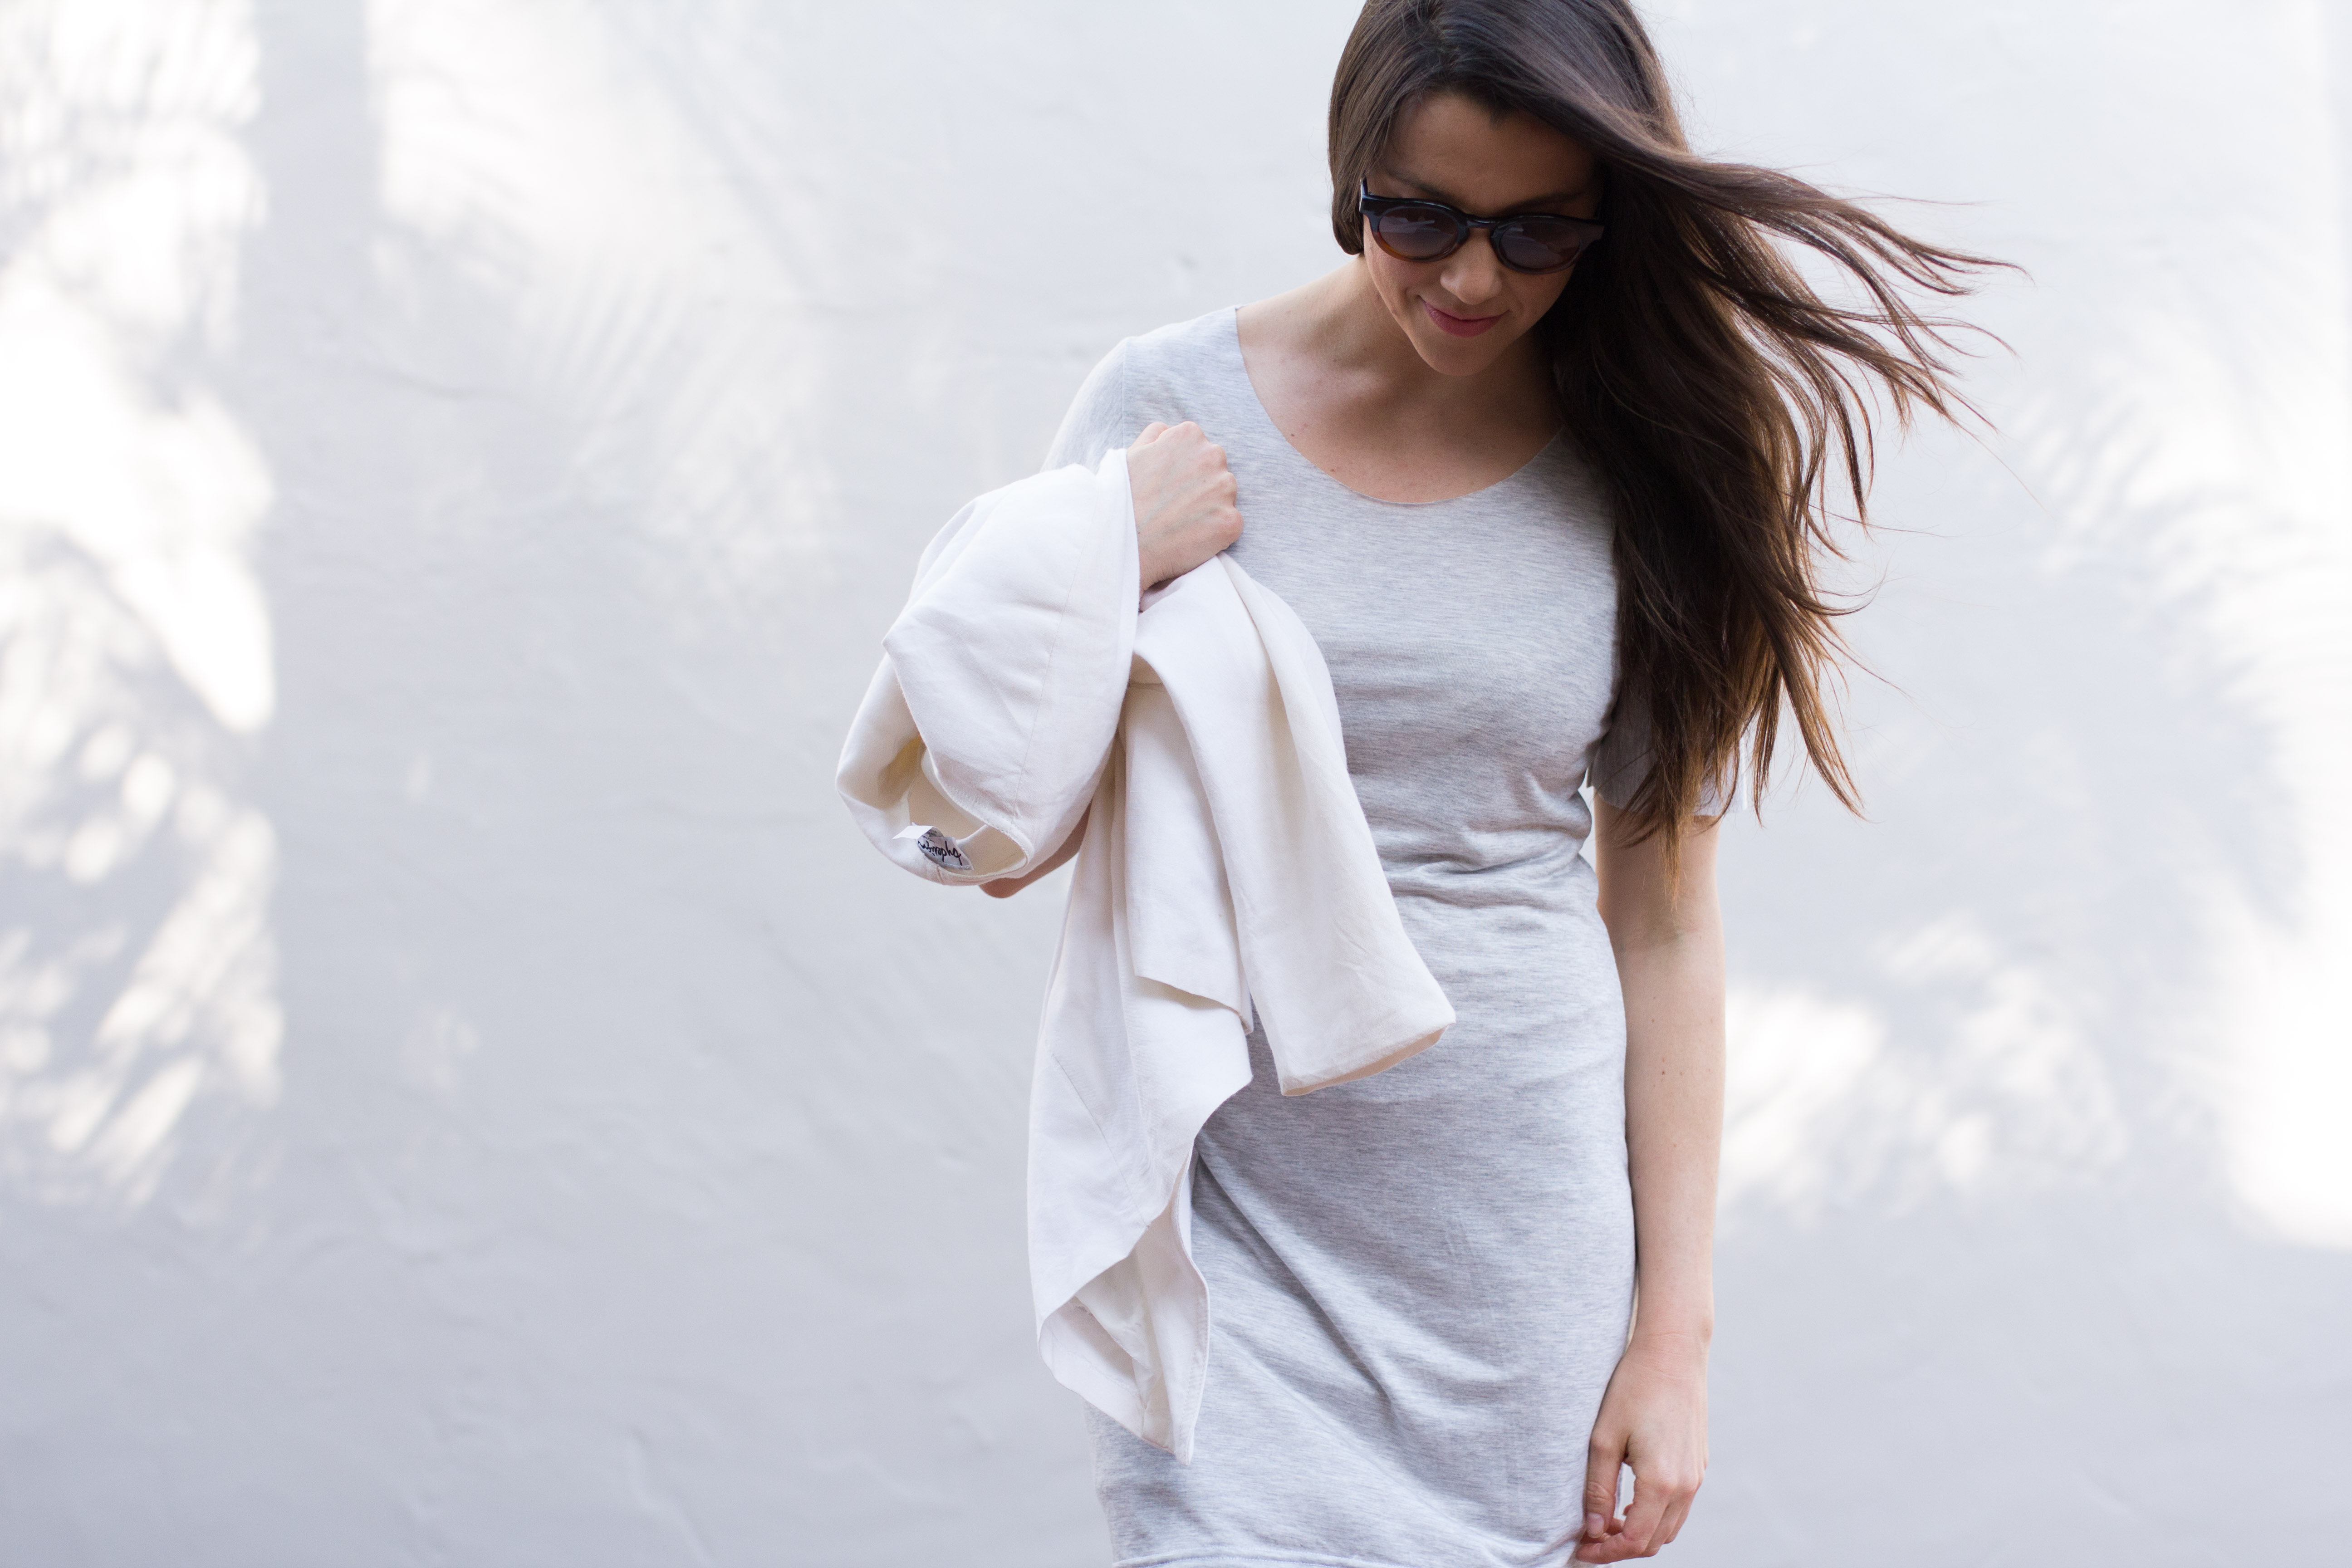 Already I love it. And I completely underestimated a t-shirt dress as an unexpected closet hero; ridiculously versatile. It goes with everything! You can wear it knotted at the waist with high waist jeans or leave it dress length with a blazer or over jeans with a kimono or by itself (with a slip underneath because its sheer and I’m a layyydddyyyy). Also, because its featherweight I can wear it tucked in and not have any bulky bunchiness.
P A T T E R N Solange Dress from La Maison Victor
F A B R I C Grey marle jersey from The Fabric Store
S I Z E 10
L OV E D super quick sew (entirely on the overlocker / coverstitch) and the end result.
M O D S Cut the back piece on the fold, eliminated pockets and back closure.
F I N I S H E S Raw edges mostly.
N E X T T I M E I think I need a few of these.
 I can’t think of any better excuse than to dust off the blogwebs on this fine autumnal day to join in the
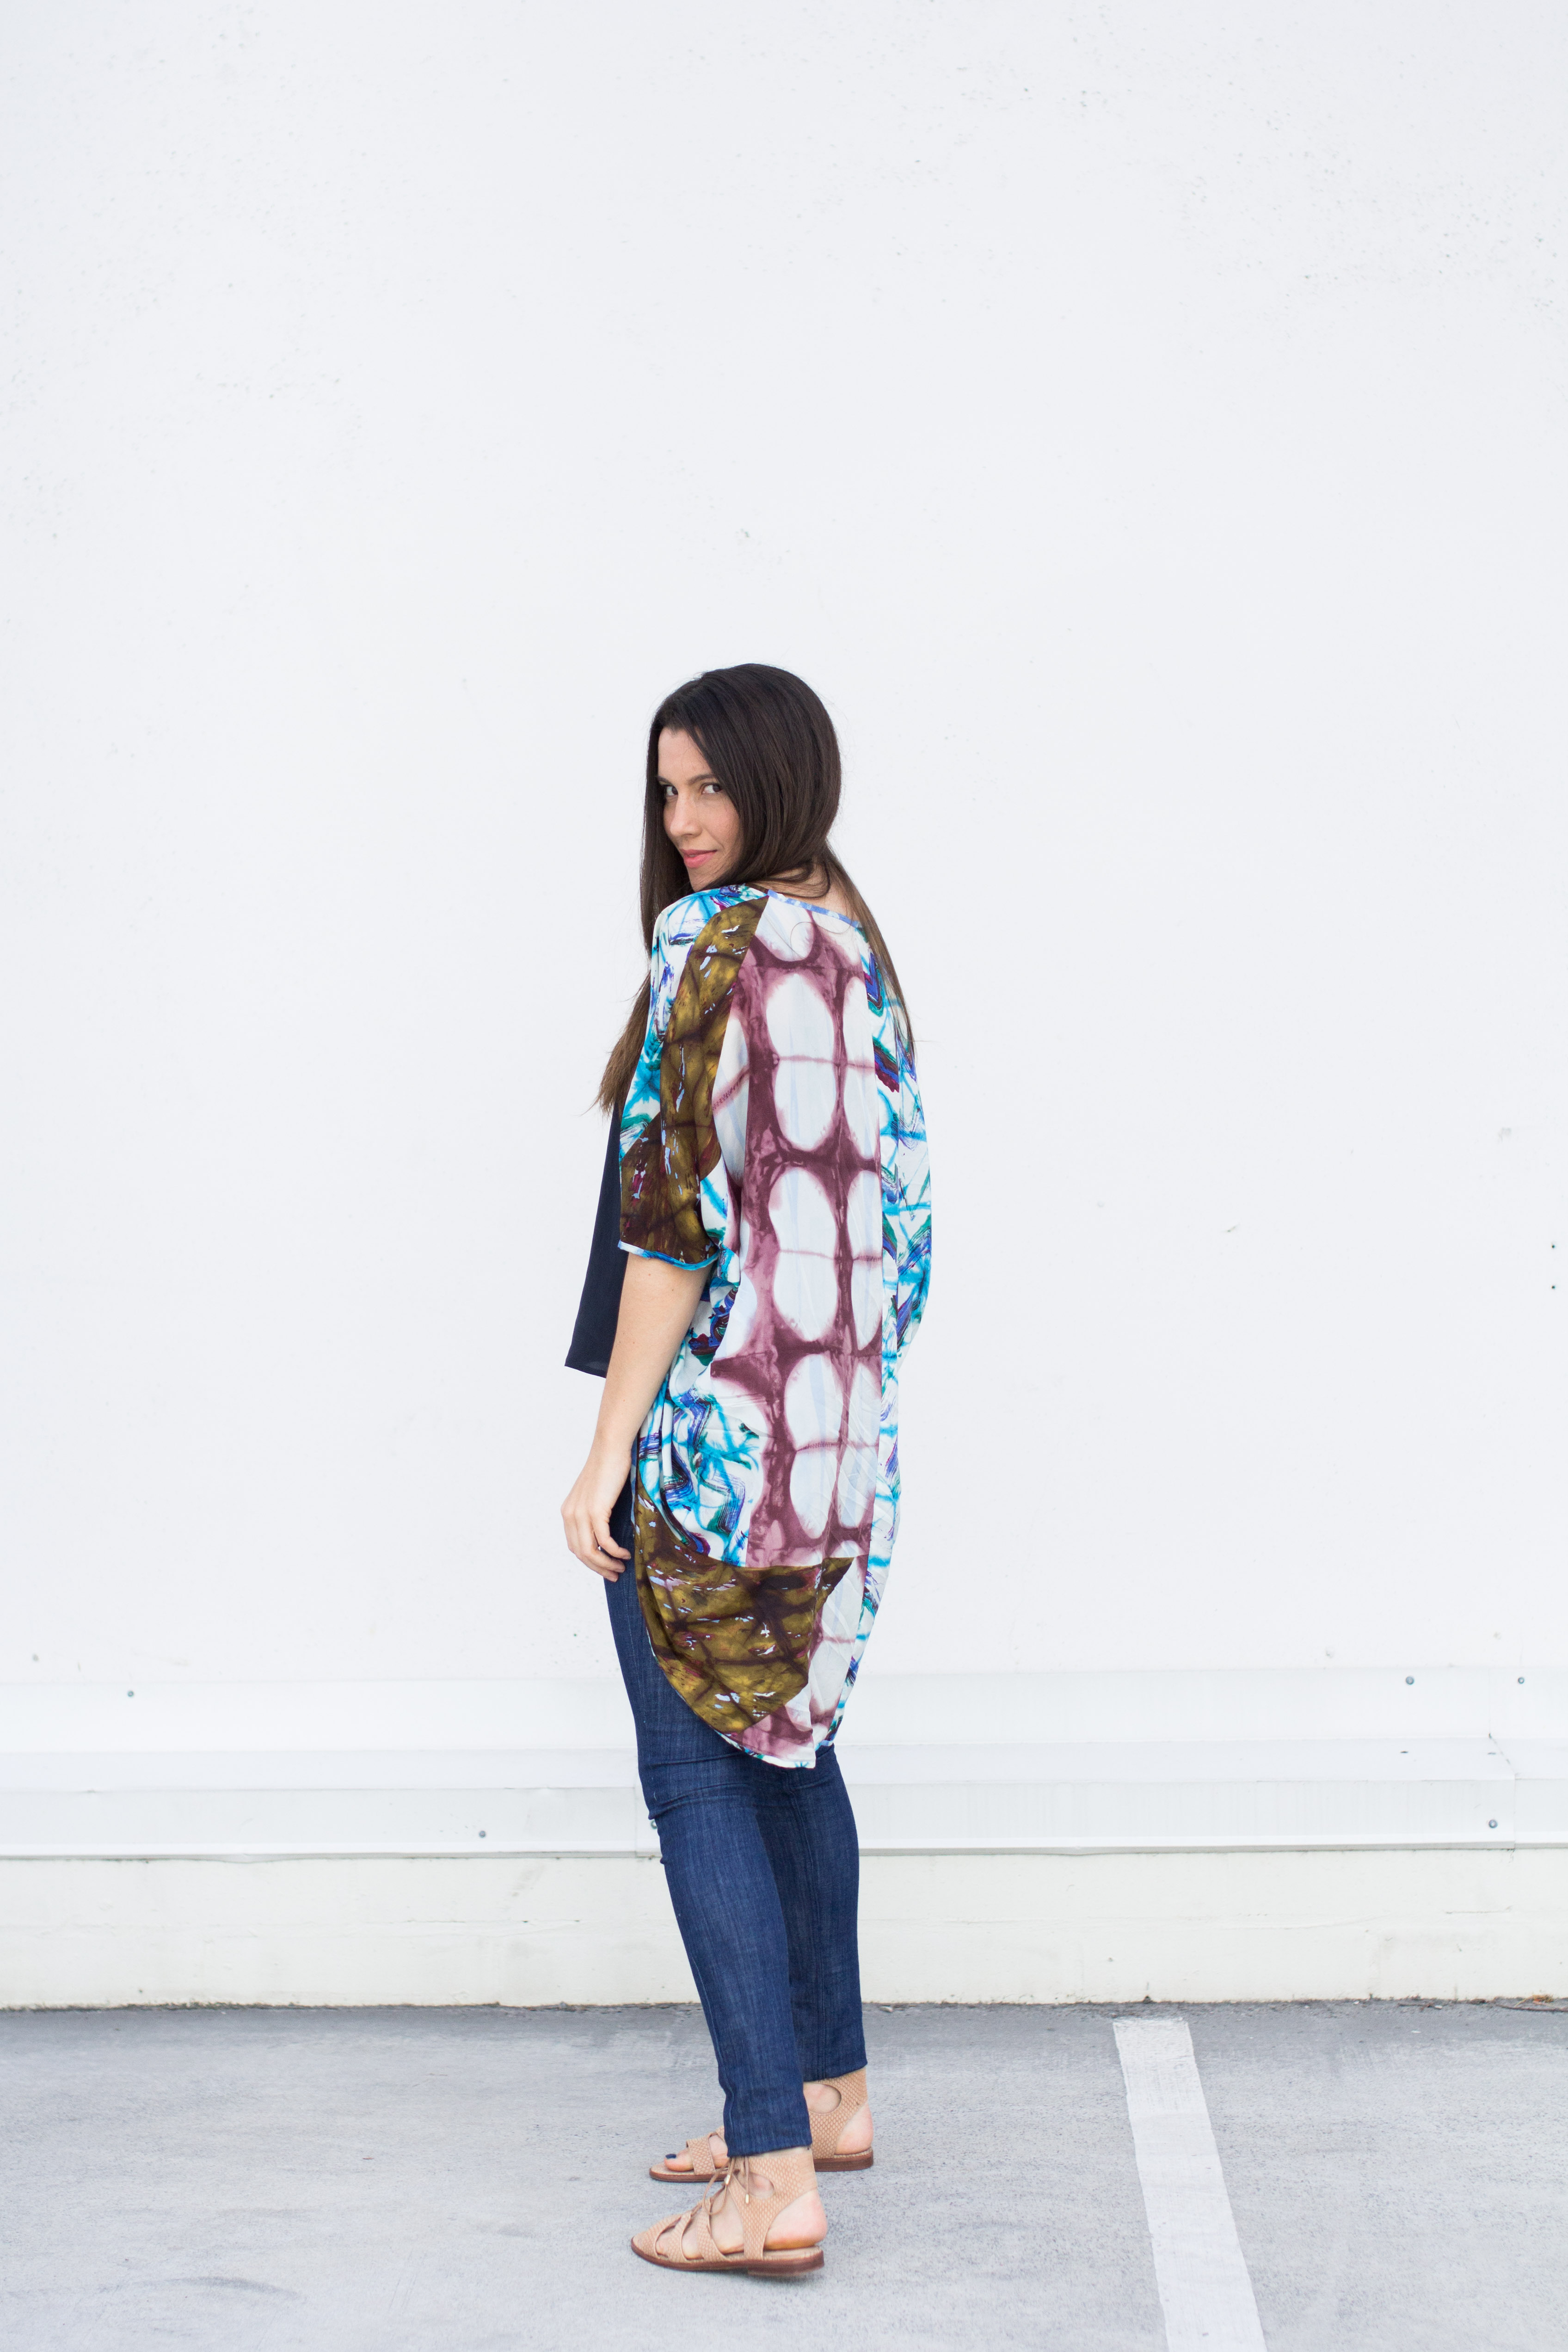
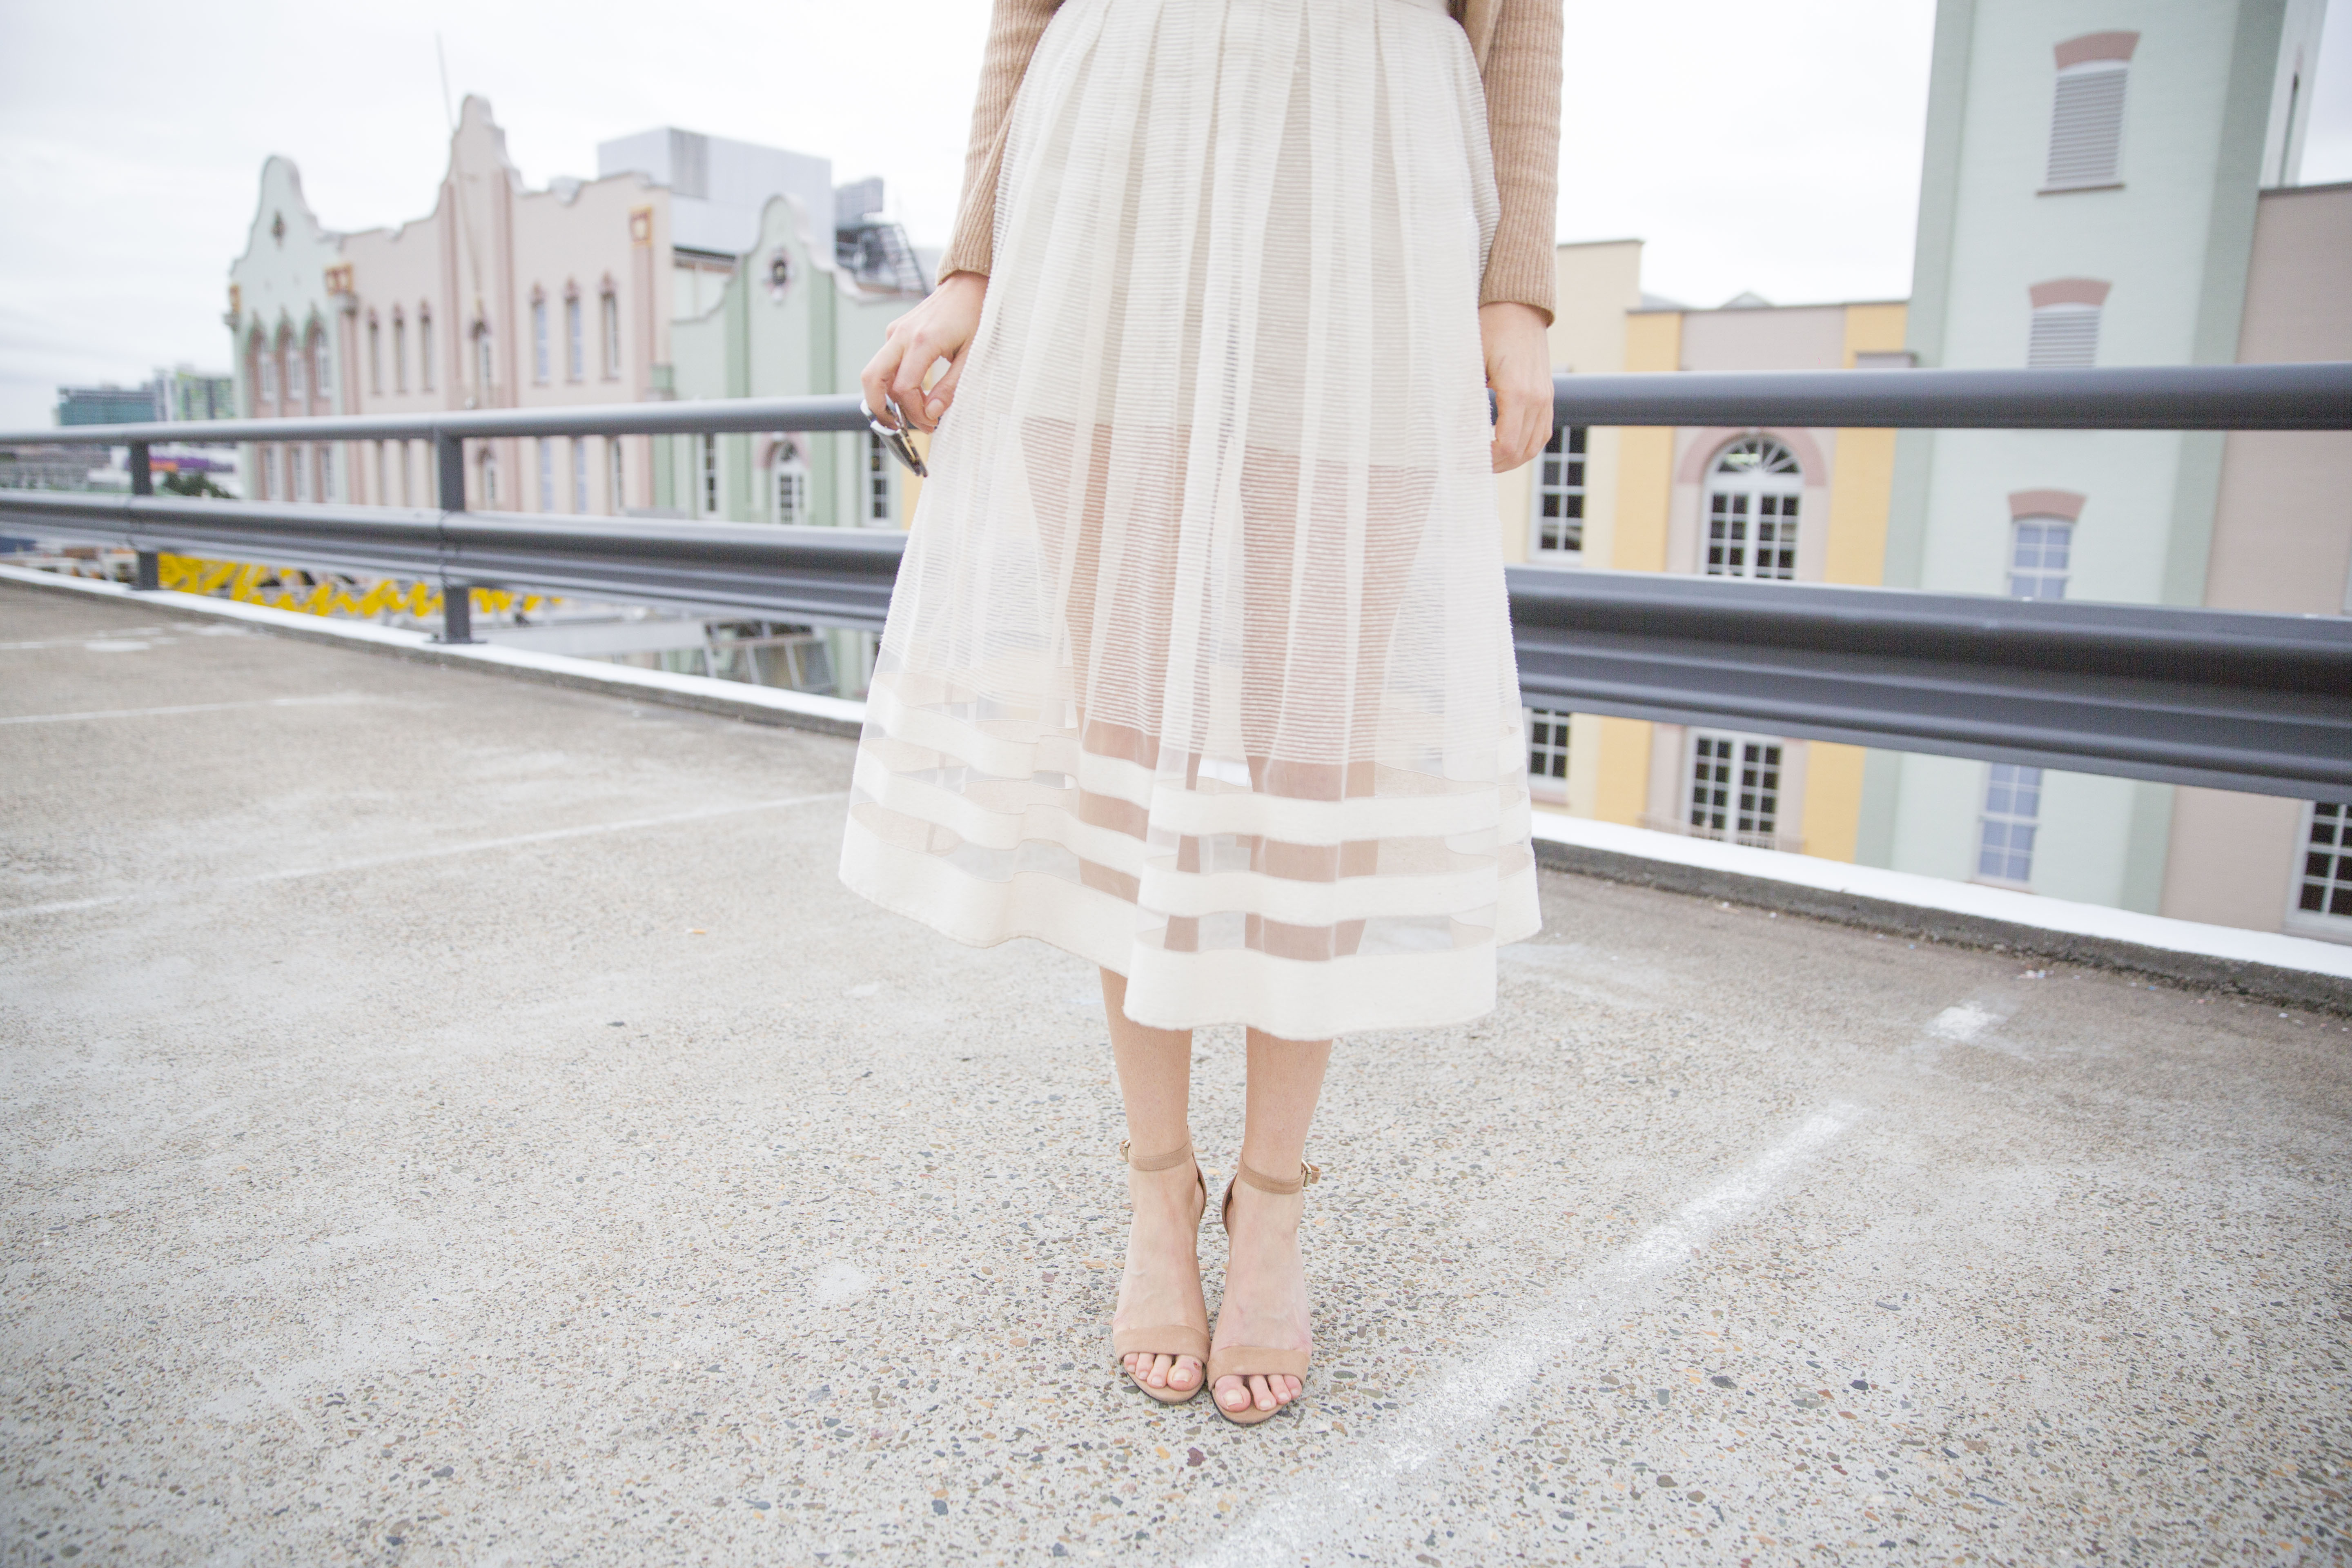
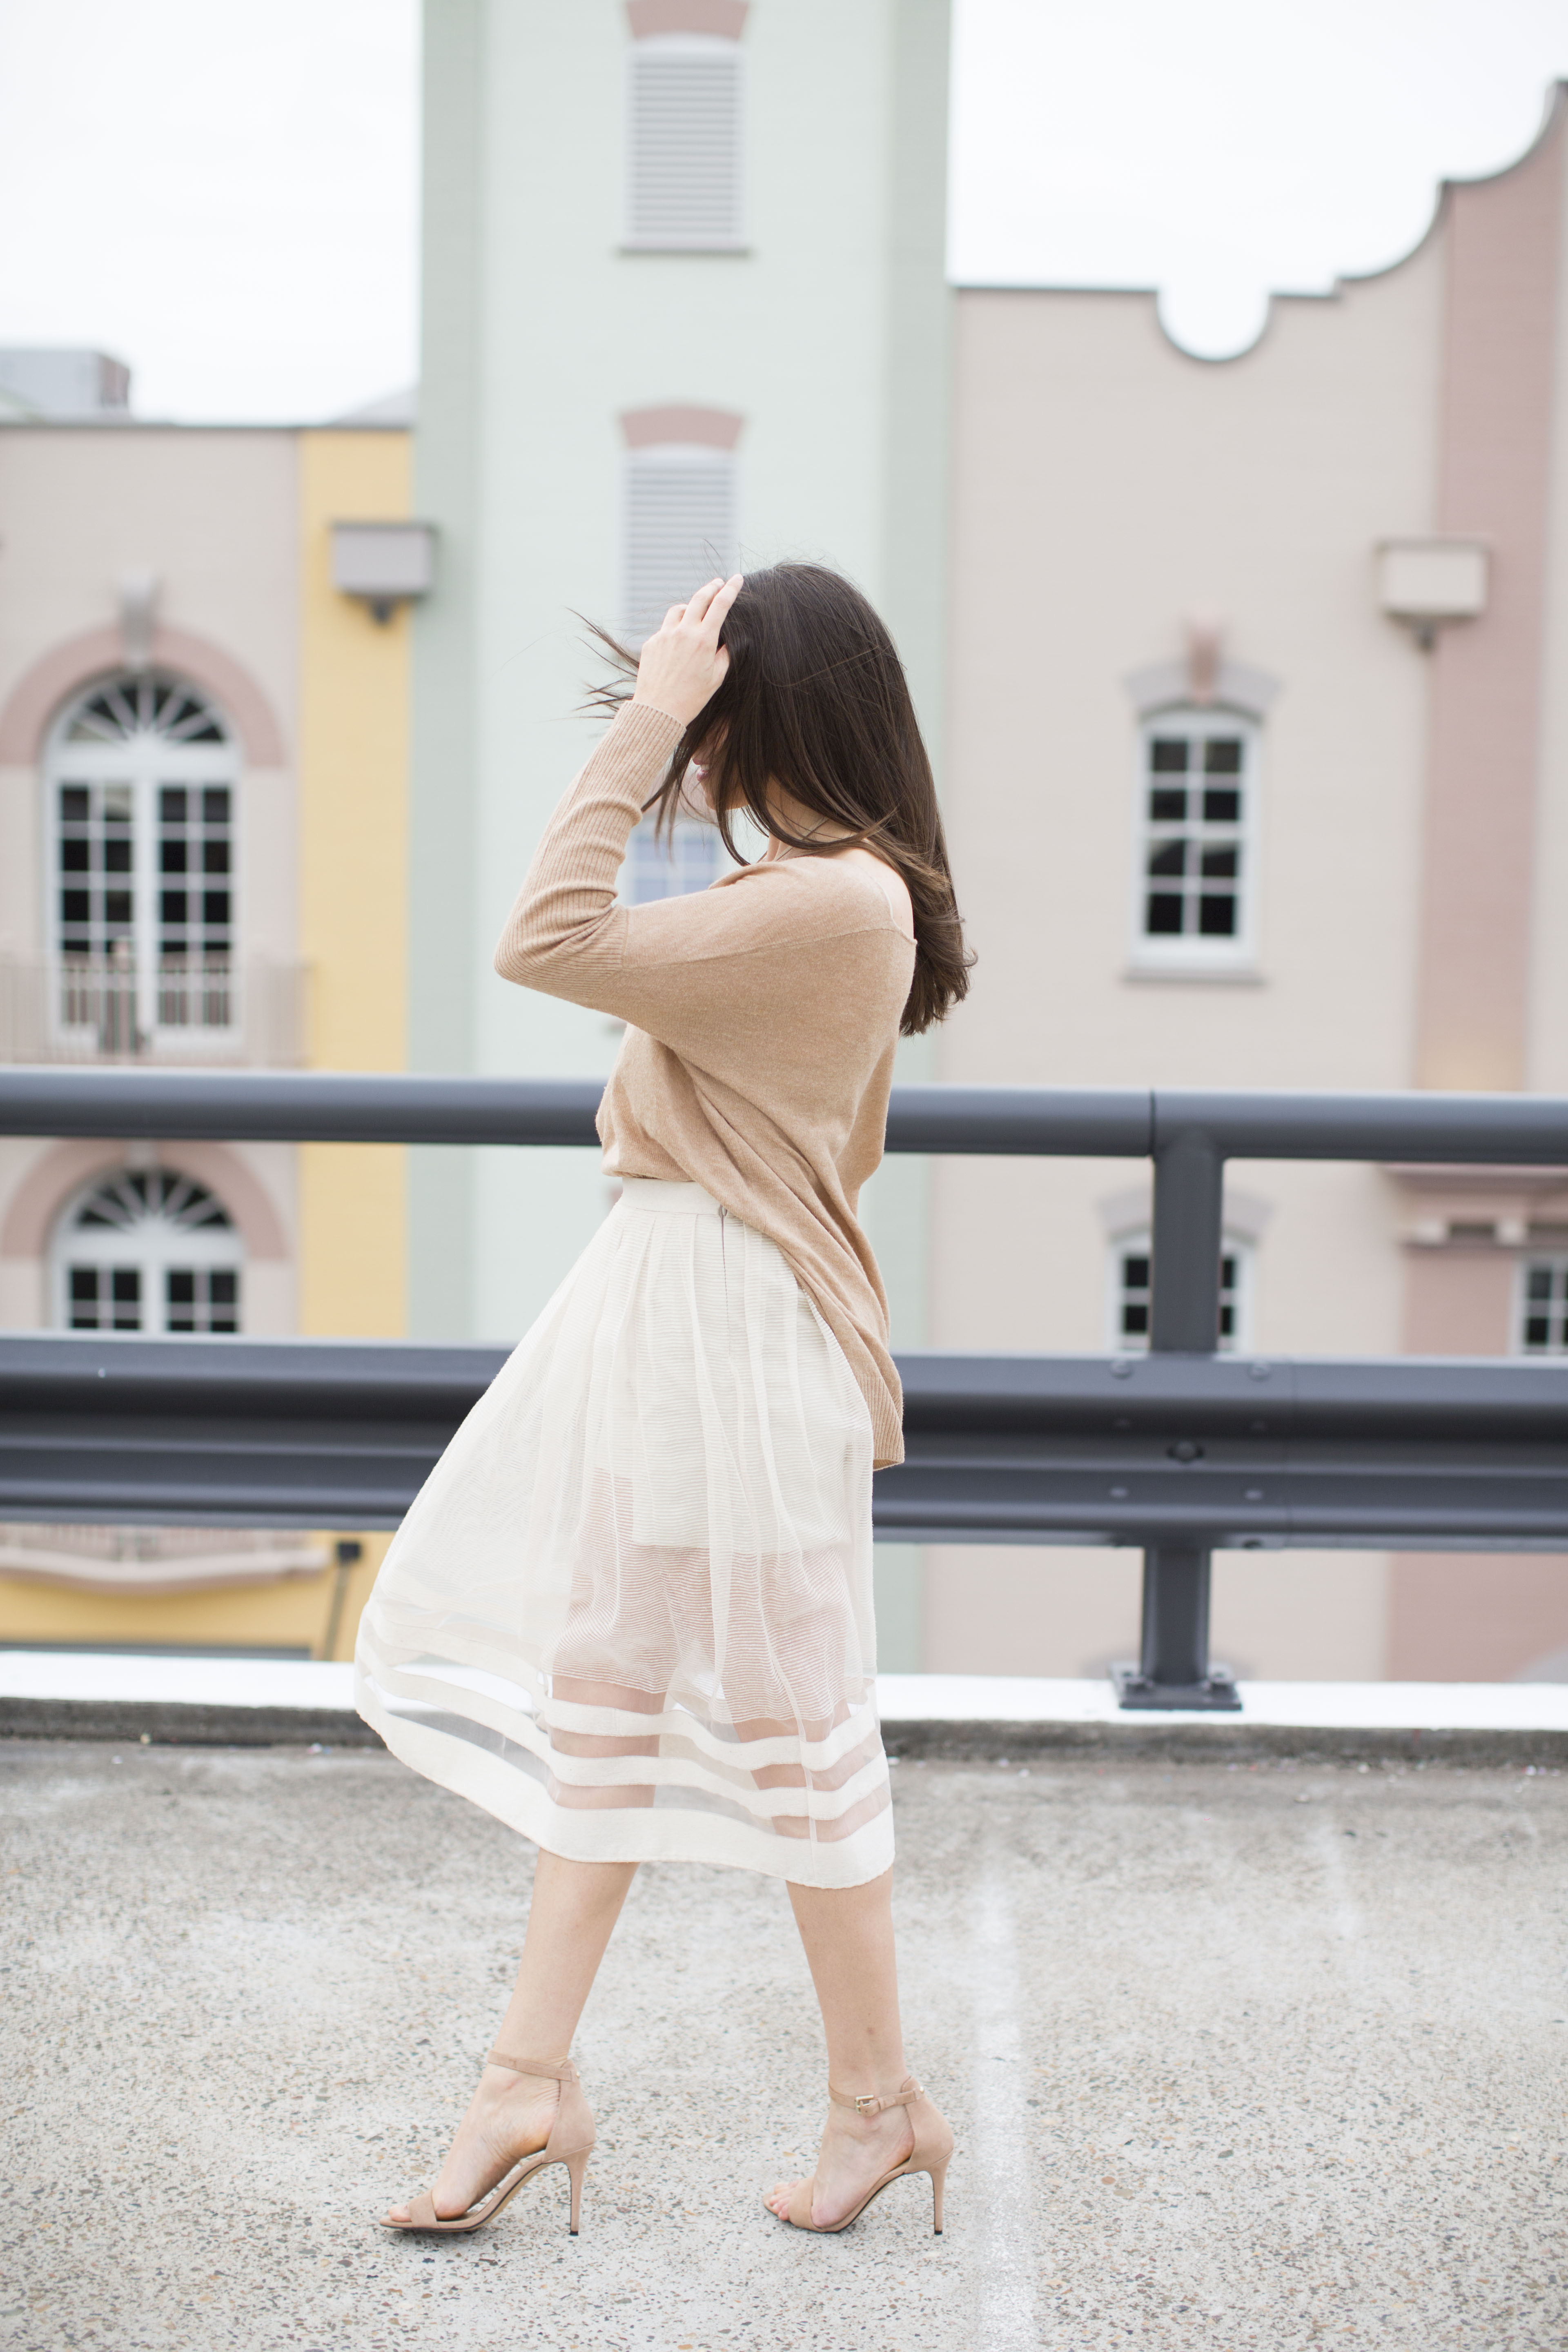
 I’ve been thinking a lot of lately about what a truly awesome time in history it is to be sewing a hand-made wardrobe. When I first started sewing clothes for myself, a few years ago, I never imagined there would come a time when I lost all interest in shopping. Unless we’re talking about fabric / patterns / accessories to go with hand-made wardrobe. I honestly can’t remember the last time I stepped inside a Westfield to buy an outfit. So weird. And weirder still is I don’t feel like I’m making any compromise or sacrifice at all, sewing my own clothes. Being spoilt for choice when it comes to sewing patterns has a lot to do with it! A generation or two ago there a small core group of pattern companies, who may or may not have taken cues from mainstream fashion (highly debatable). I’m sure I would have hated the lack of choice back then, especially if it was a case of be clothed in handmades or go naked. But now, in 2017 there are so many new indie sewing pattern designers I almost can’t keep up. We are so lucky to have such variety of patterns, beautiful fabrics and niche sewing businesses, like
 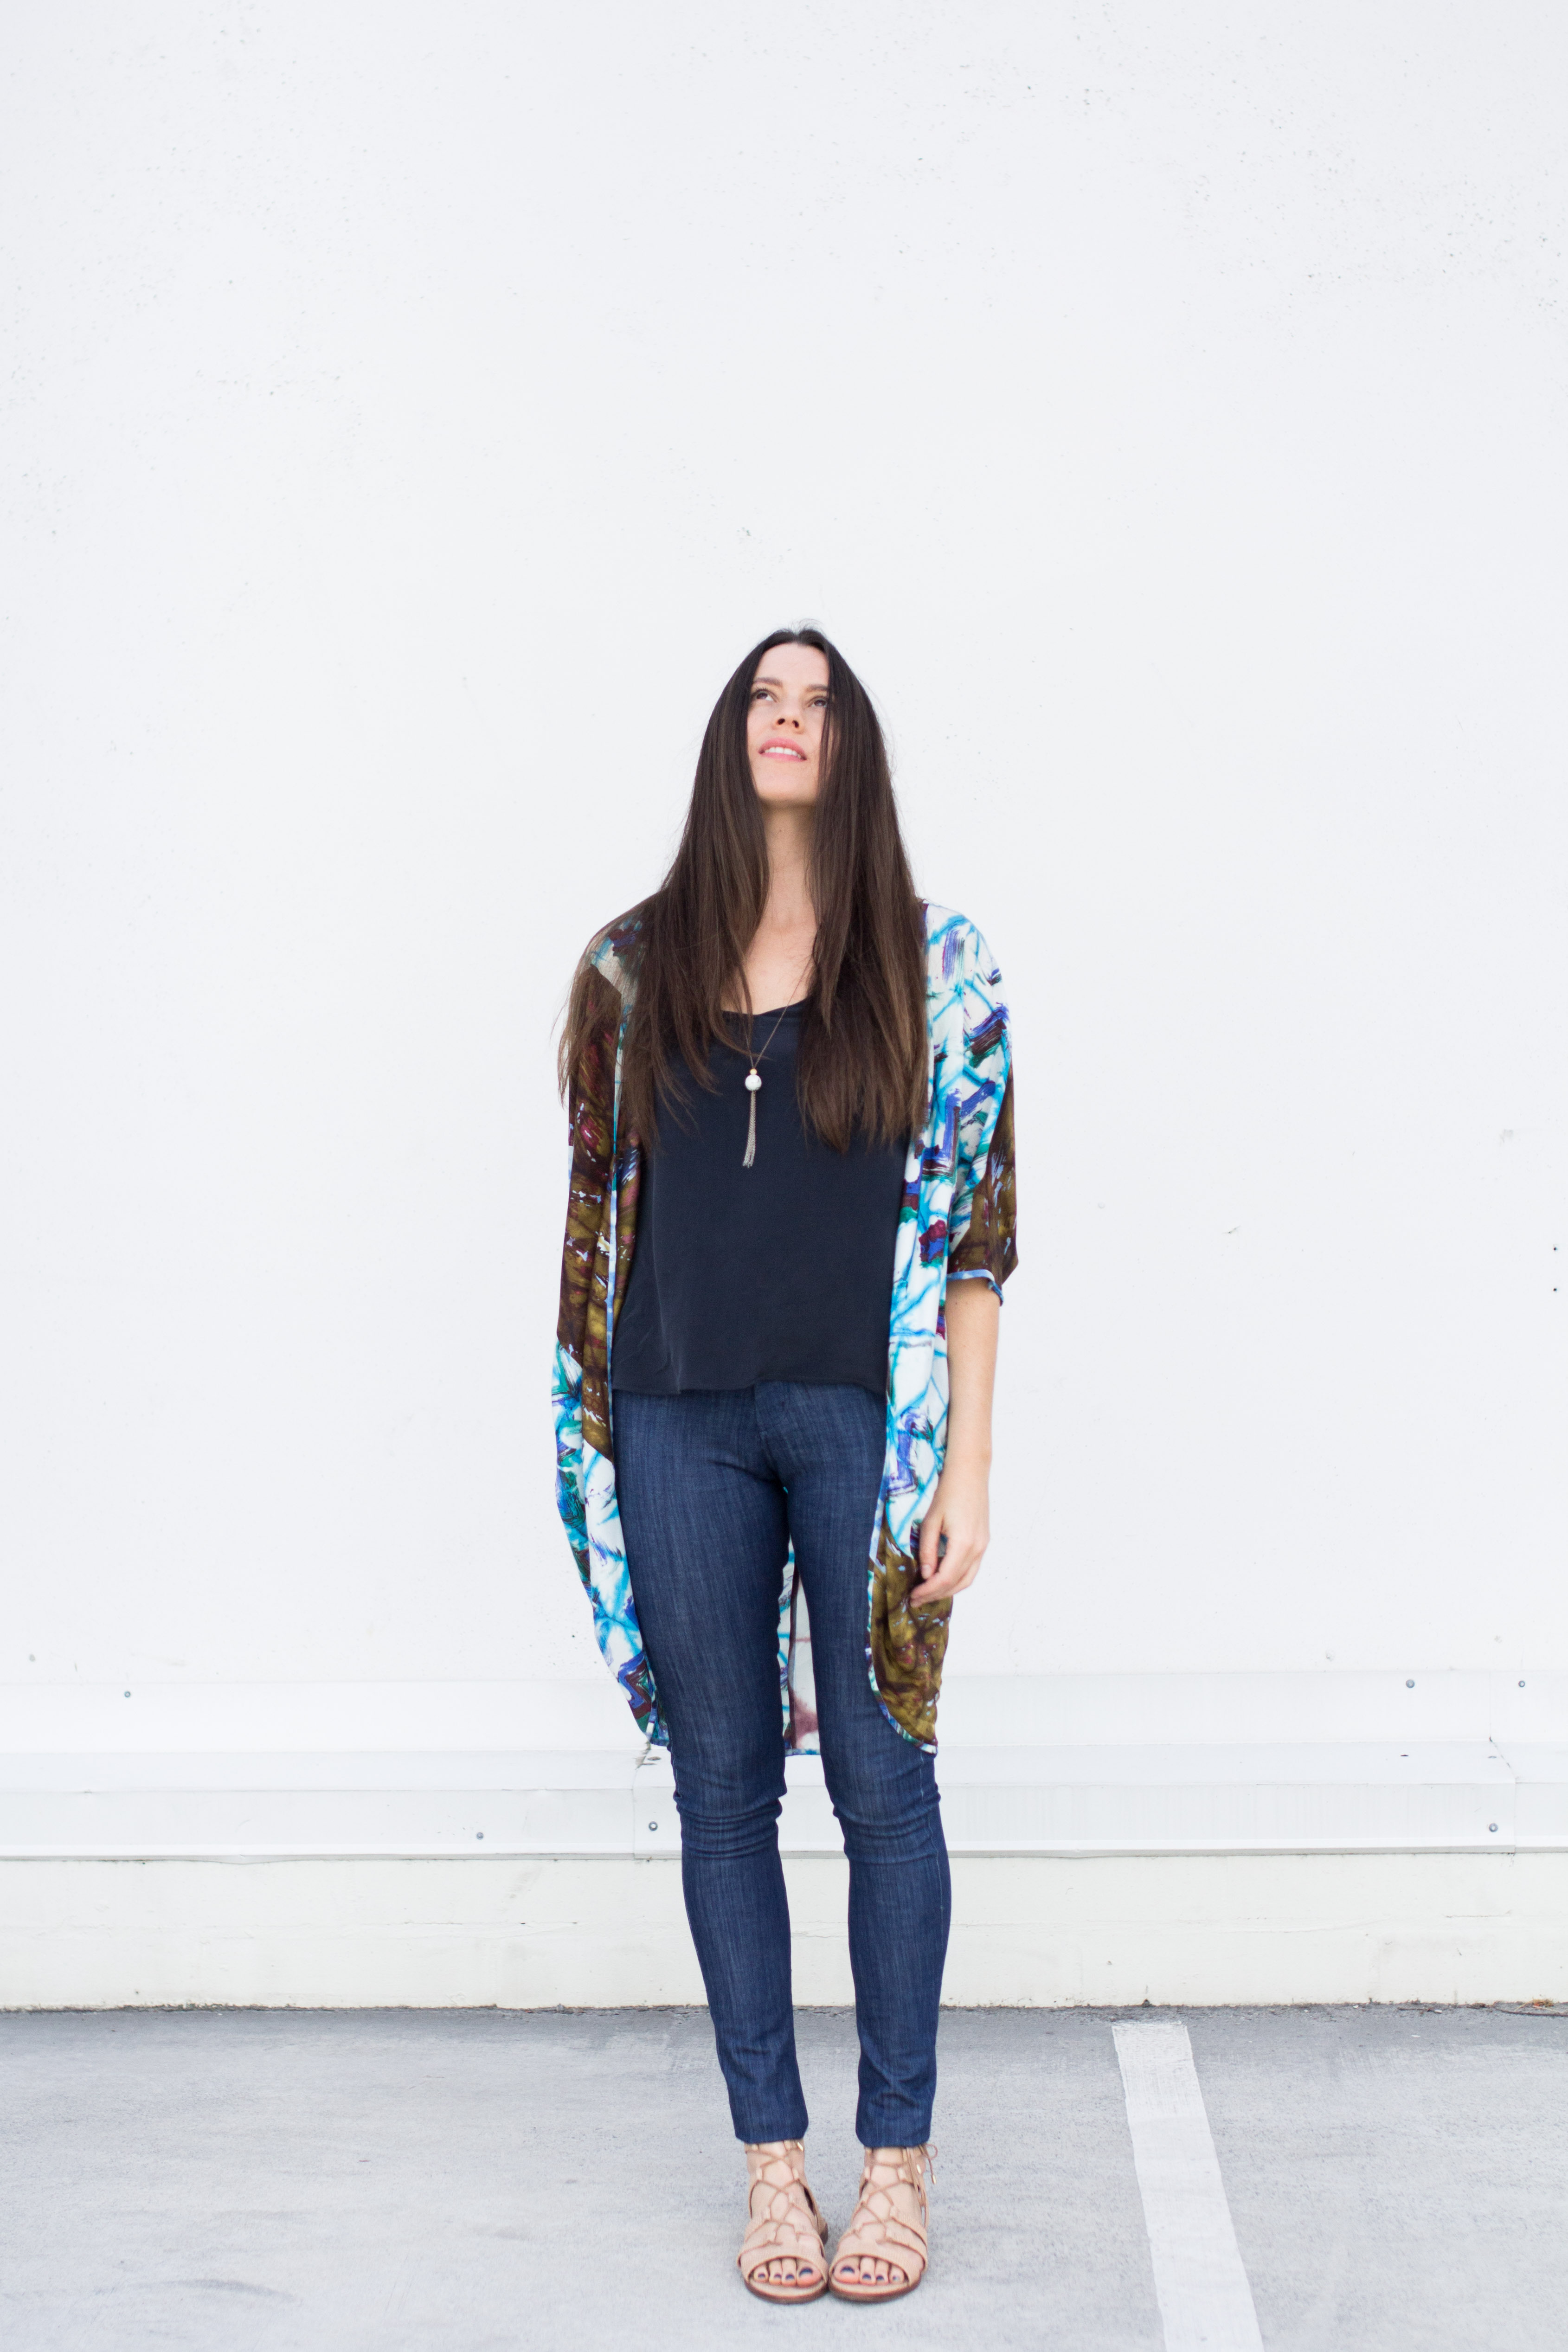 We have much to catch up on. I have been sewing sewing sewing like a mad woman all year but just not blogging blogging blogging apparently. I’ve also changed track pretty heavily when it comes to style and the choices I’m making for my hand-made wardrobe. I’ve been buying lots of solid fabrics, hardly any prints and god forbid…linen! At some point in the last few months, maybe with impending Me Made May, I had a light bulb moment and realised that if I devoted a month or two to sewing some boring ‘staples’, filling the gaps in my wardrobe with good base items then maybe it would be more fun to supplement it with frivolous sews. Because at least I would have something to wear them with. It seems to be working and my resistance to basics is lifting! I’ve recently sewn black culottes, skinny jeans, cream palazzos, navy cropped pants. Basically, the basics.
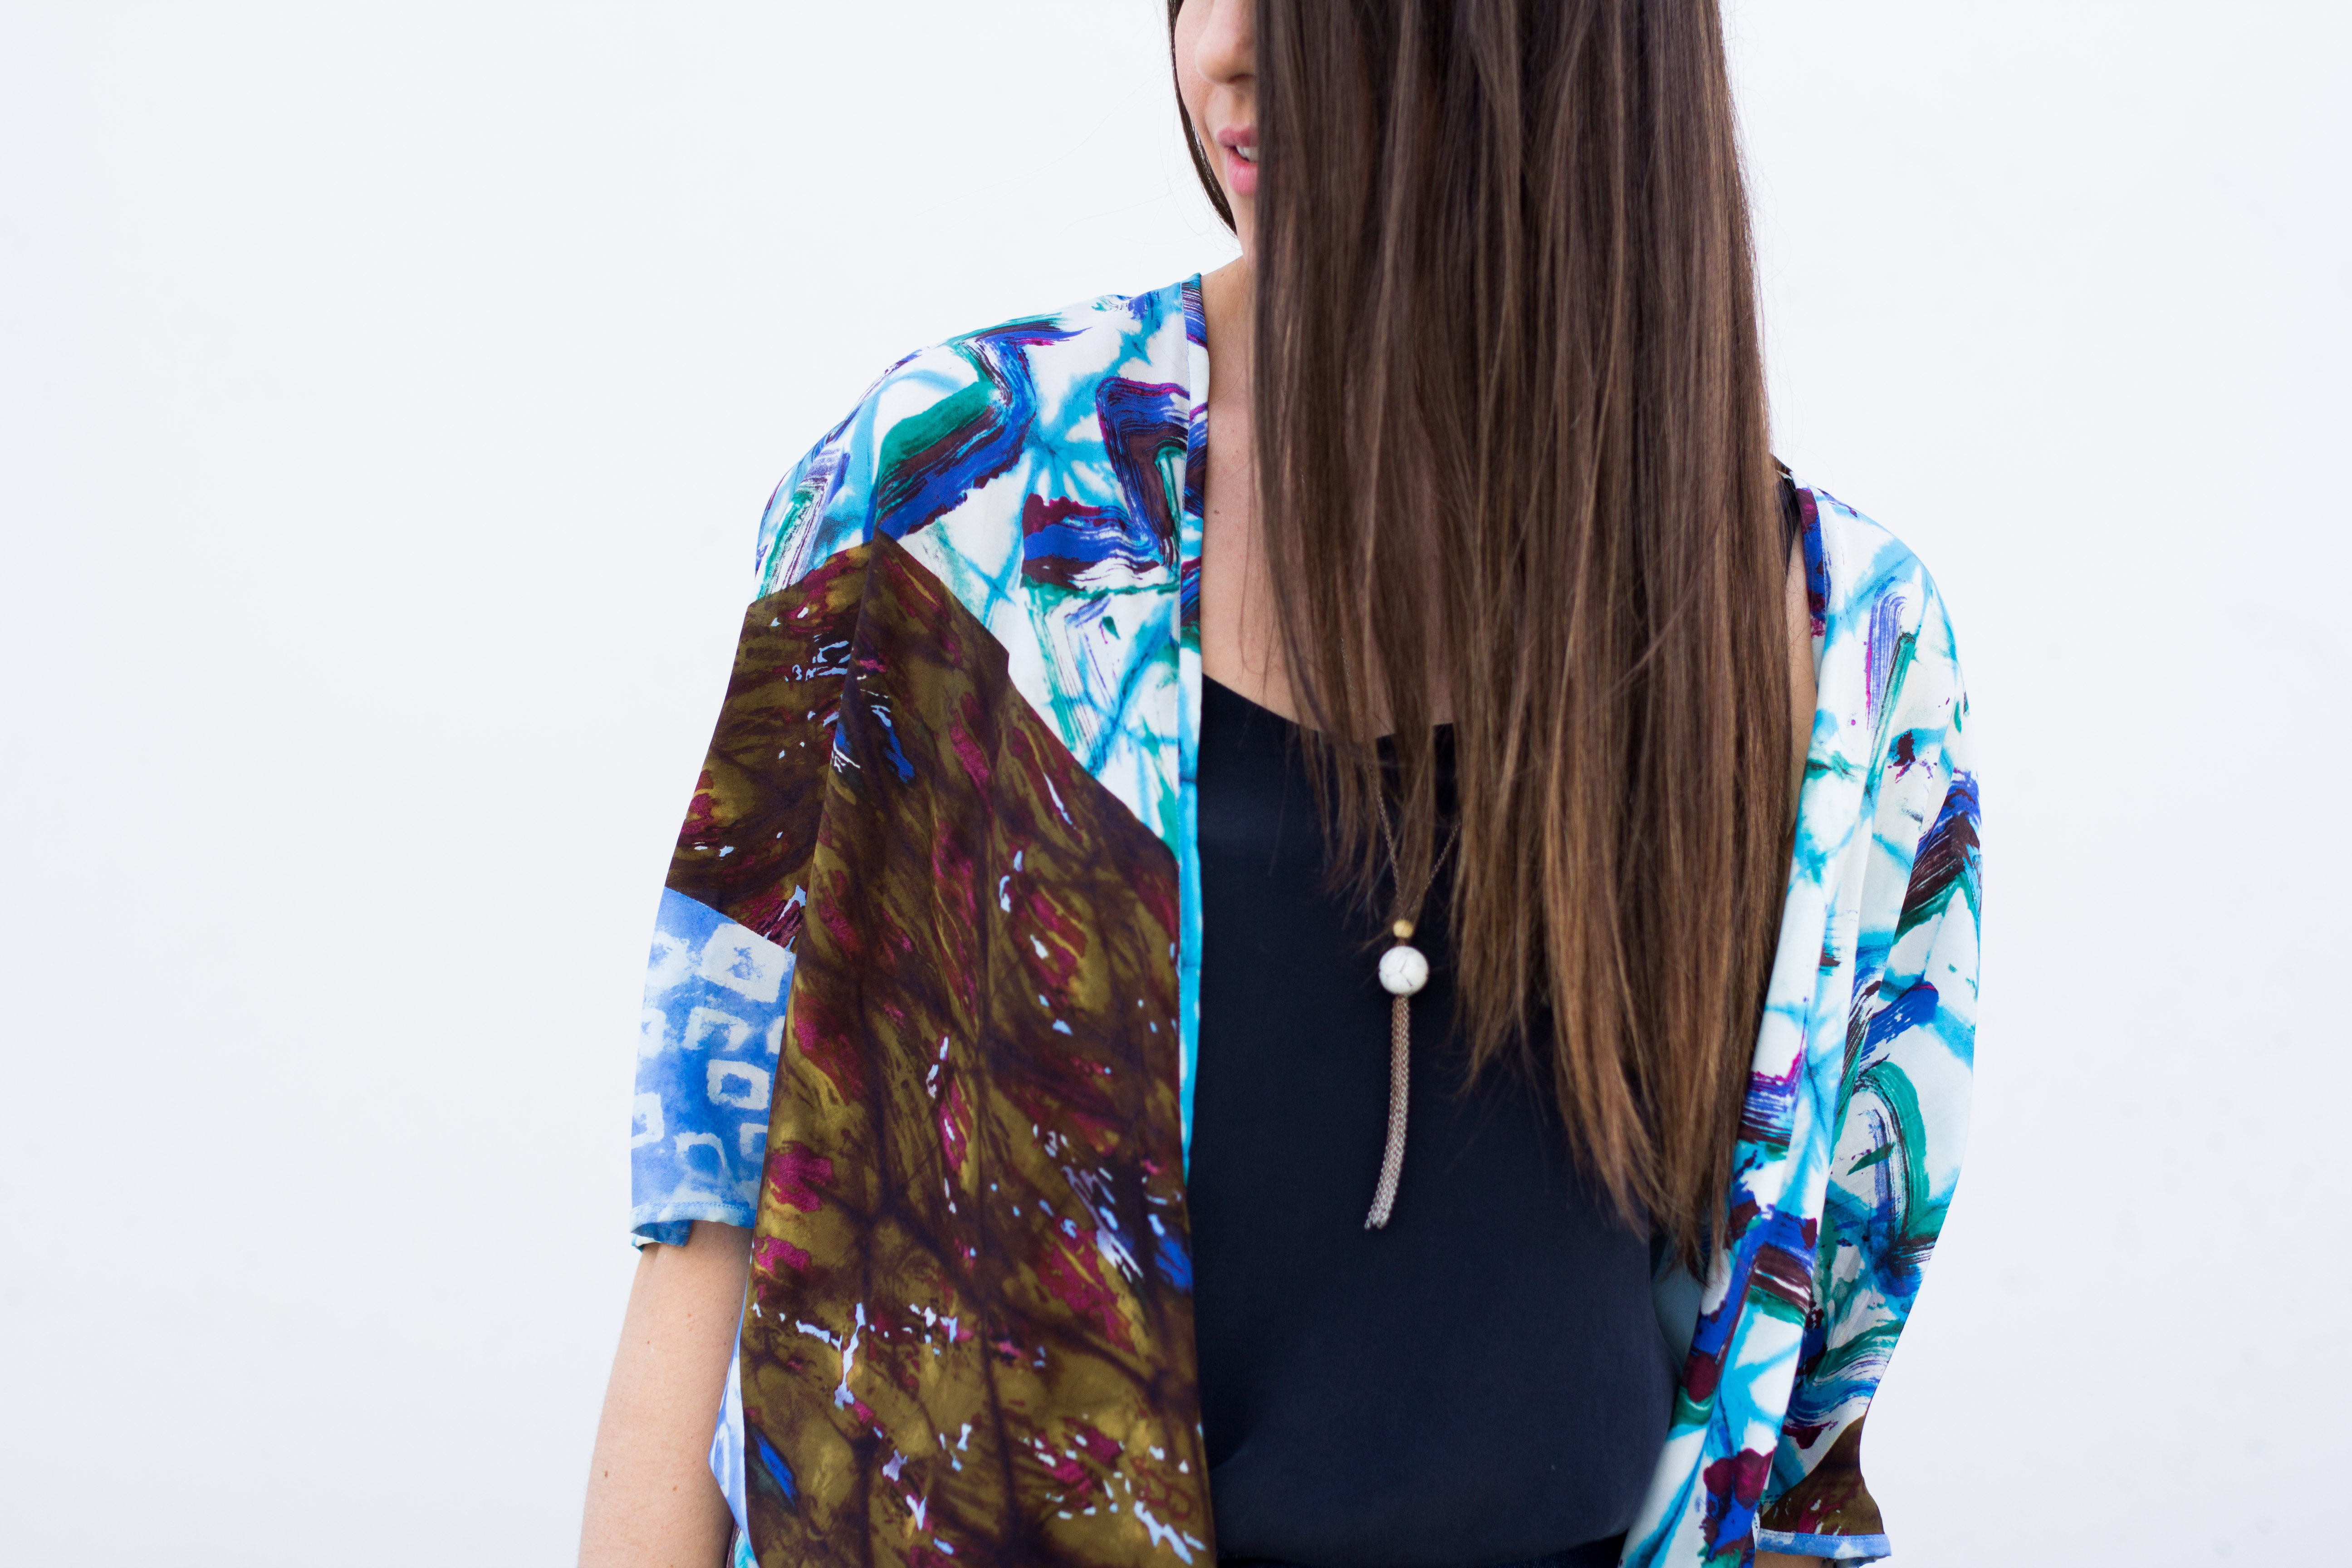
 Which brings me to today’s business which is to heavily plug the
  The art of the cami is a fine one. And in my now-cami-knowledgable opinion the perfect cami is not too blousy, not too fitted so that it can be enjoyed tucked in or out. The Ogden hits that sweet spot, as you can see here I started with it out and eventually tucked it in. This kind of versatility is pretty great, especially if you find yourself with an almost entirely highwaisted wardrobe. Proportions are everything.
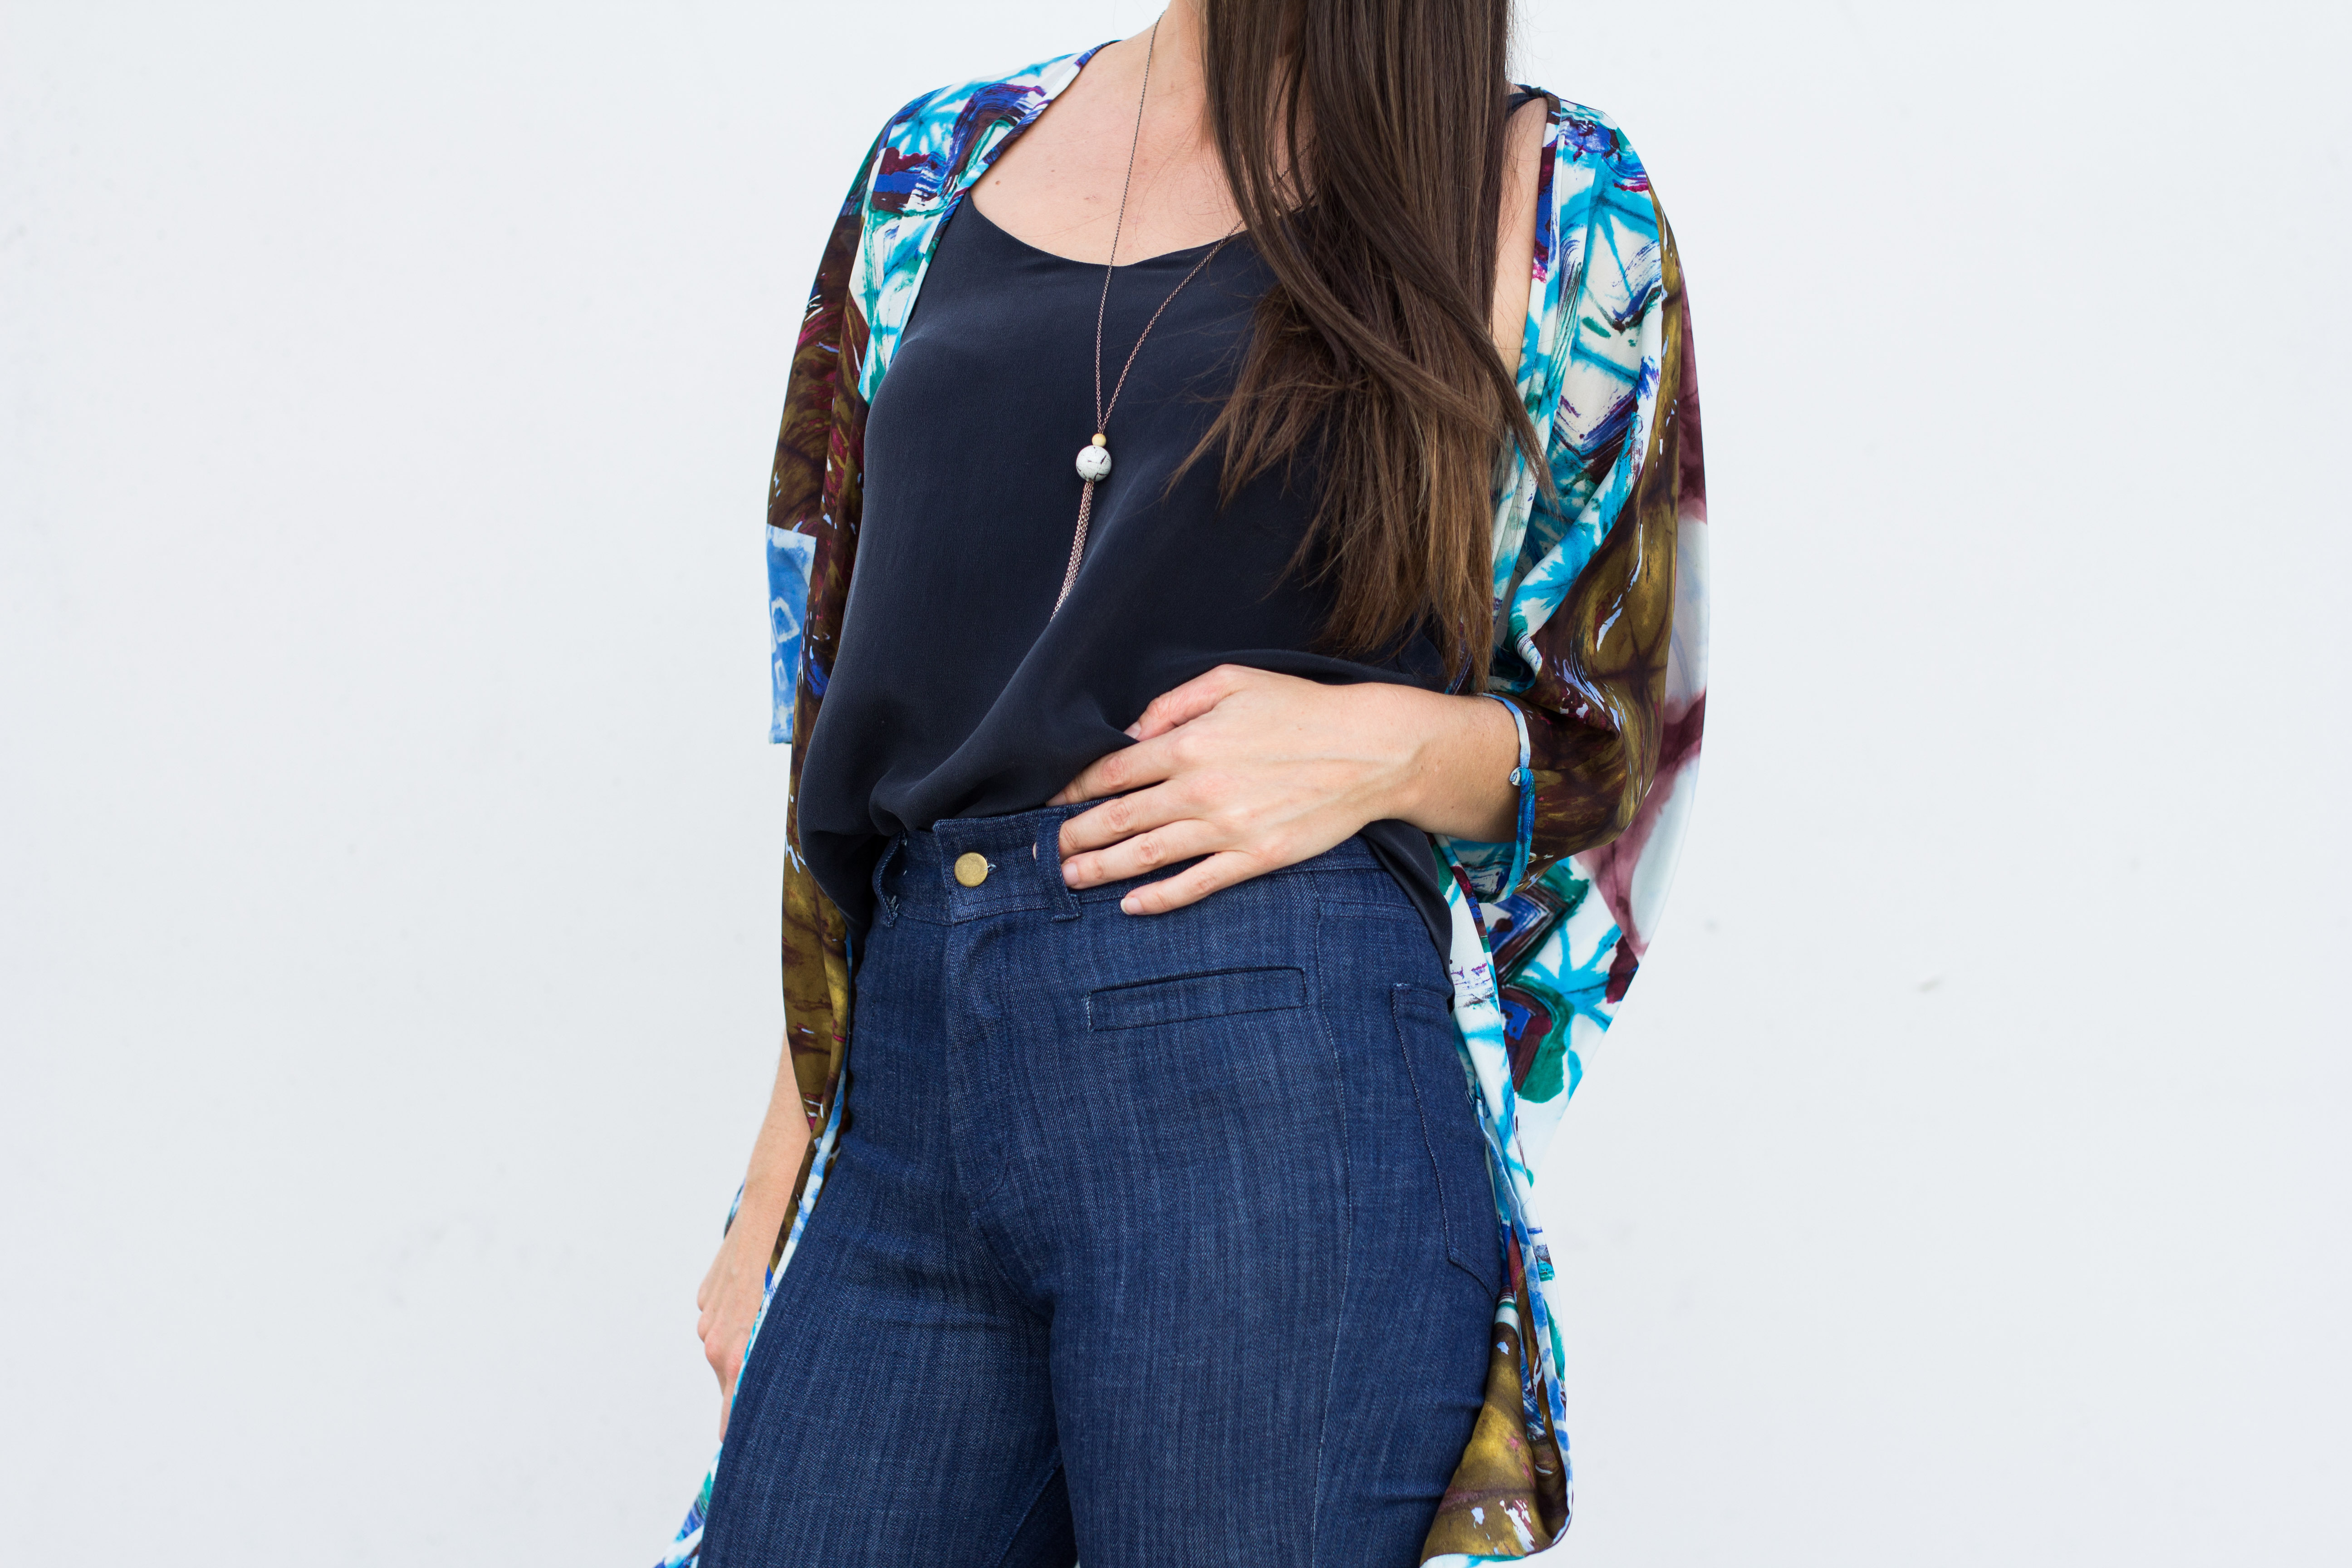
 The
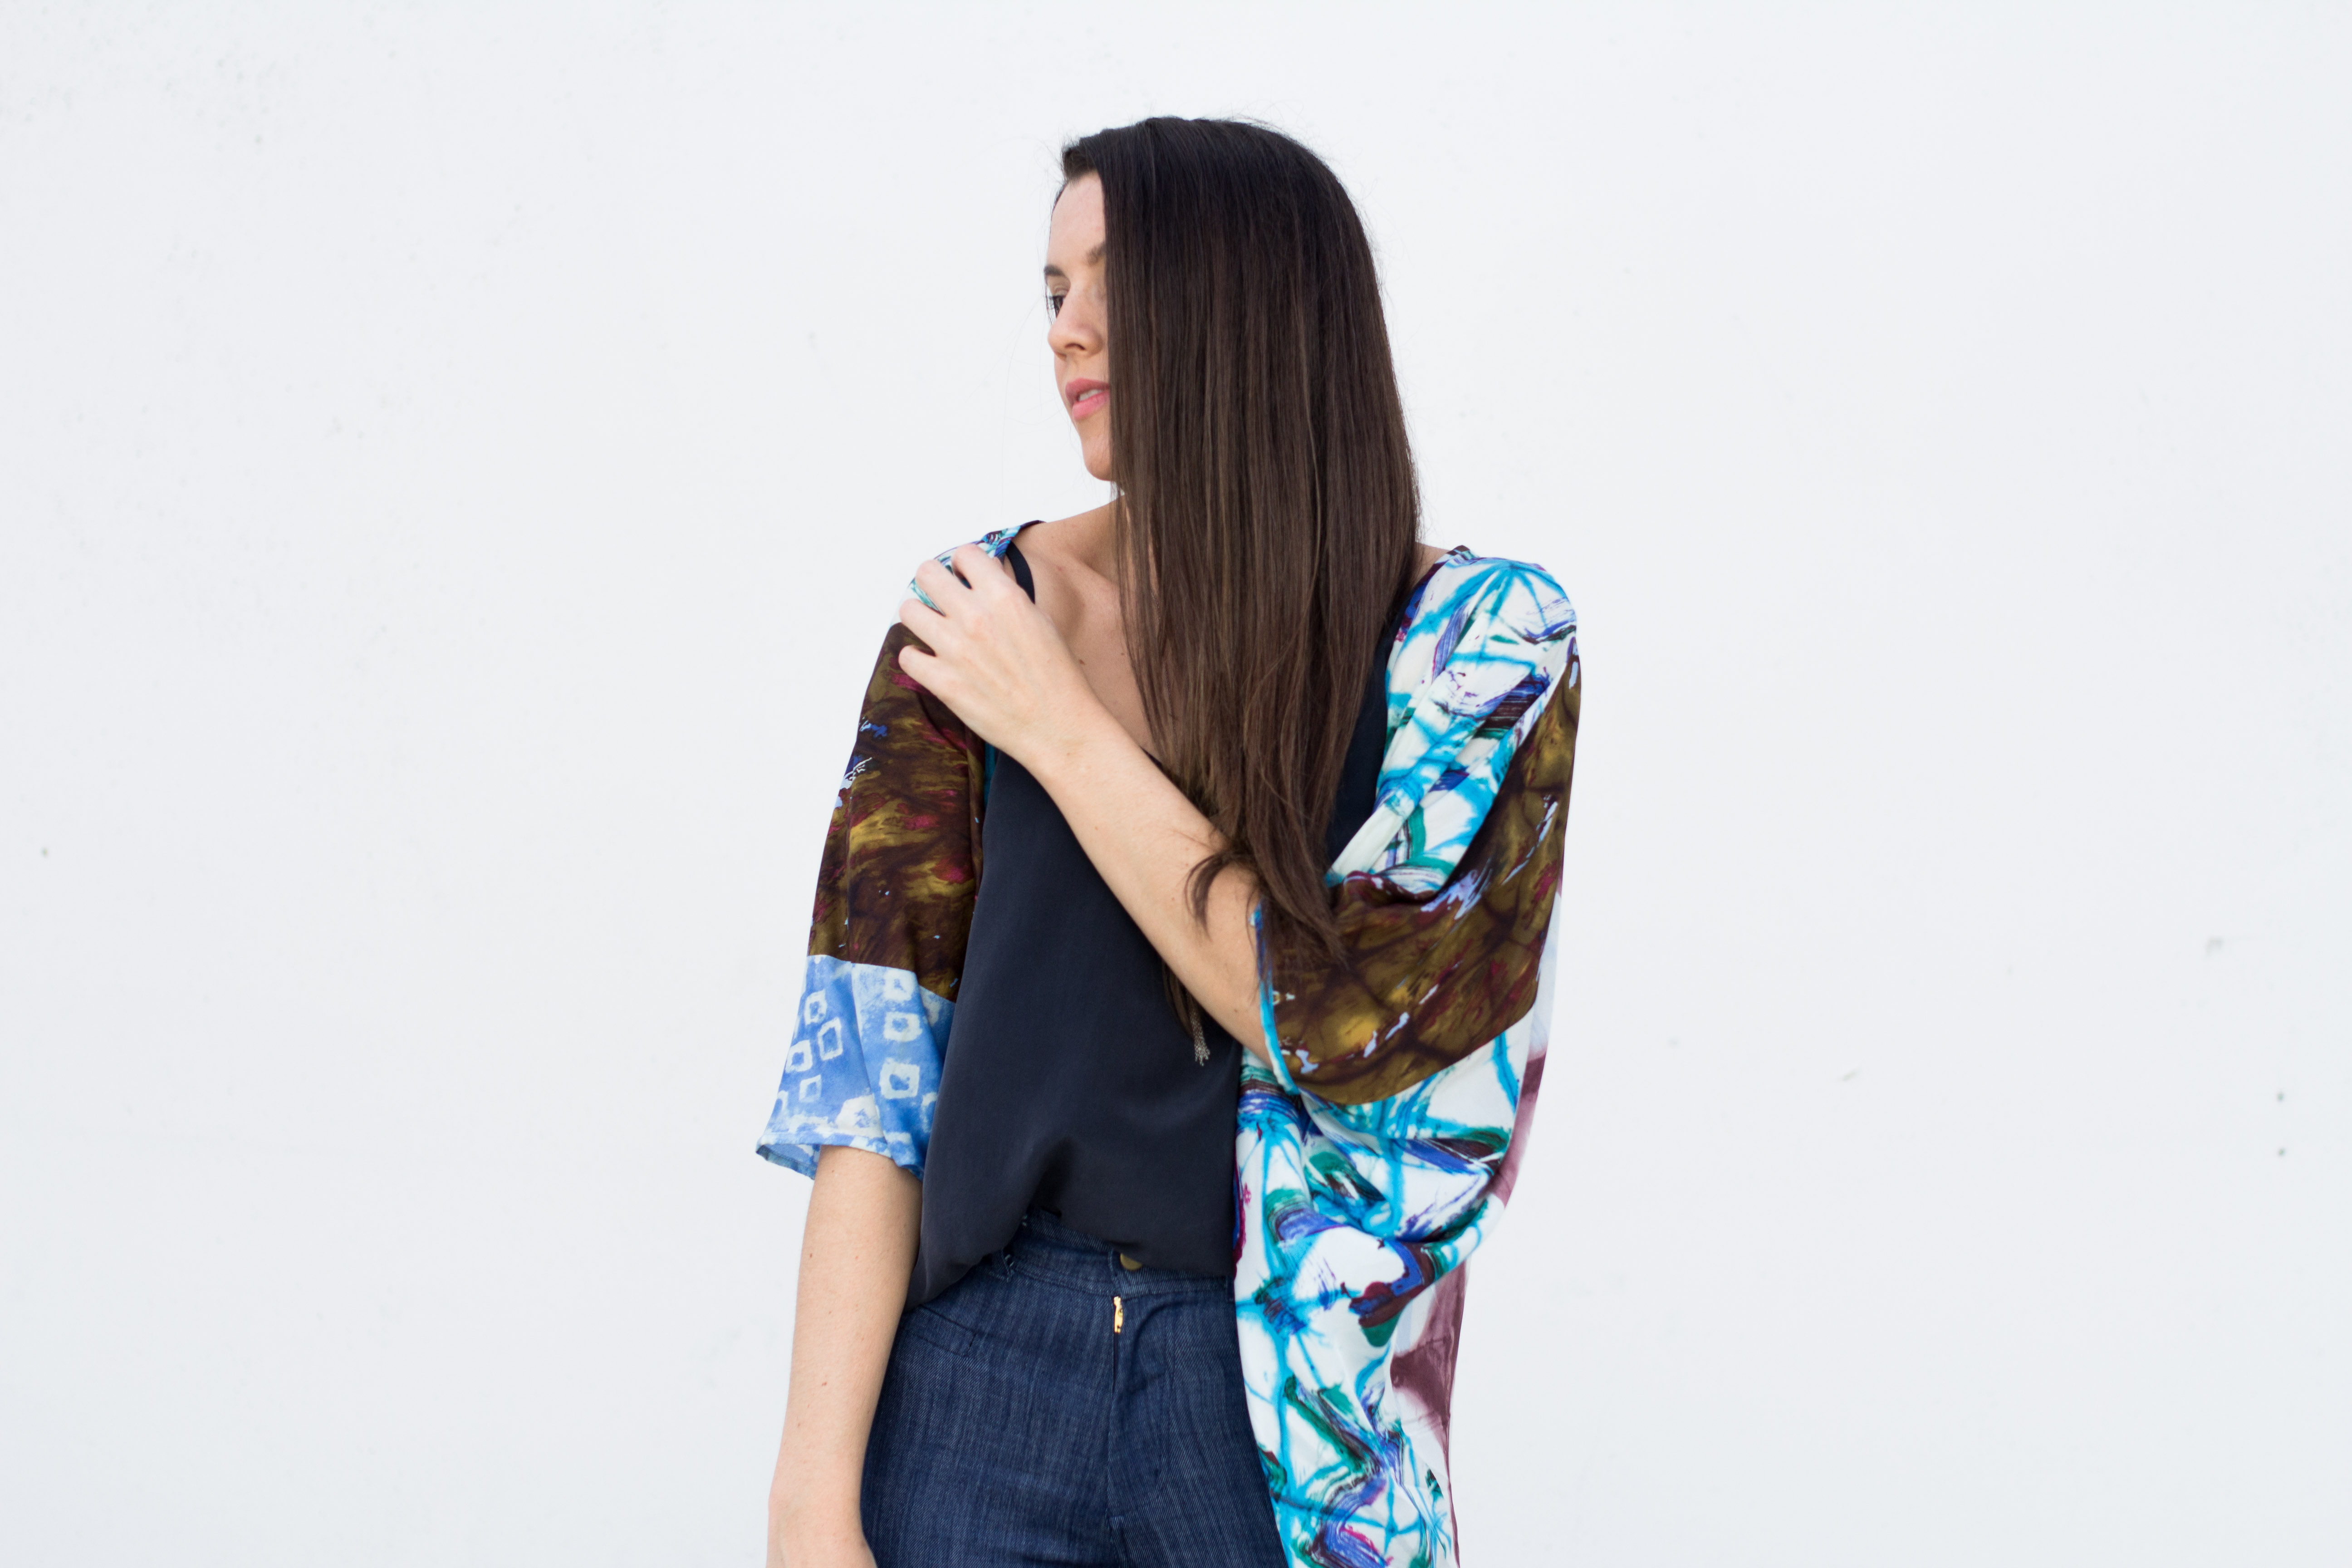
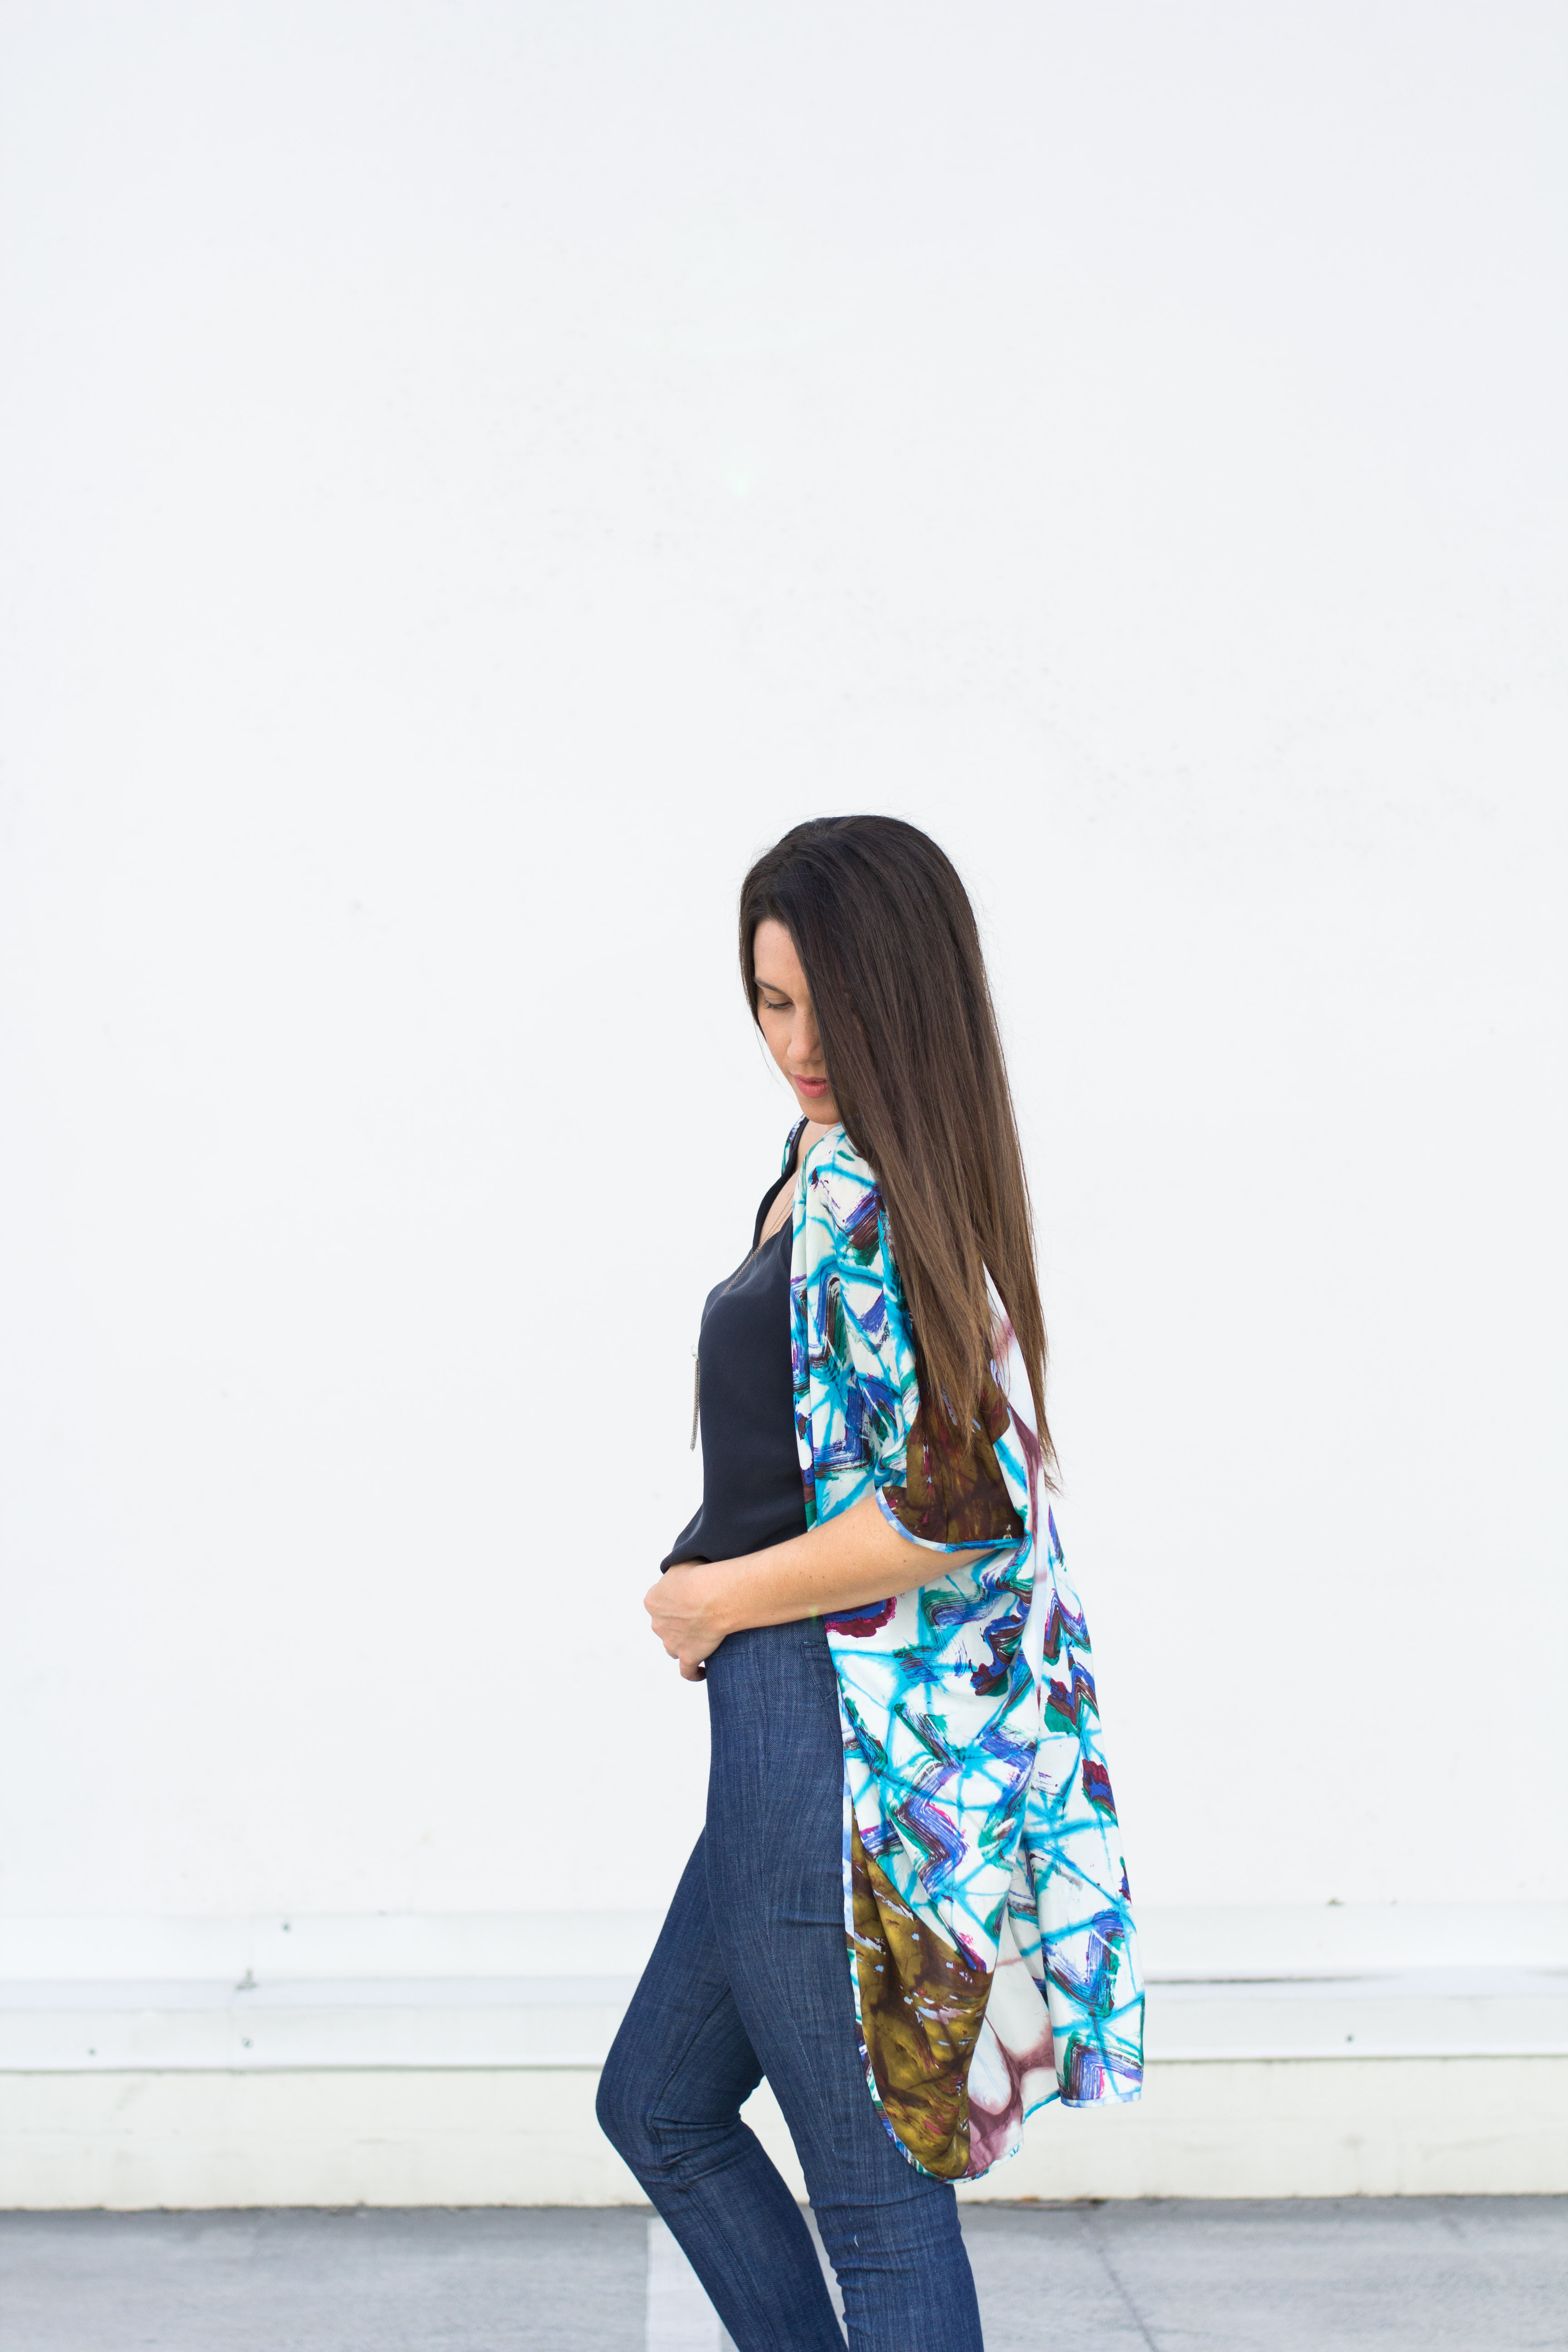
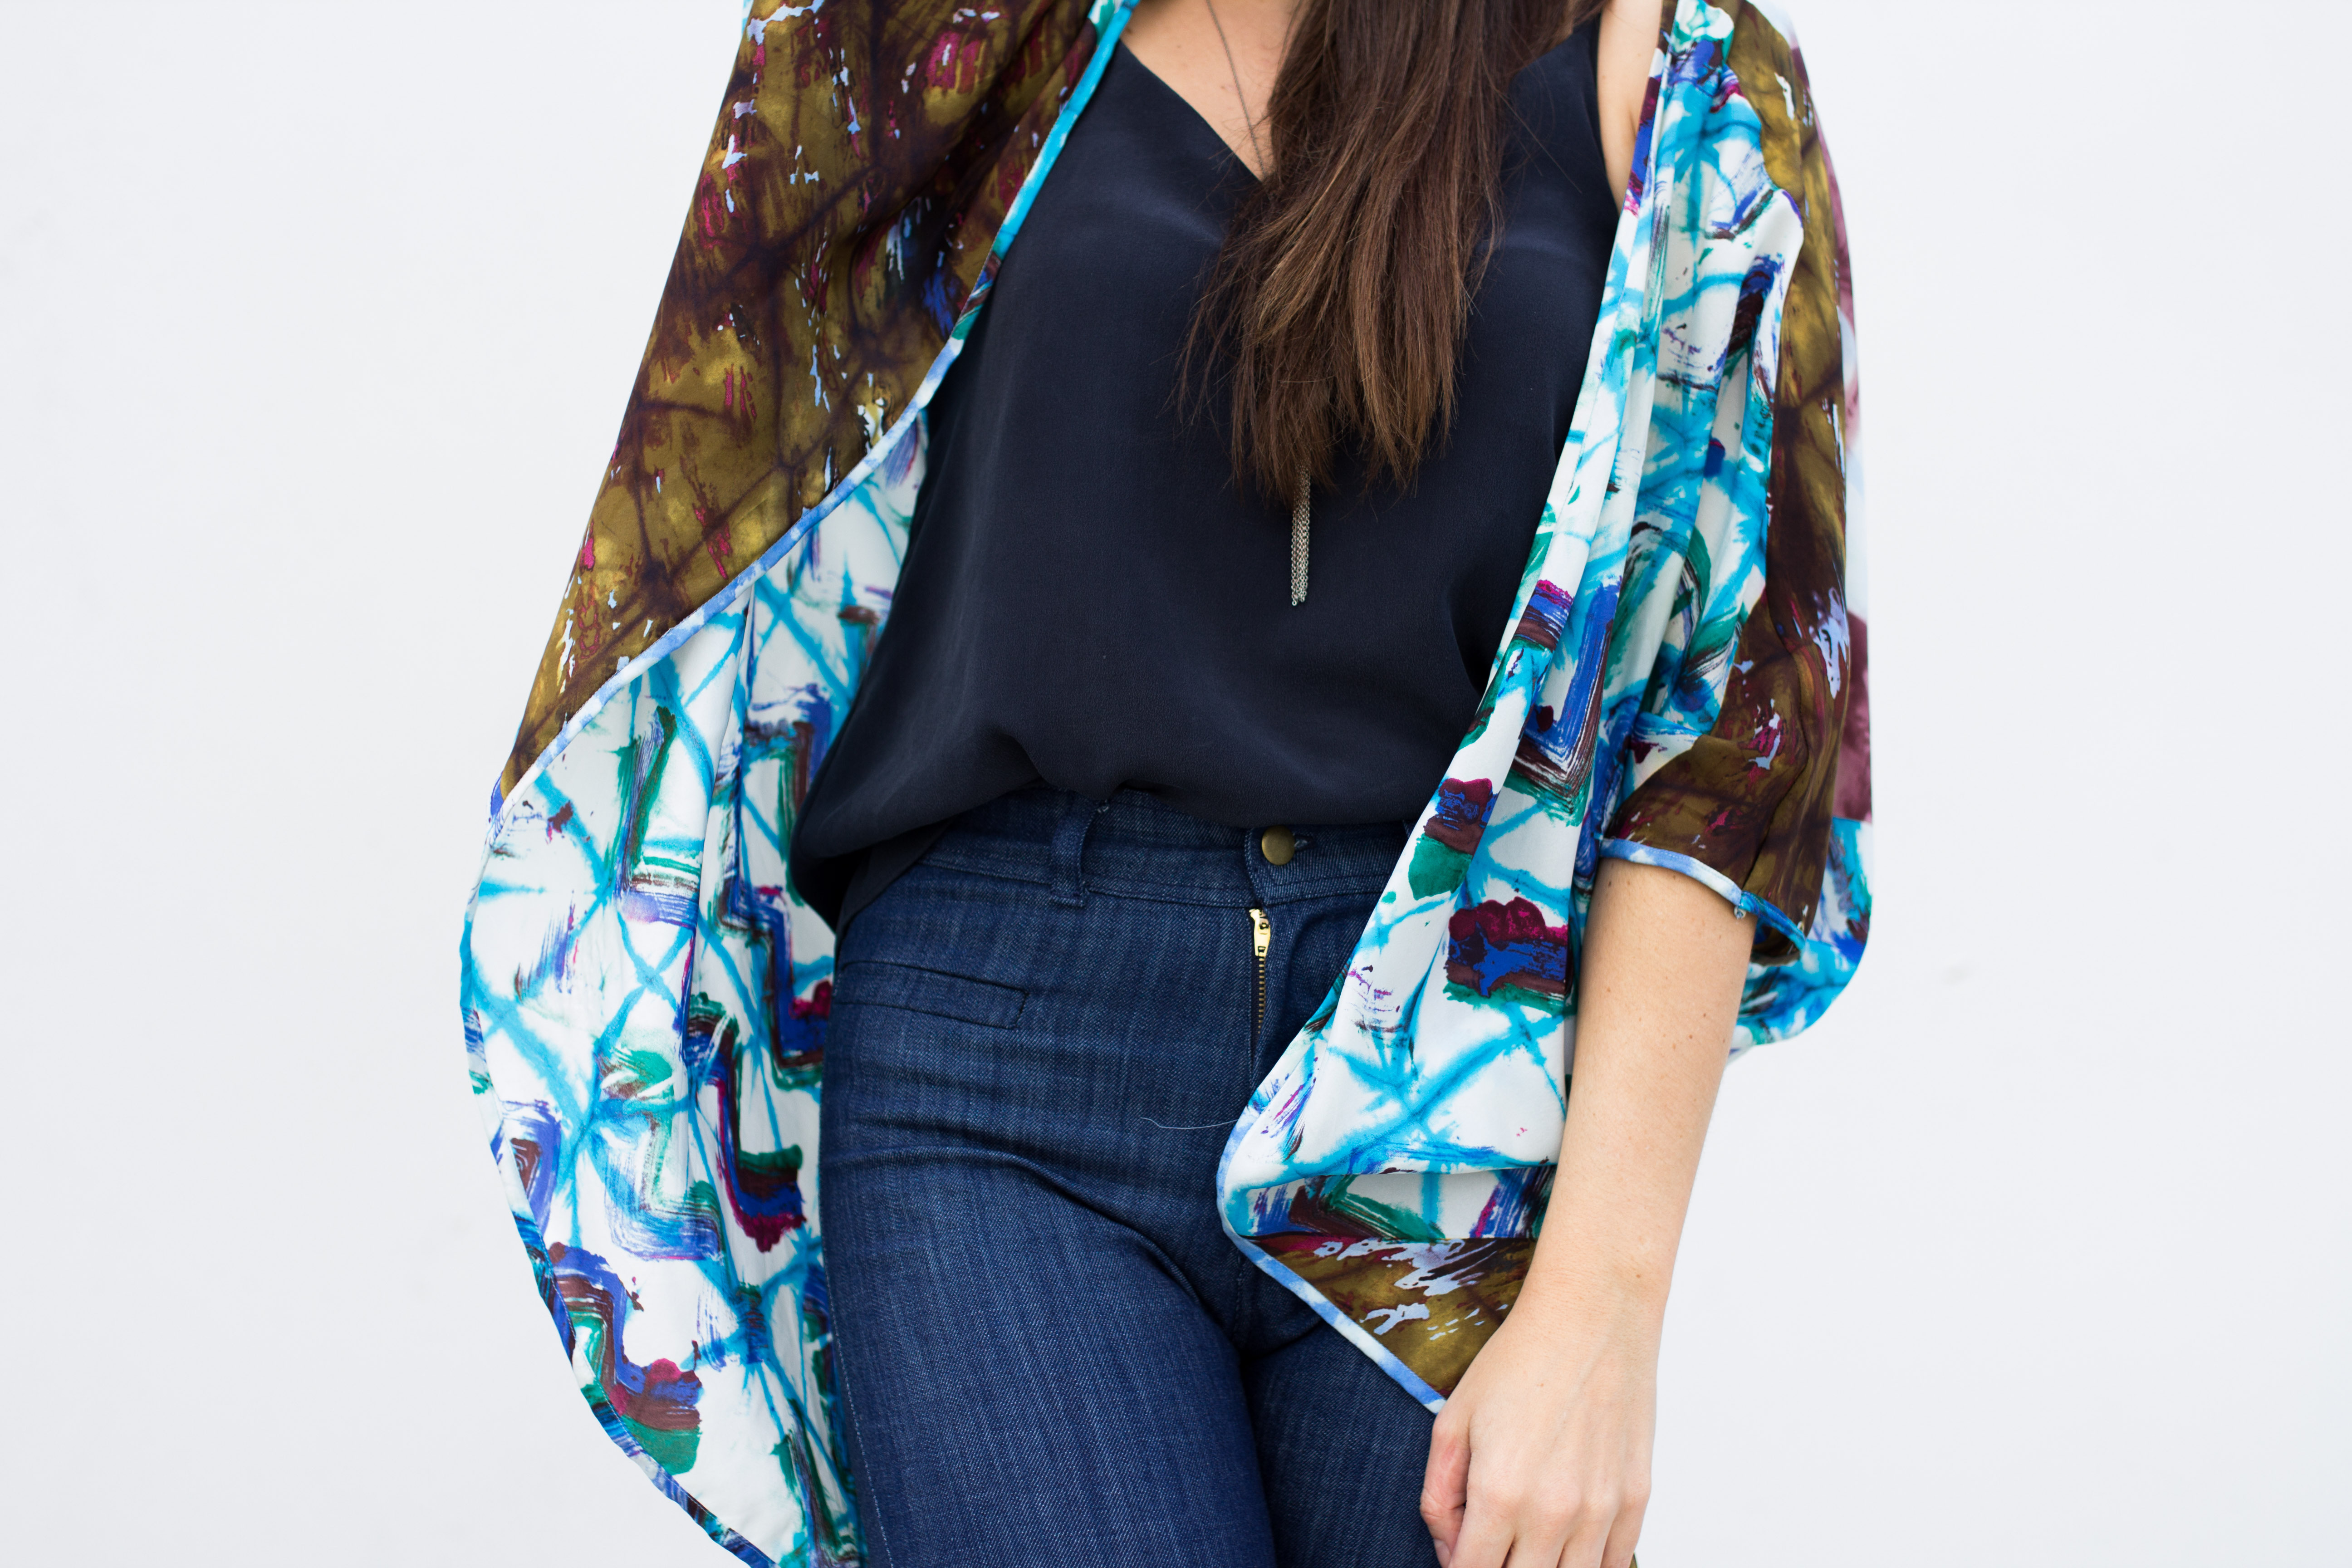
The 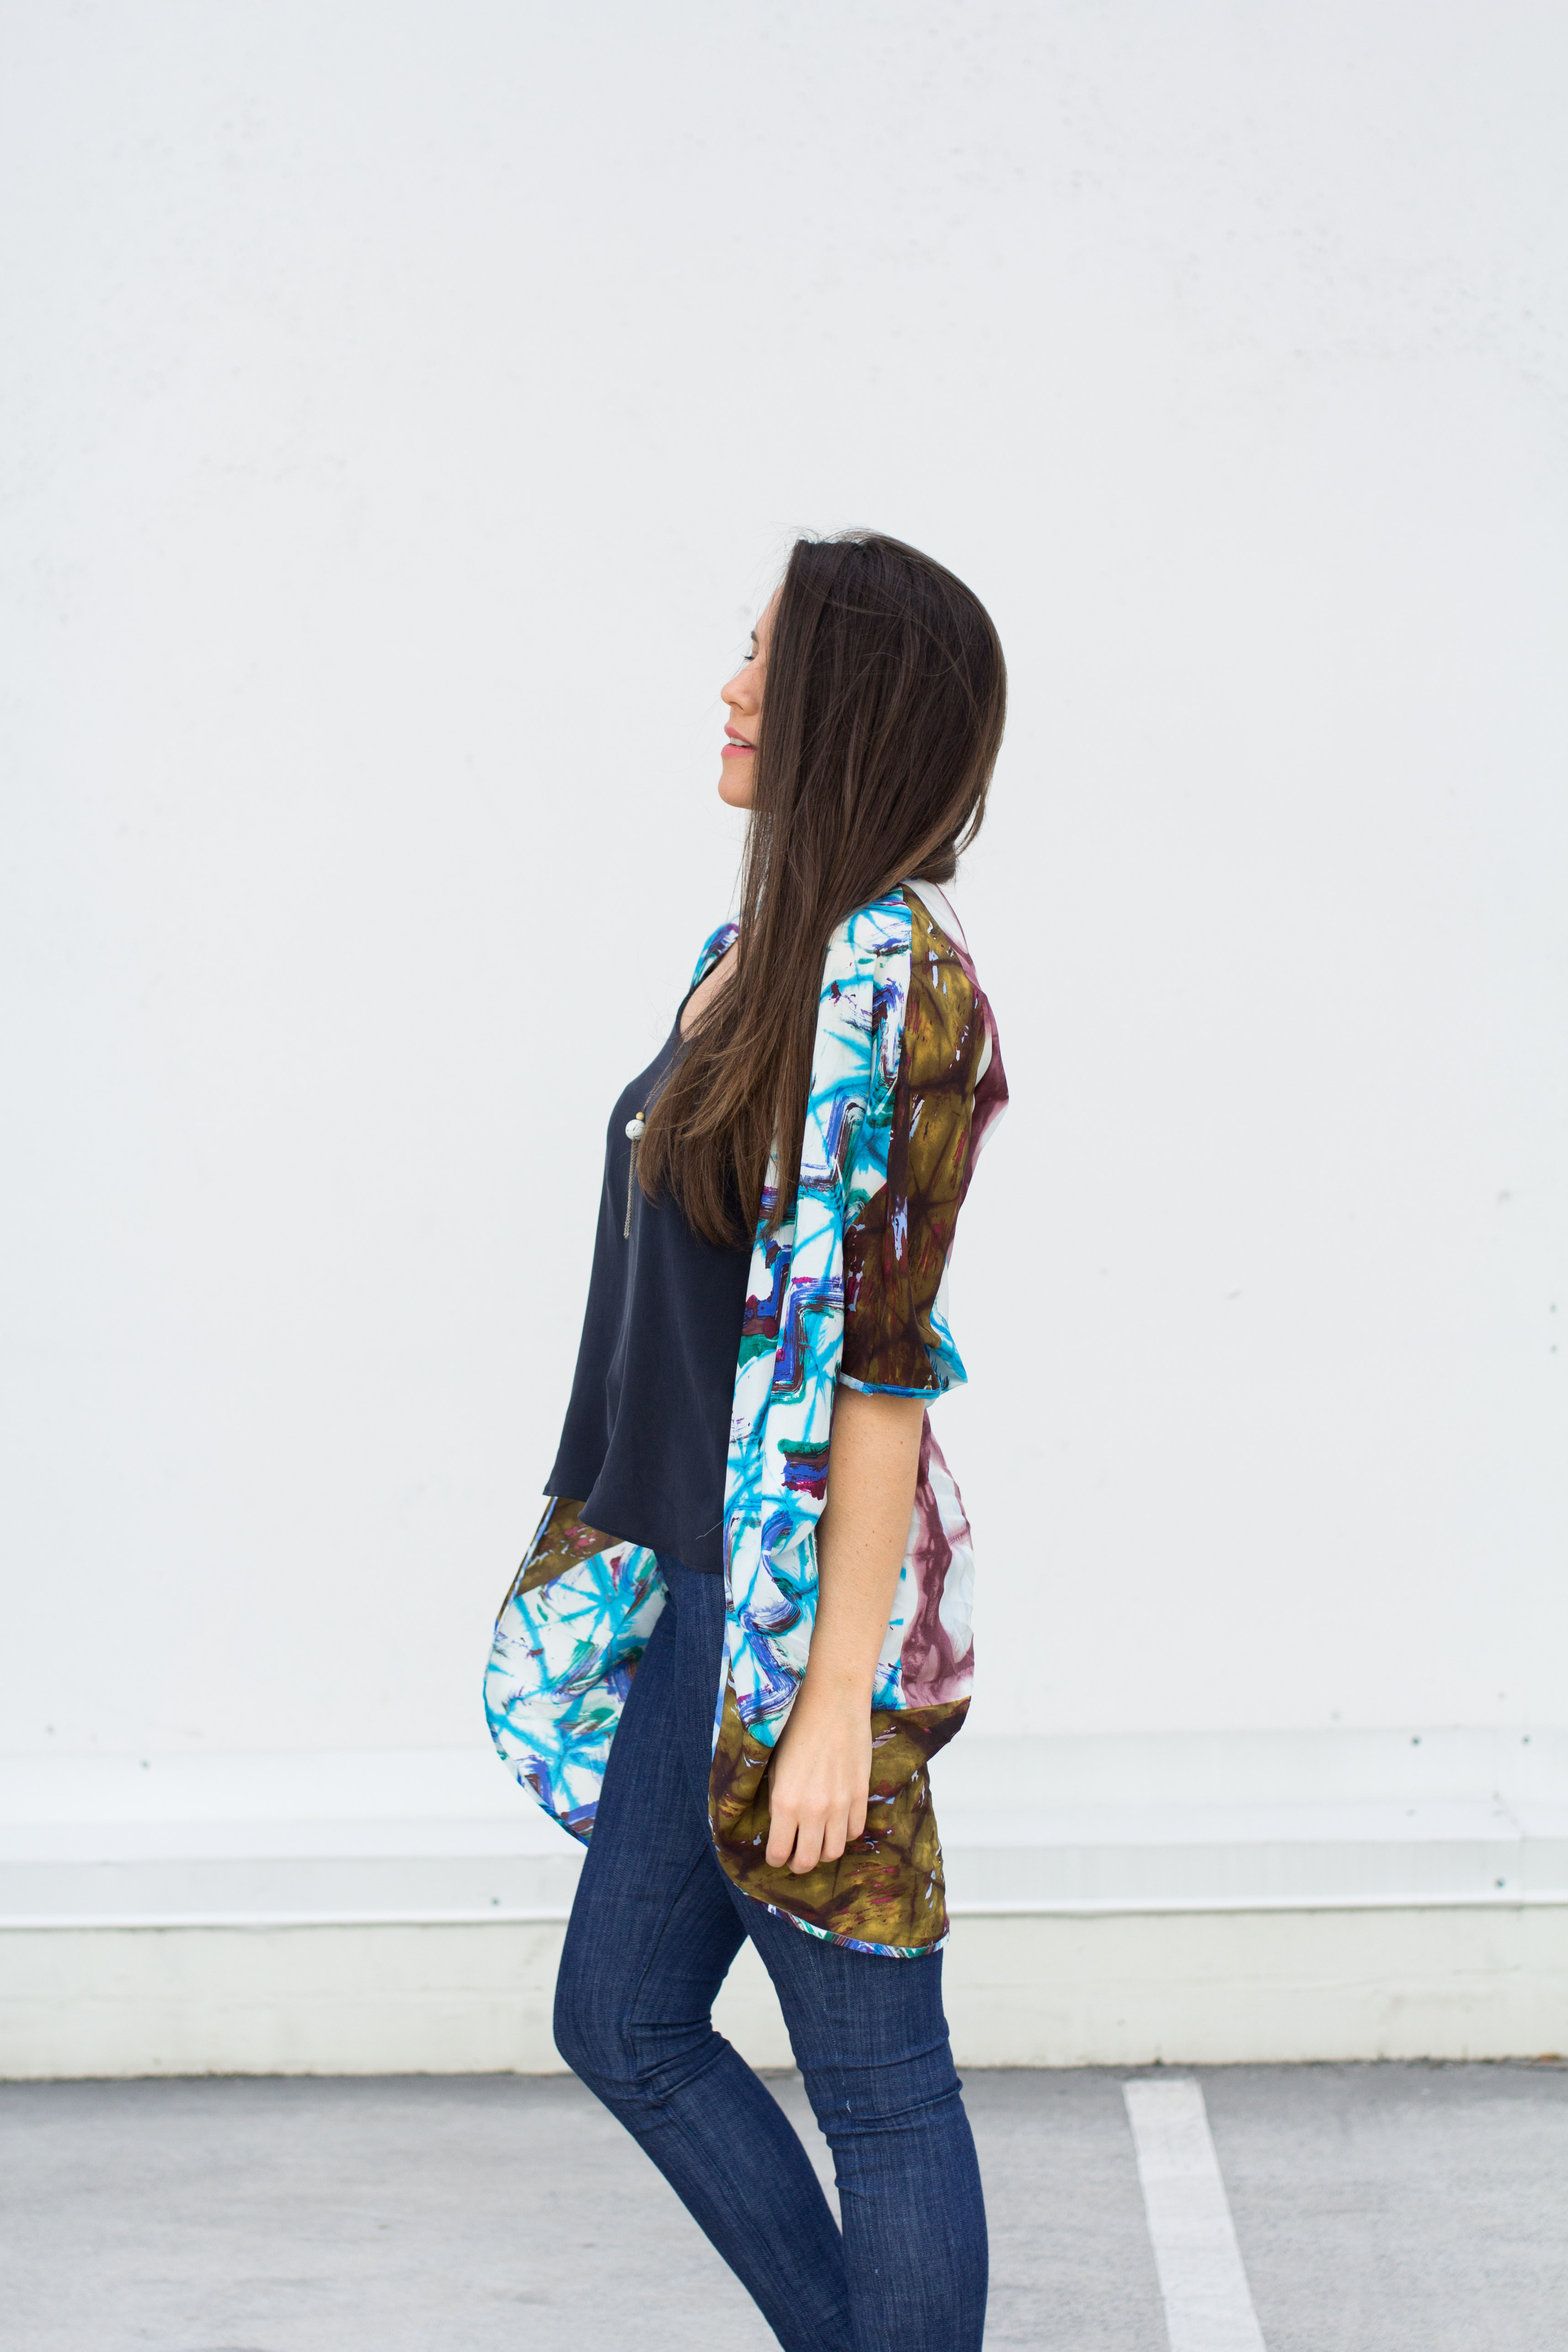 Now seems like as good a time as ever to confess that this whole outfit is made by yours truly, bar underwear and shoes. After my
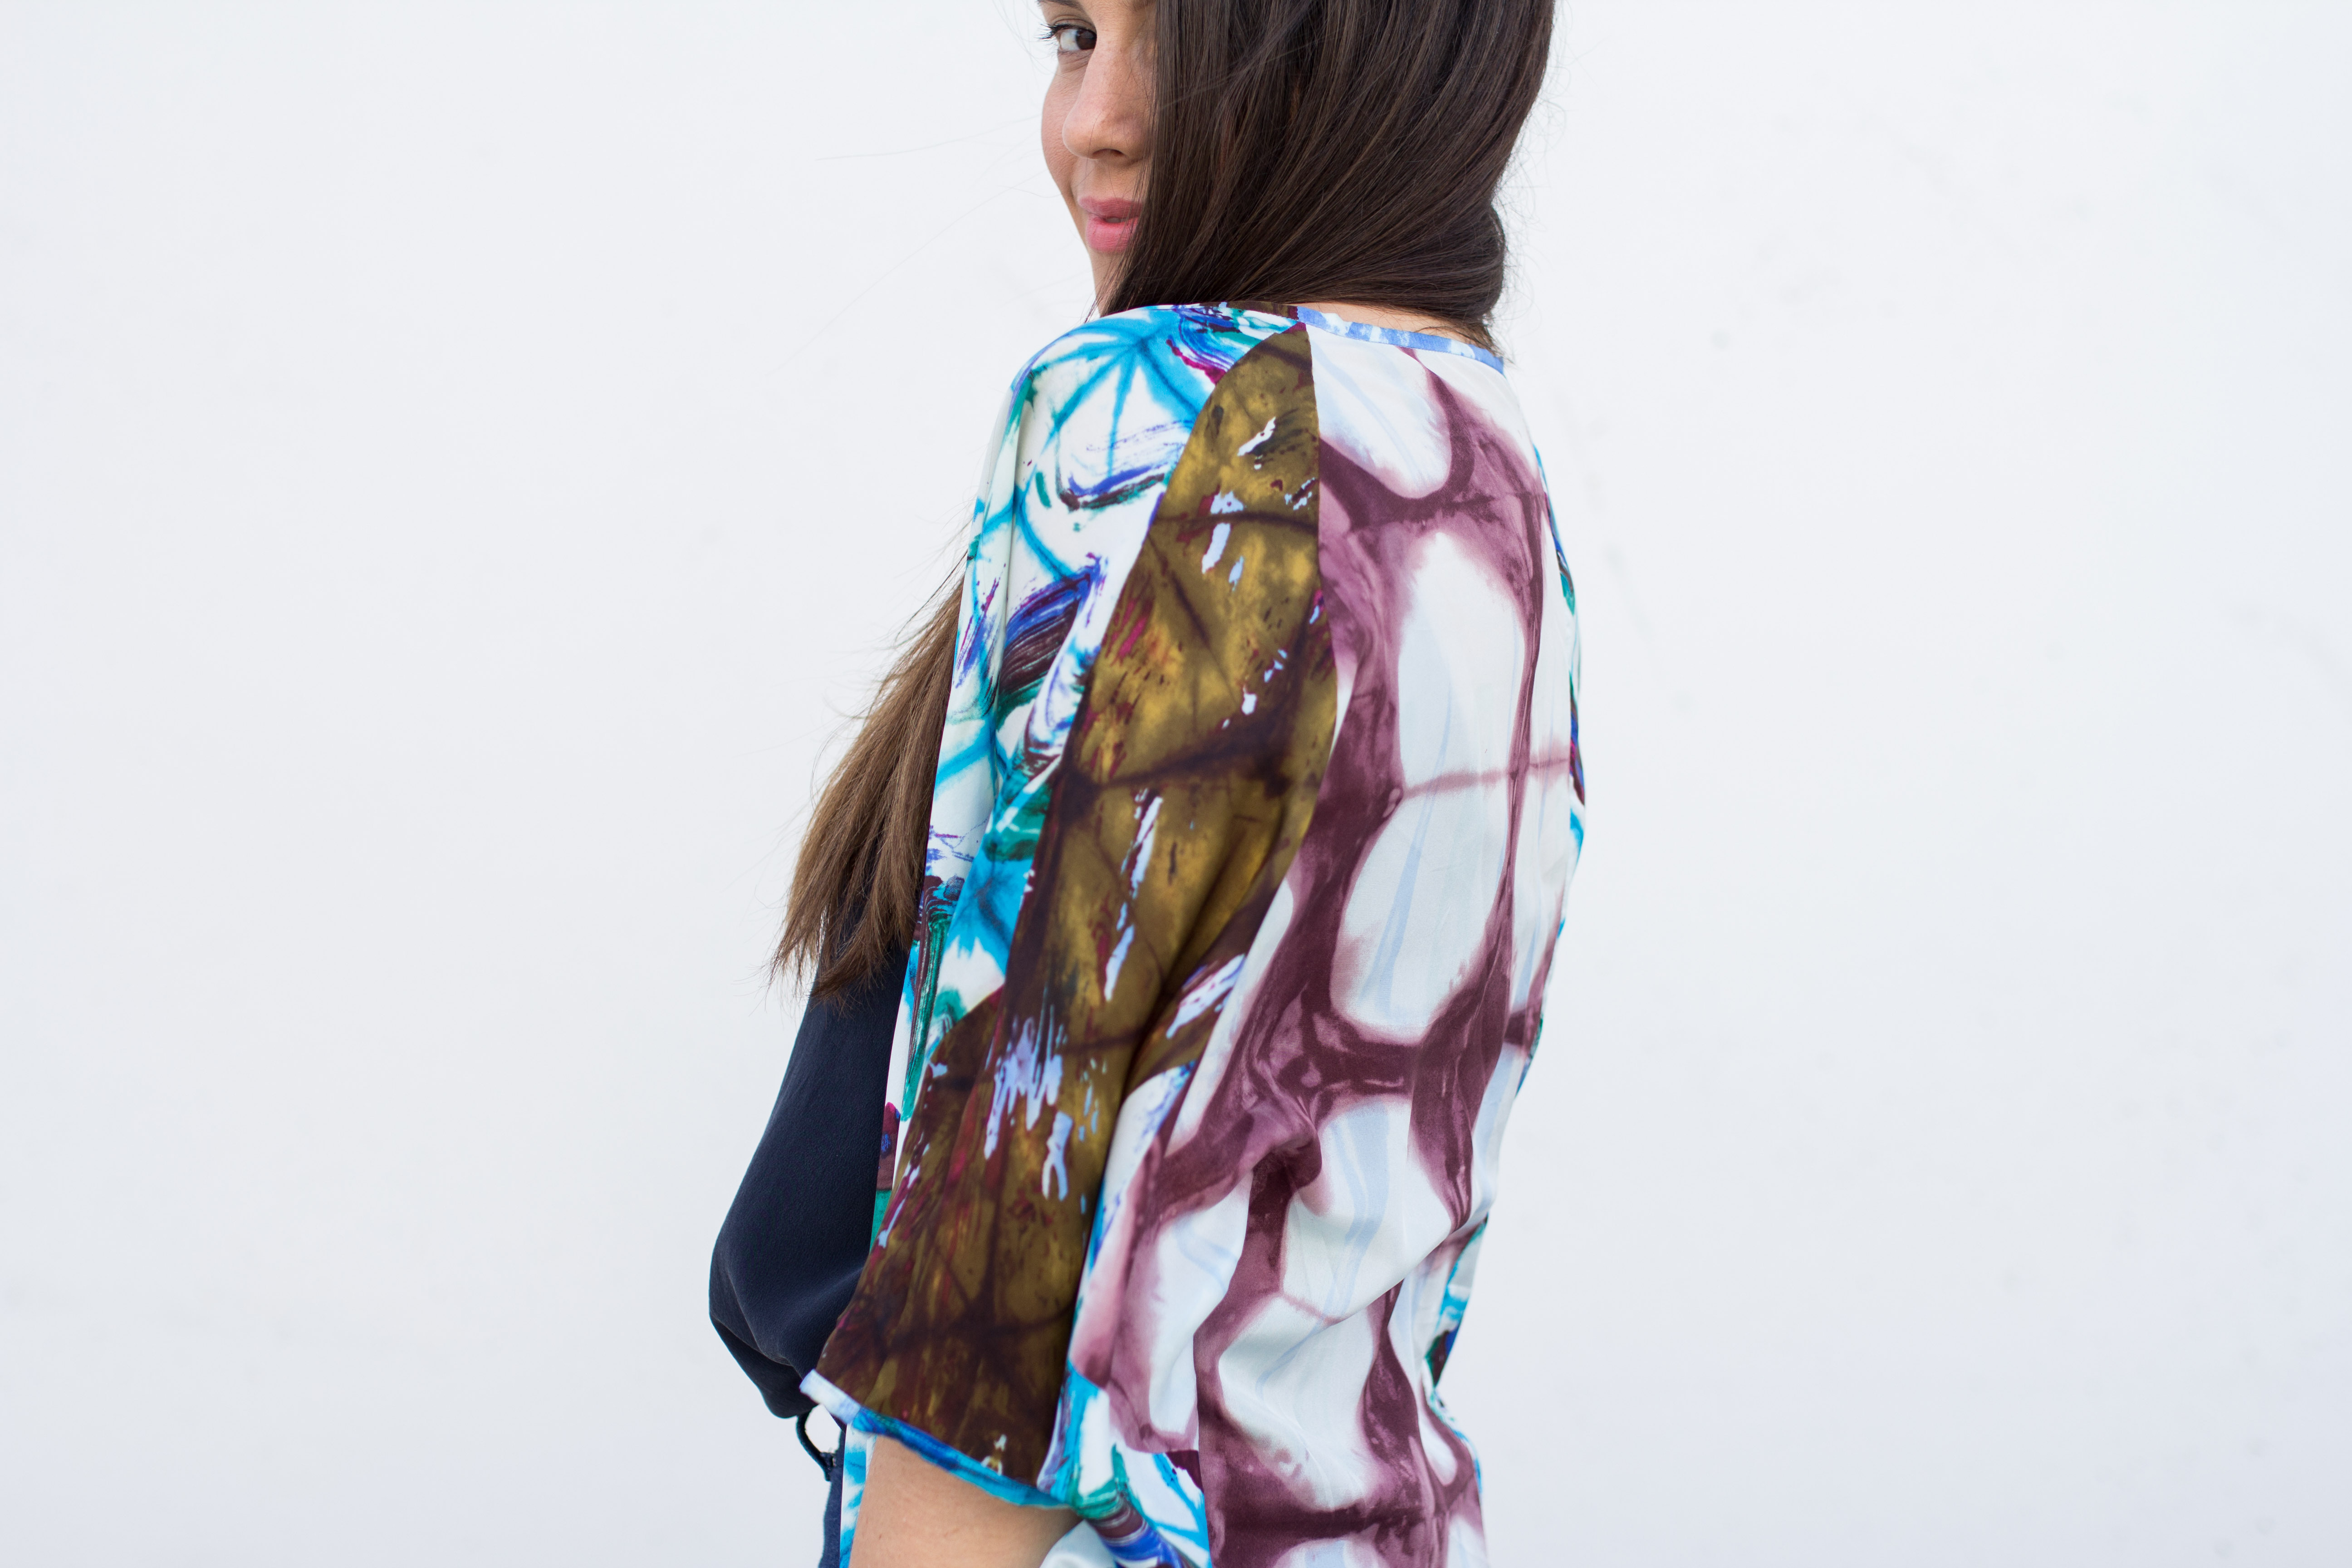
 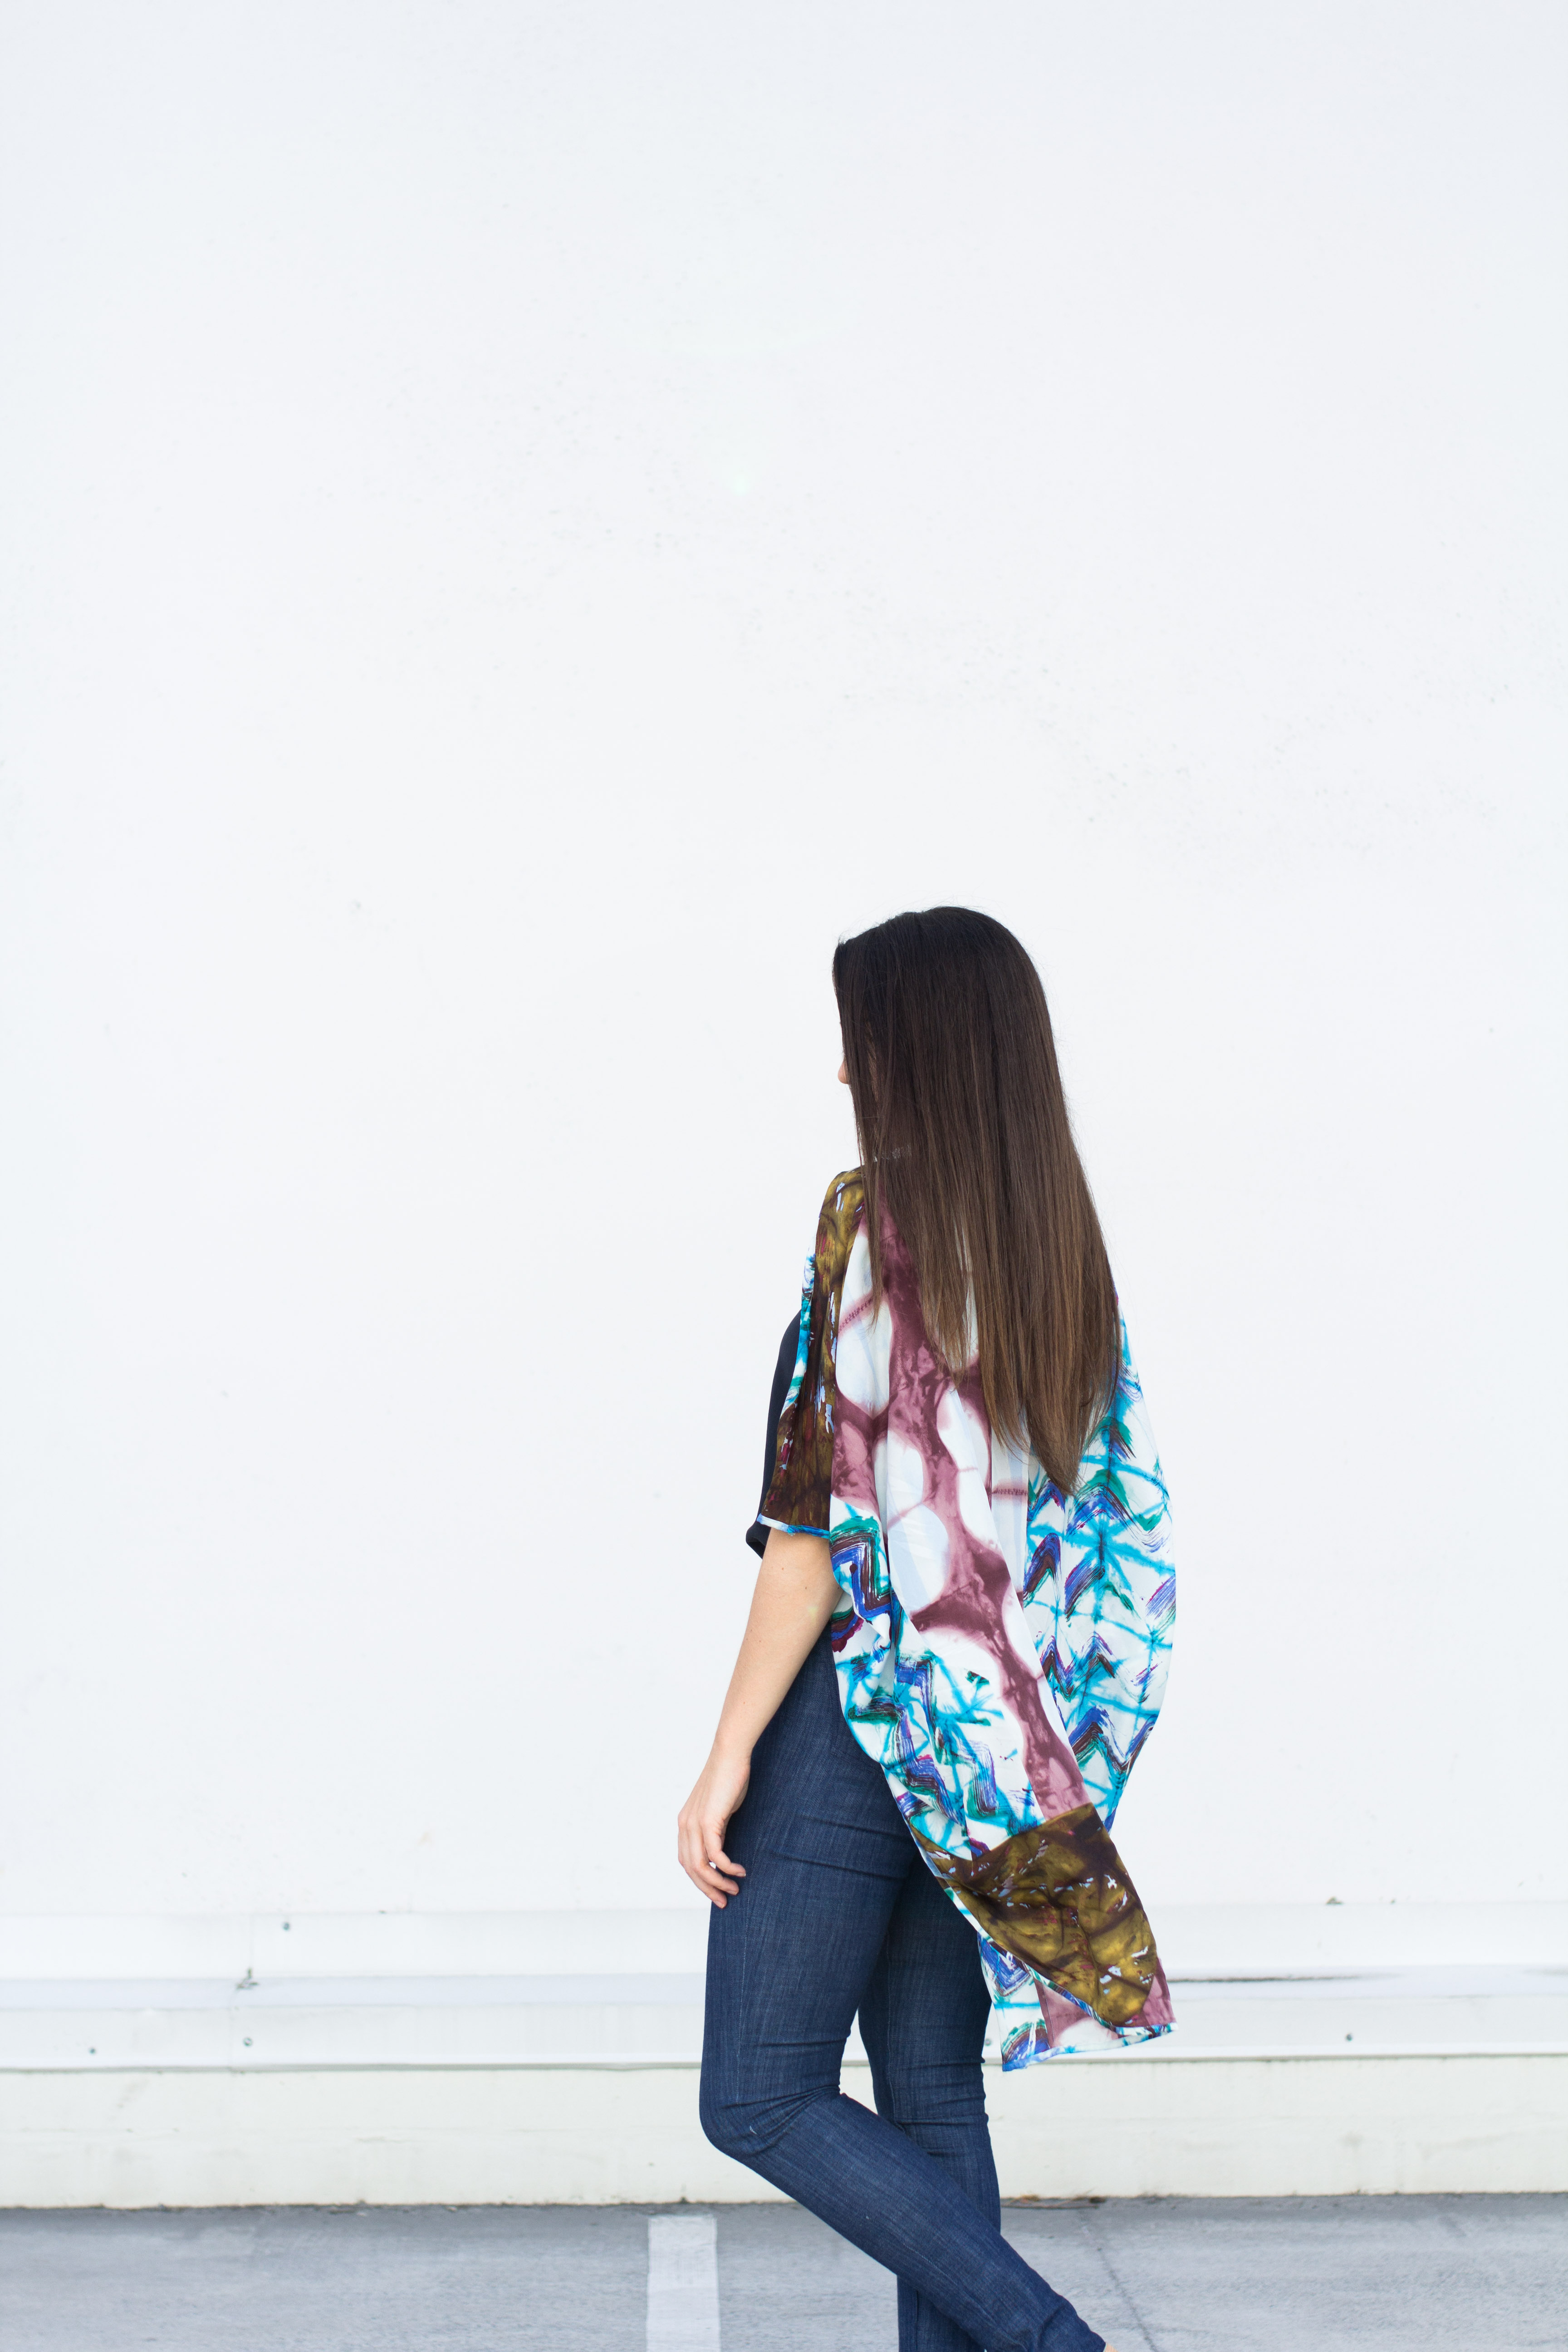 This little Kimono I also knocked off a RTW piece of a friend’s. I loved the cocoon shape. I picked up a little of this jaw dropping printed silk from
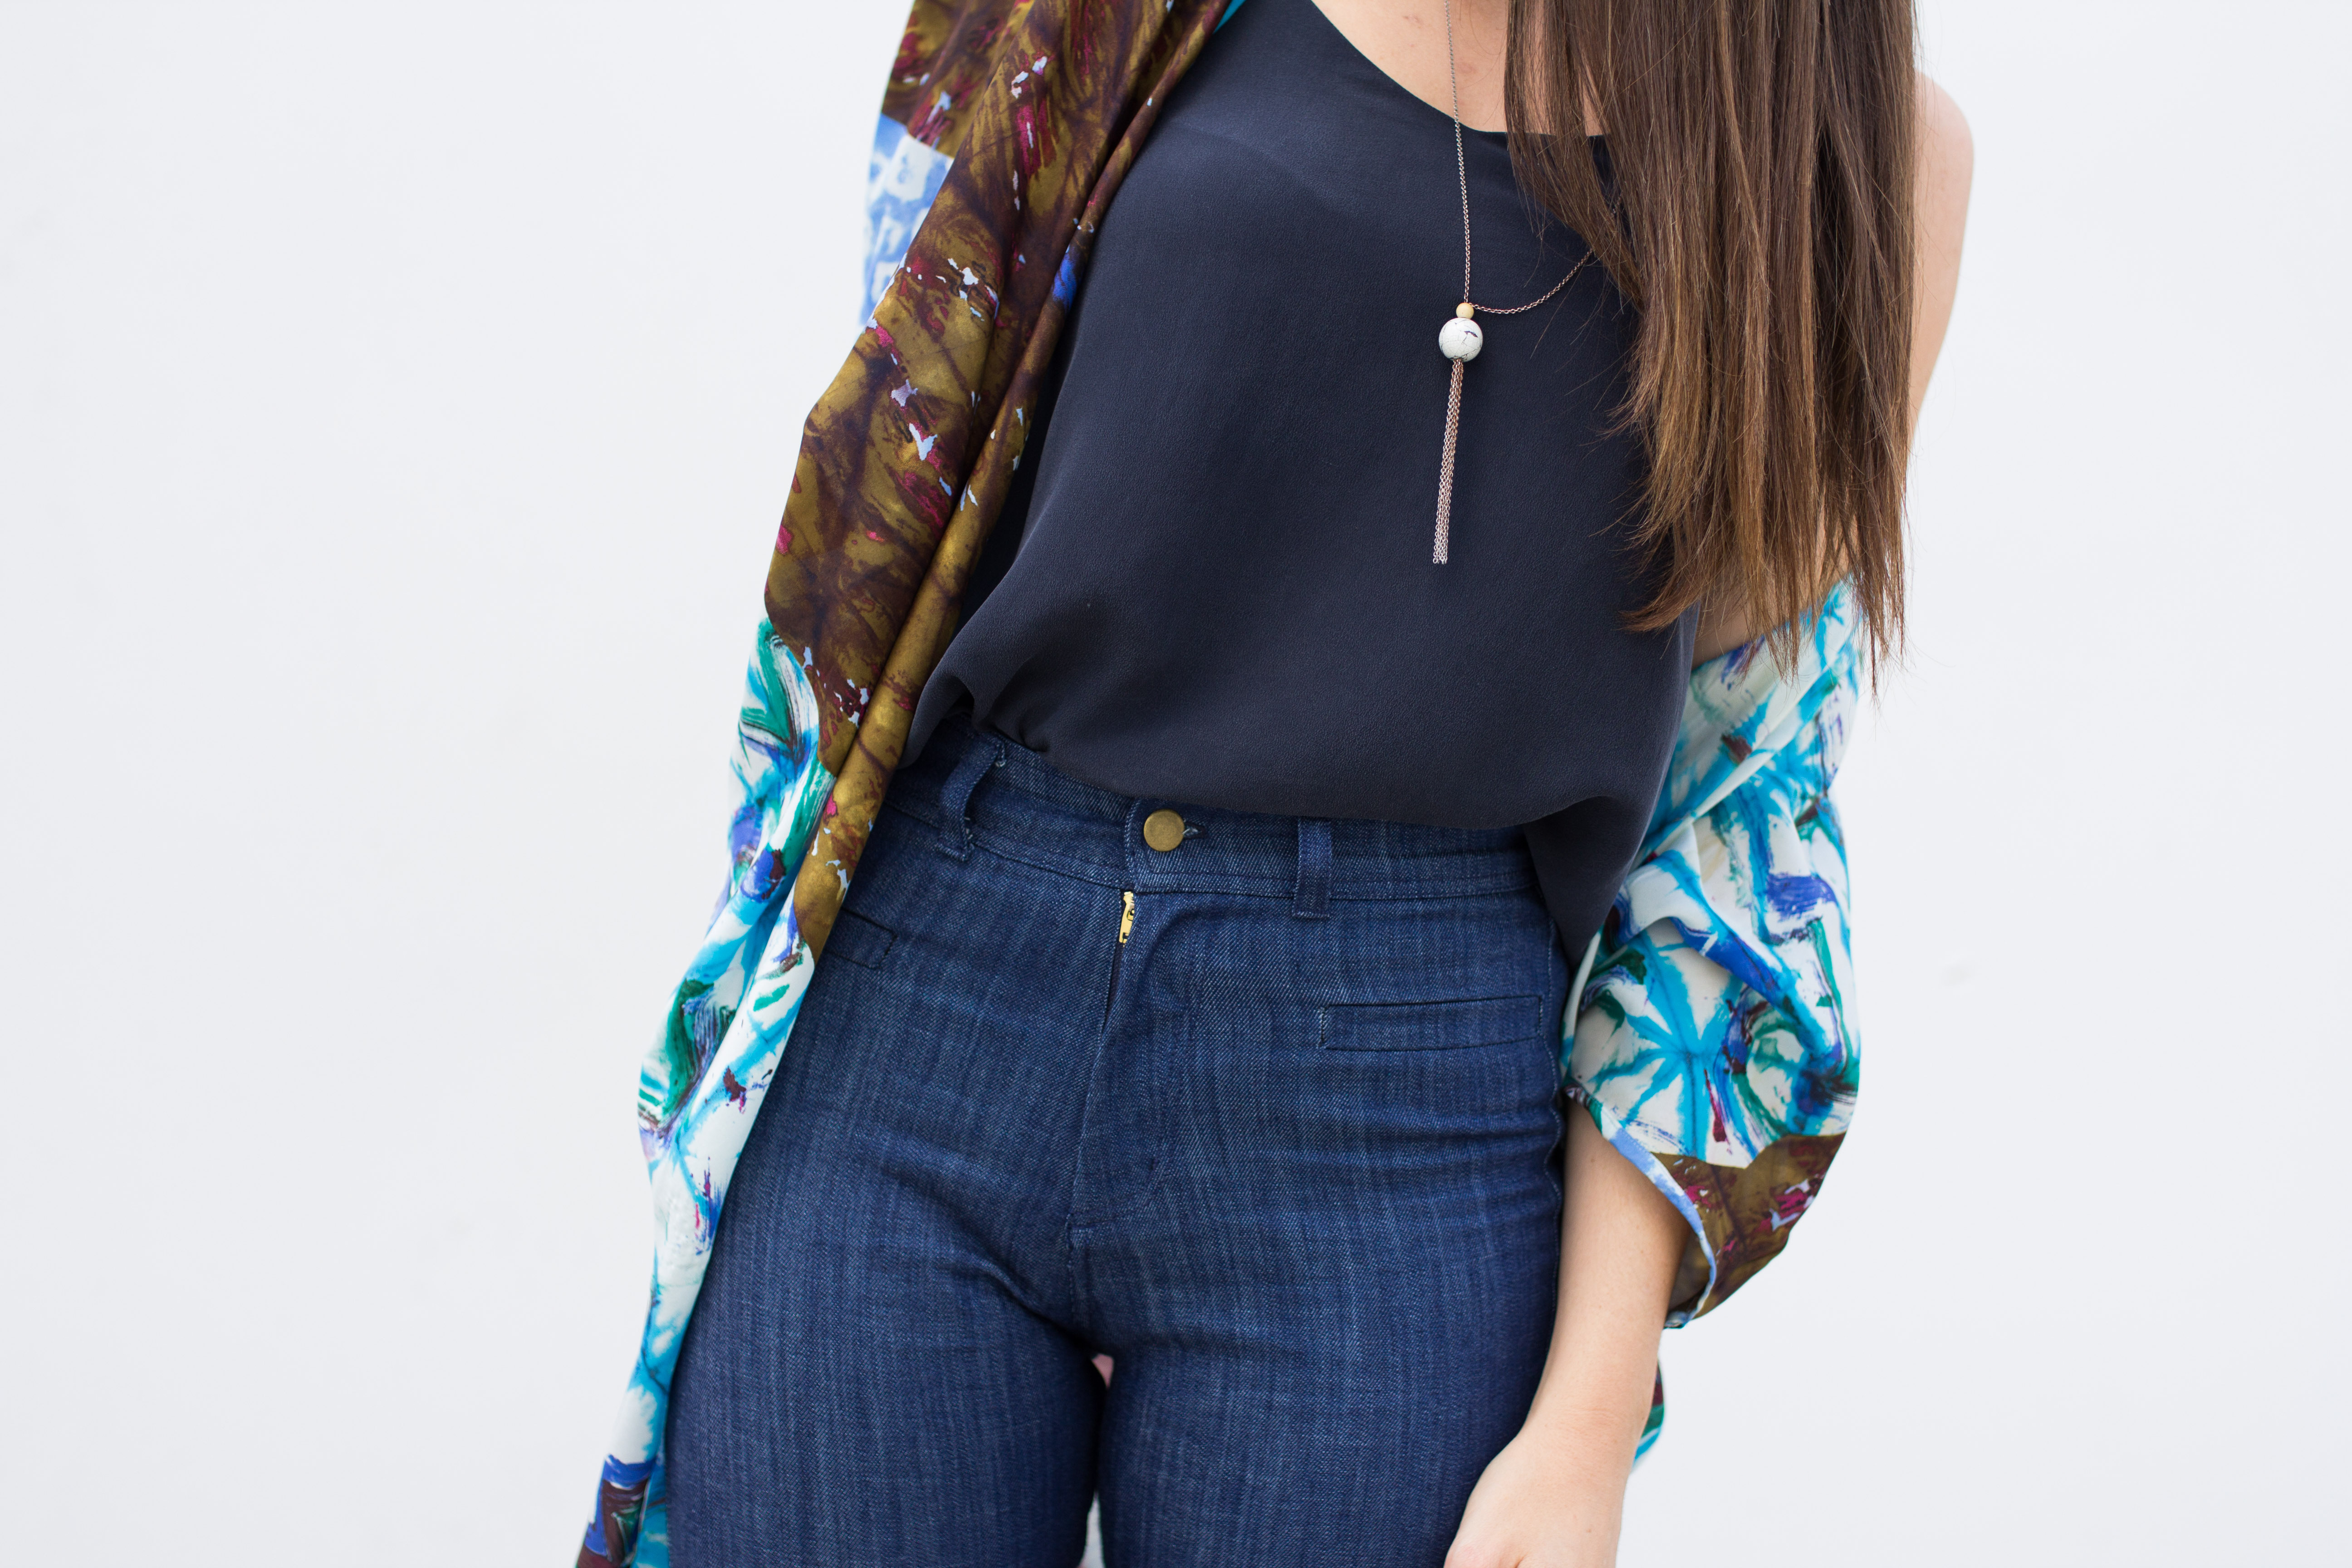
 I hope you’re inspired to DIY your own


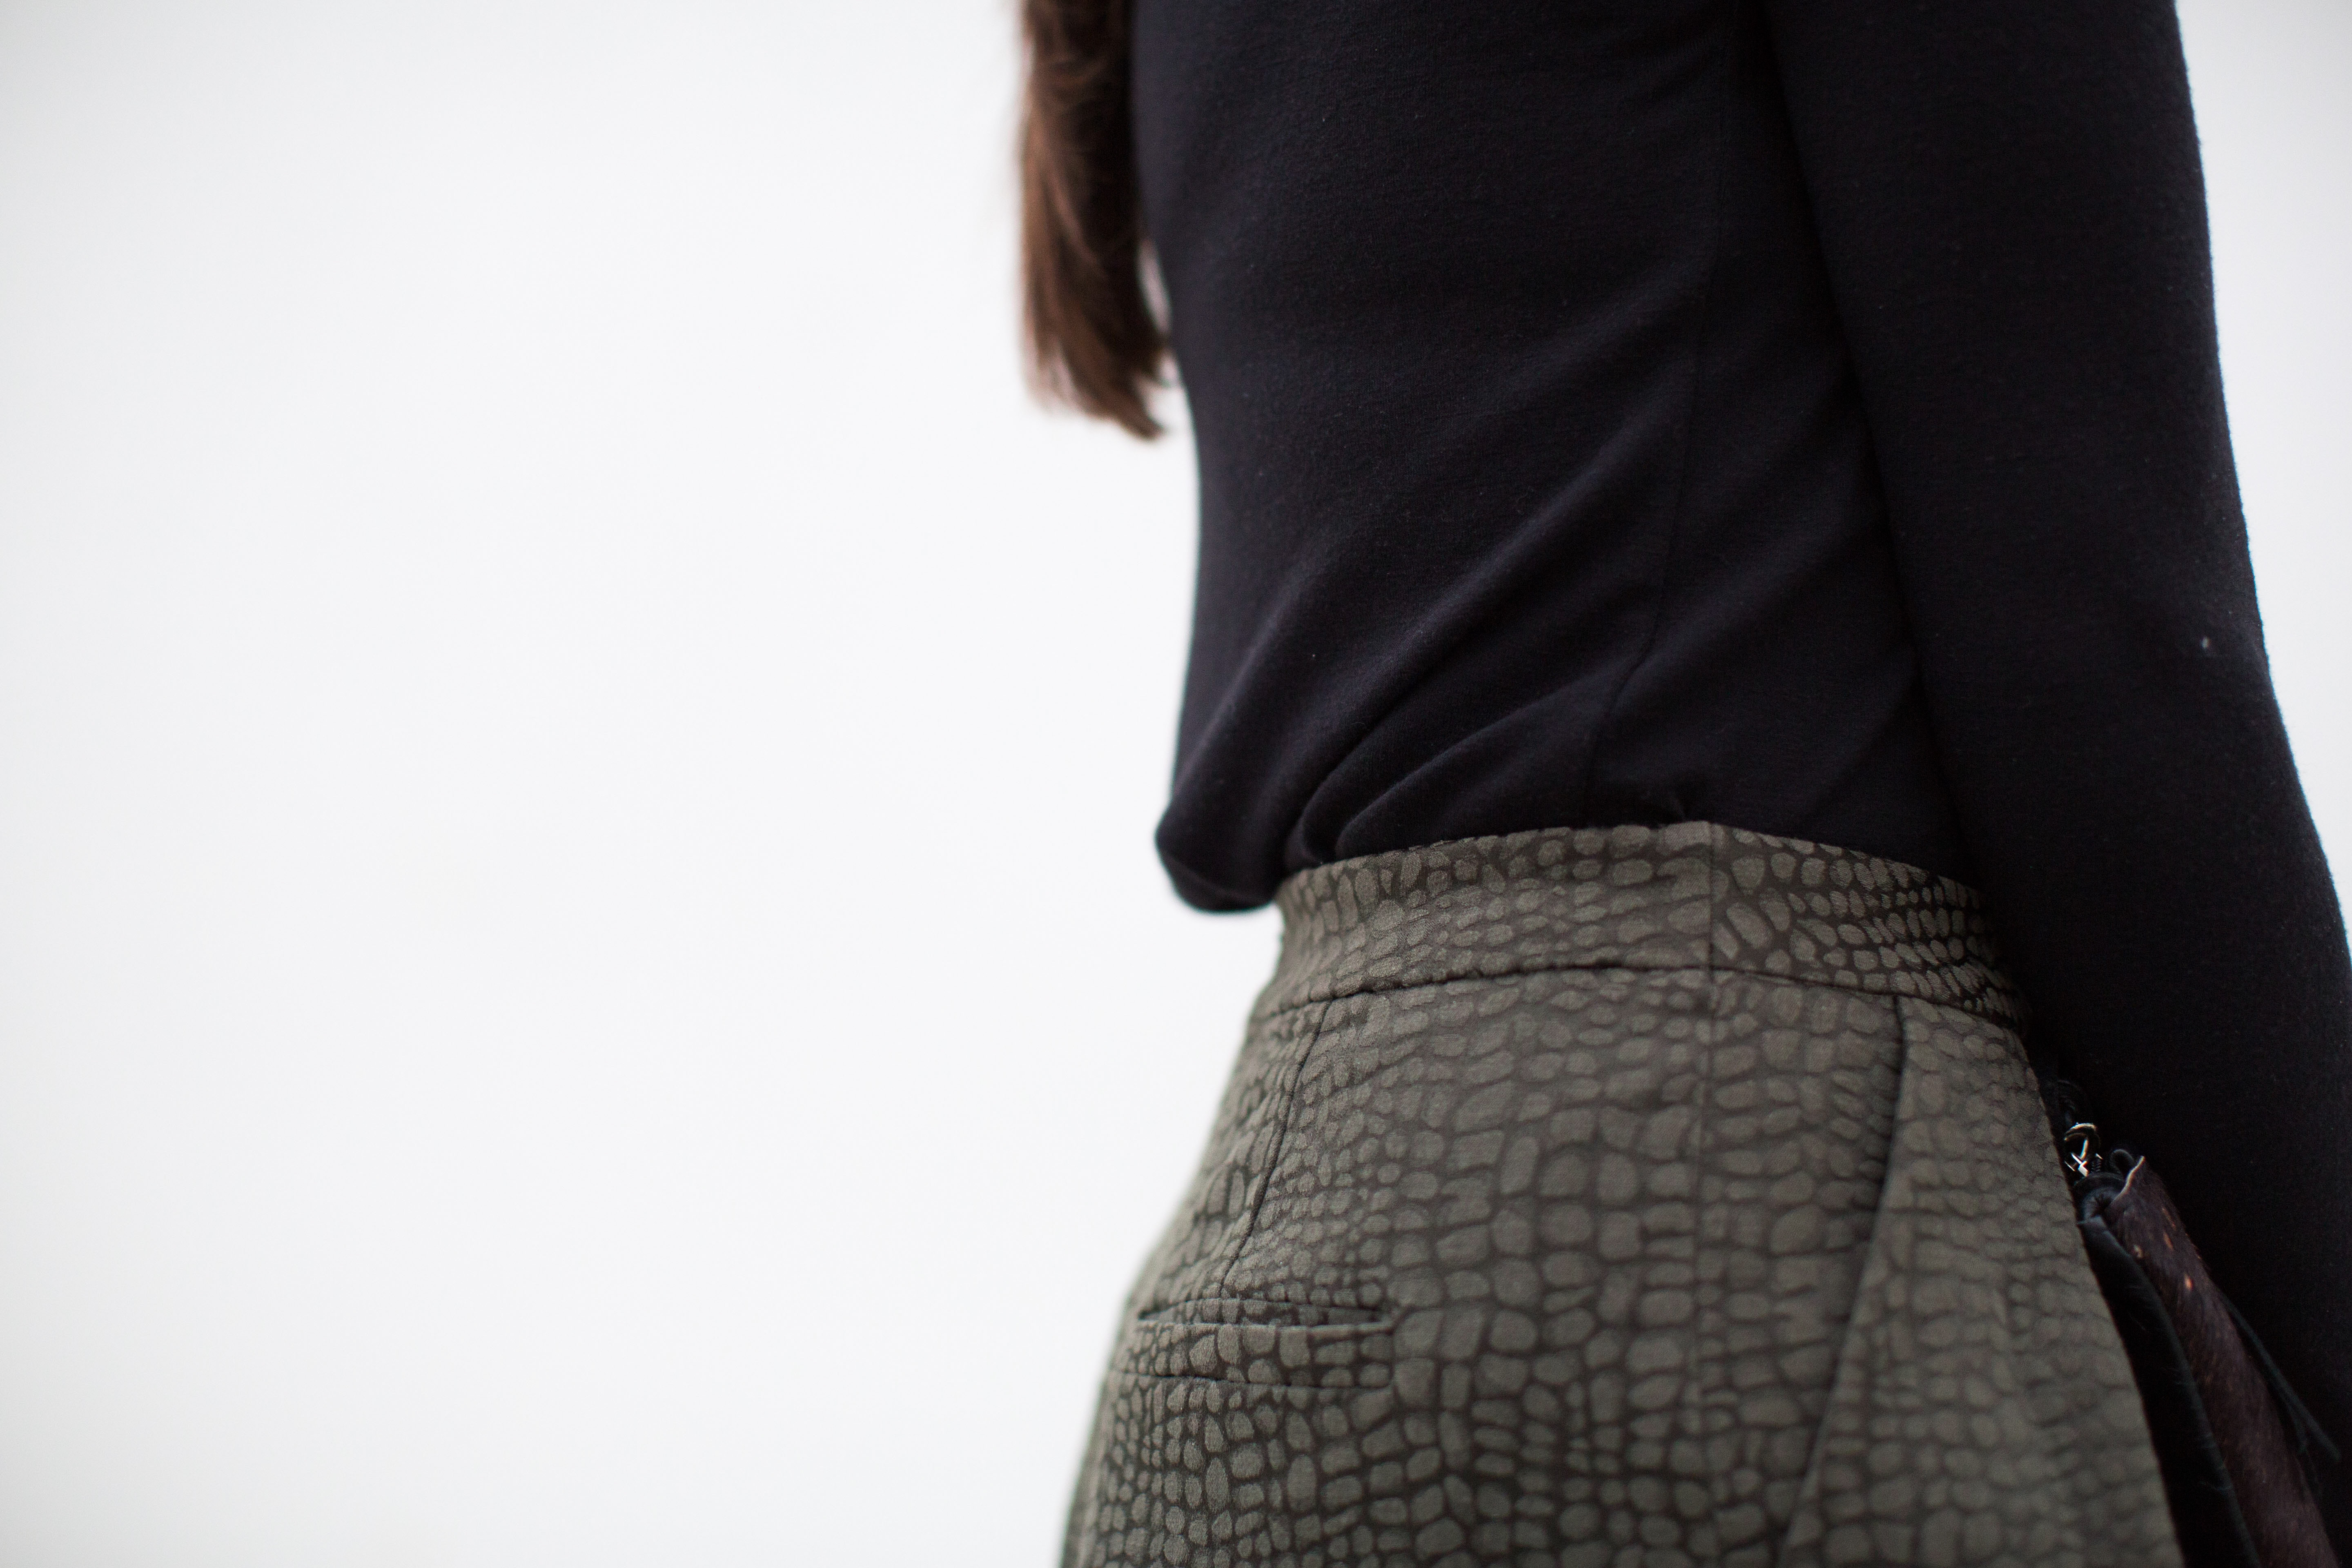
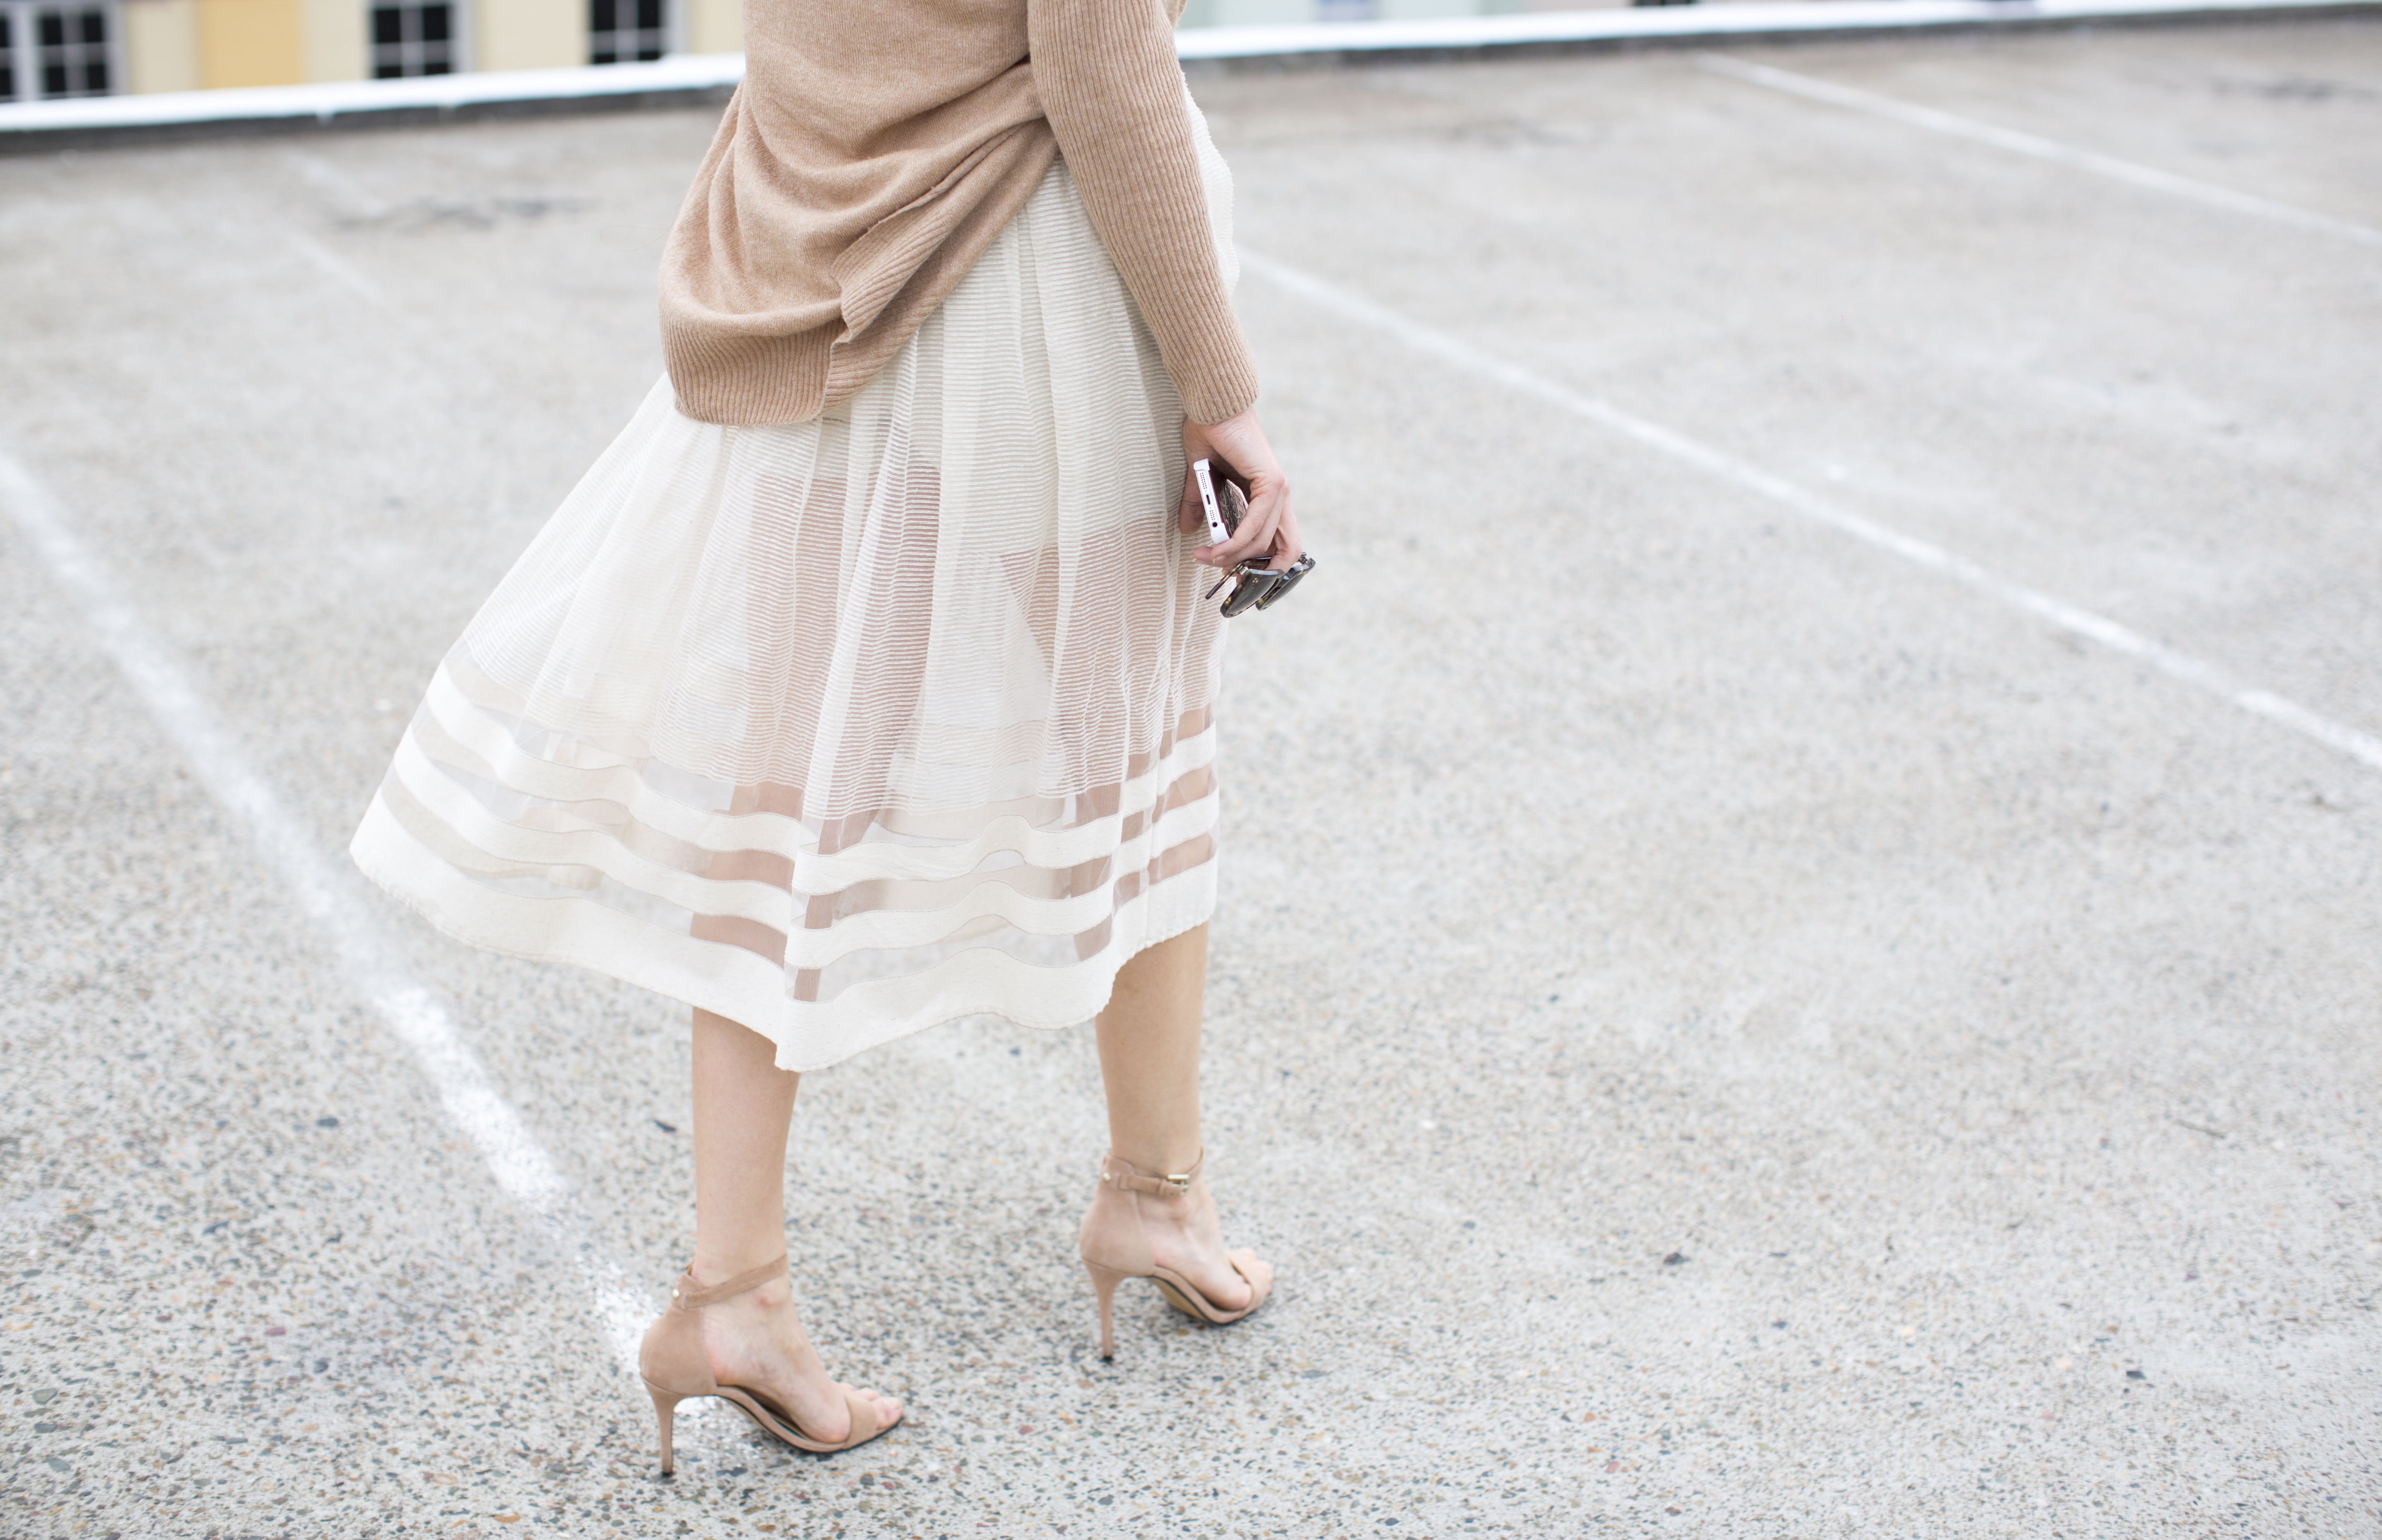
 I am so happy culottes are still around. I love that they’re re-spawning too, into a slightly thinner flared version I believe is getting around by the alias ‘cropped pants’. I have no idea, really, but their lengthy fashion term means this: we are spoilt for culotte sewing patterns! There’s so many so I’ll just mention a special few. There’s the
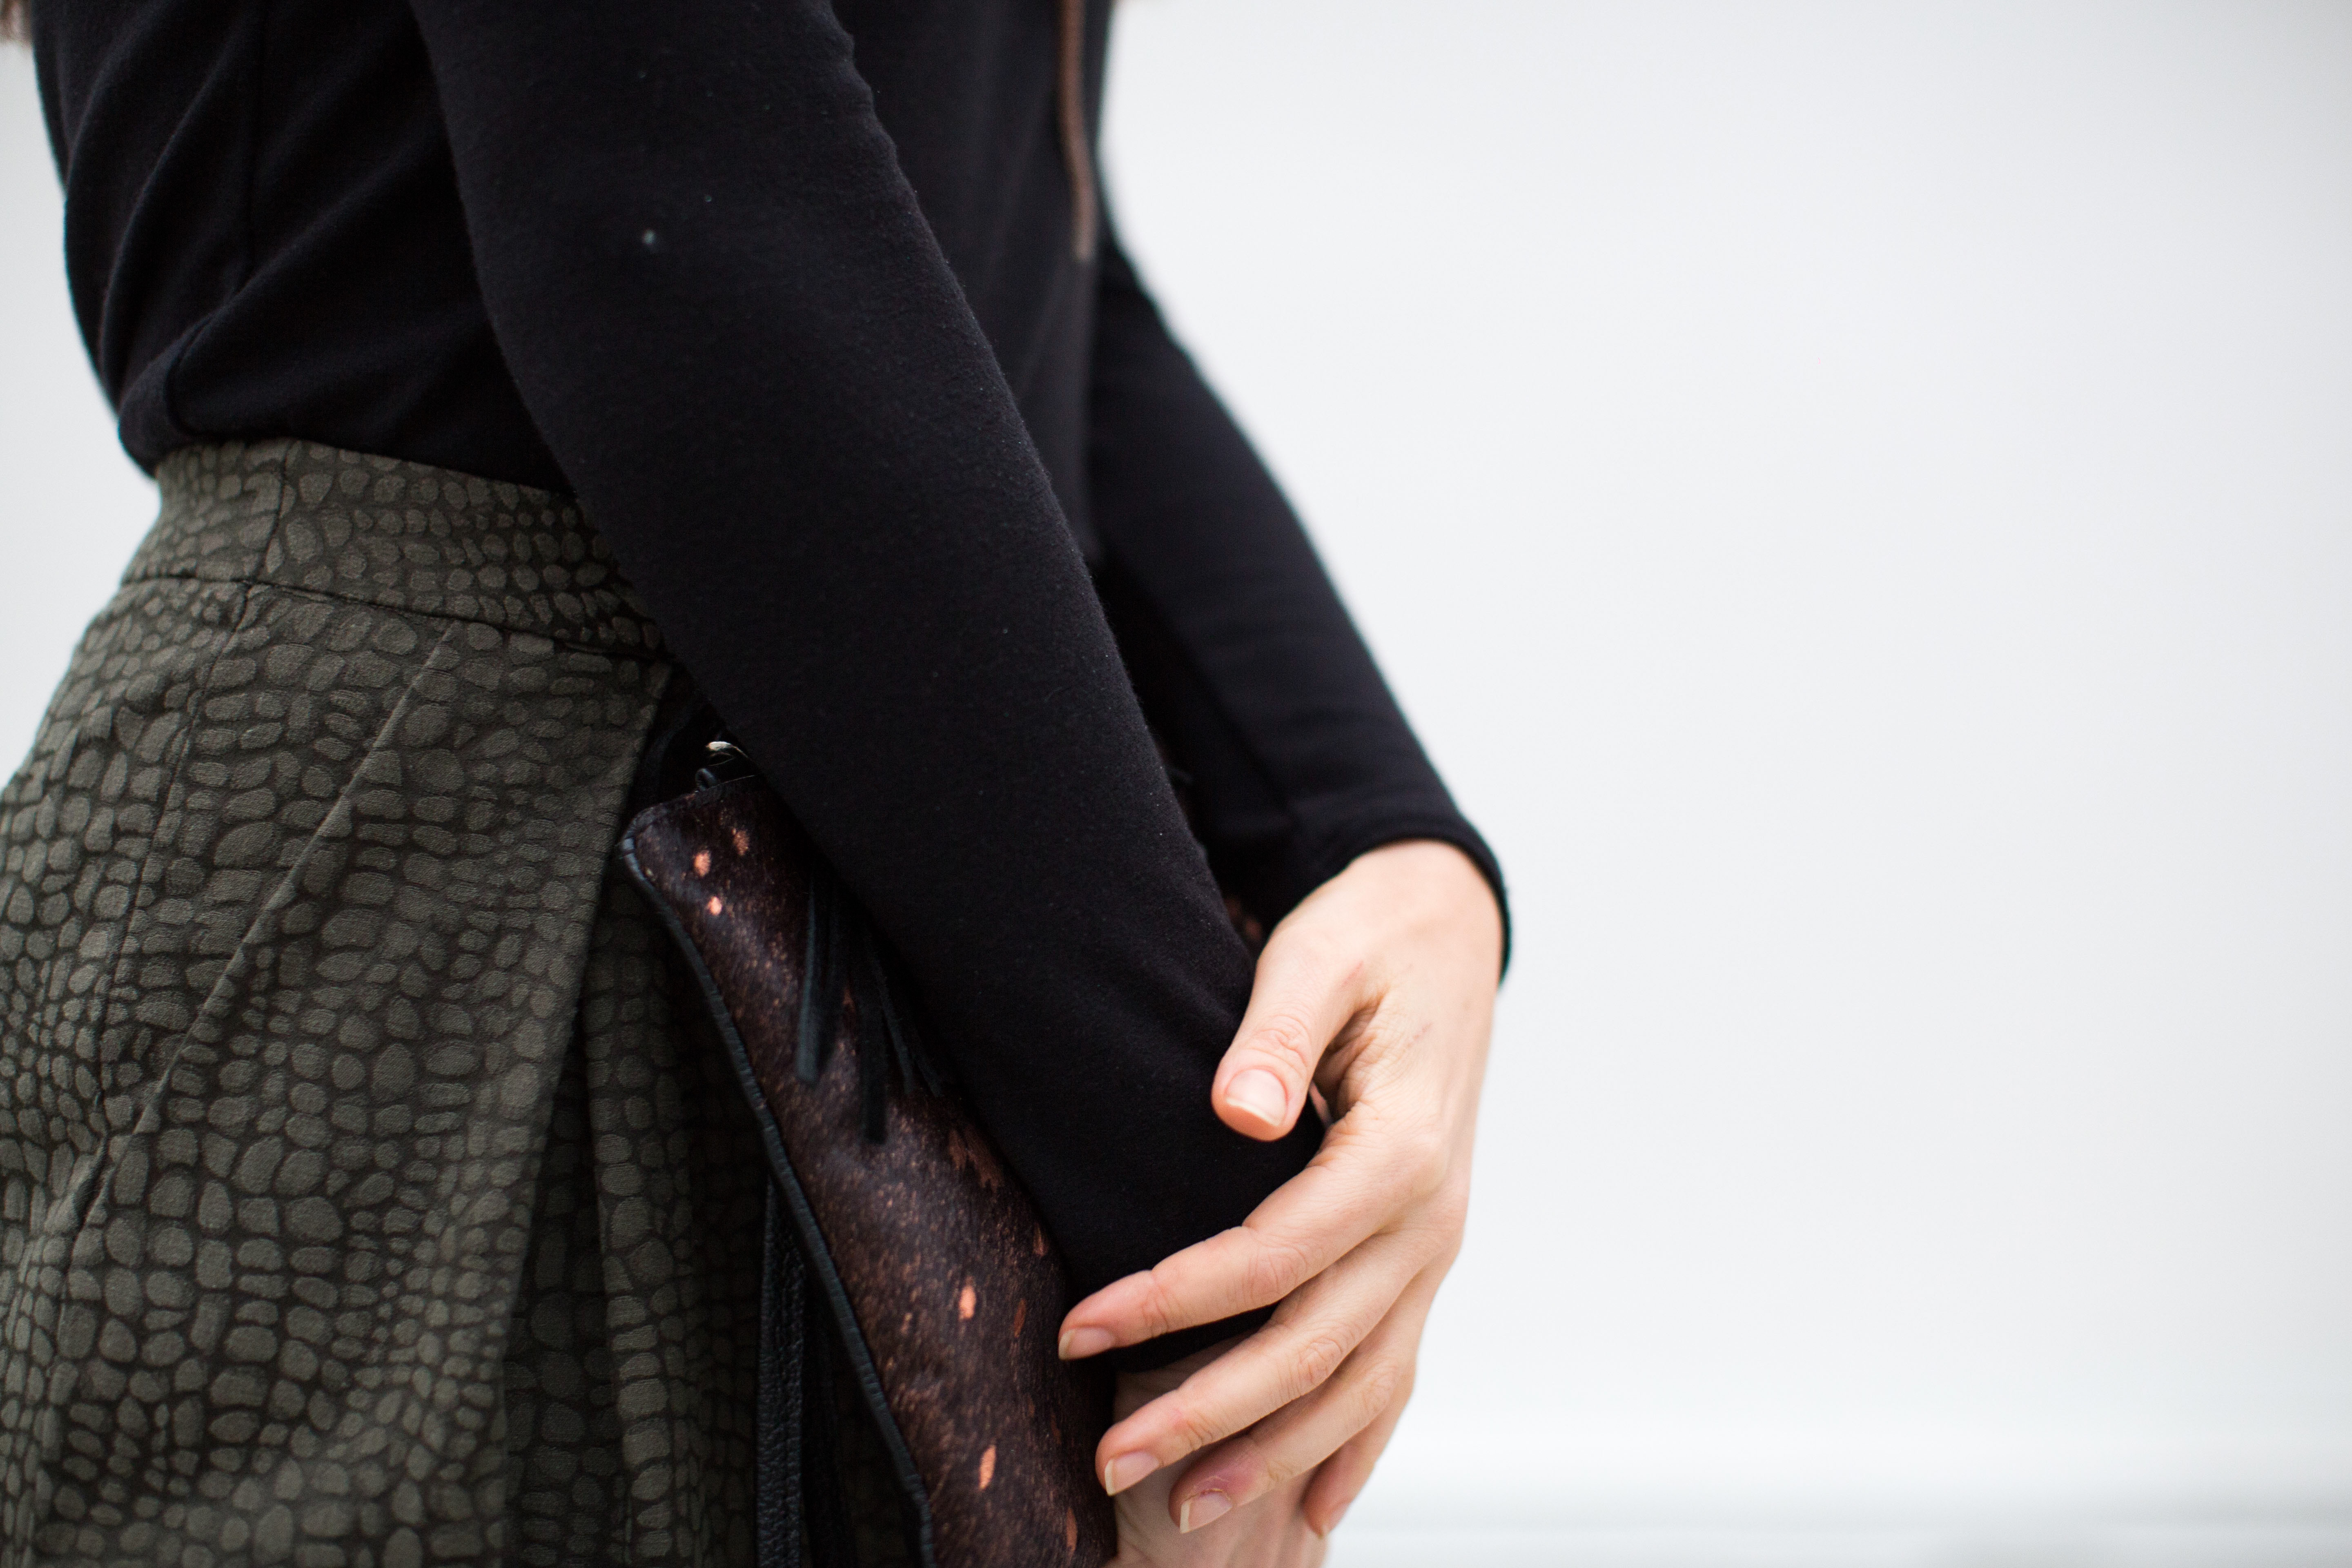
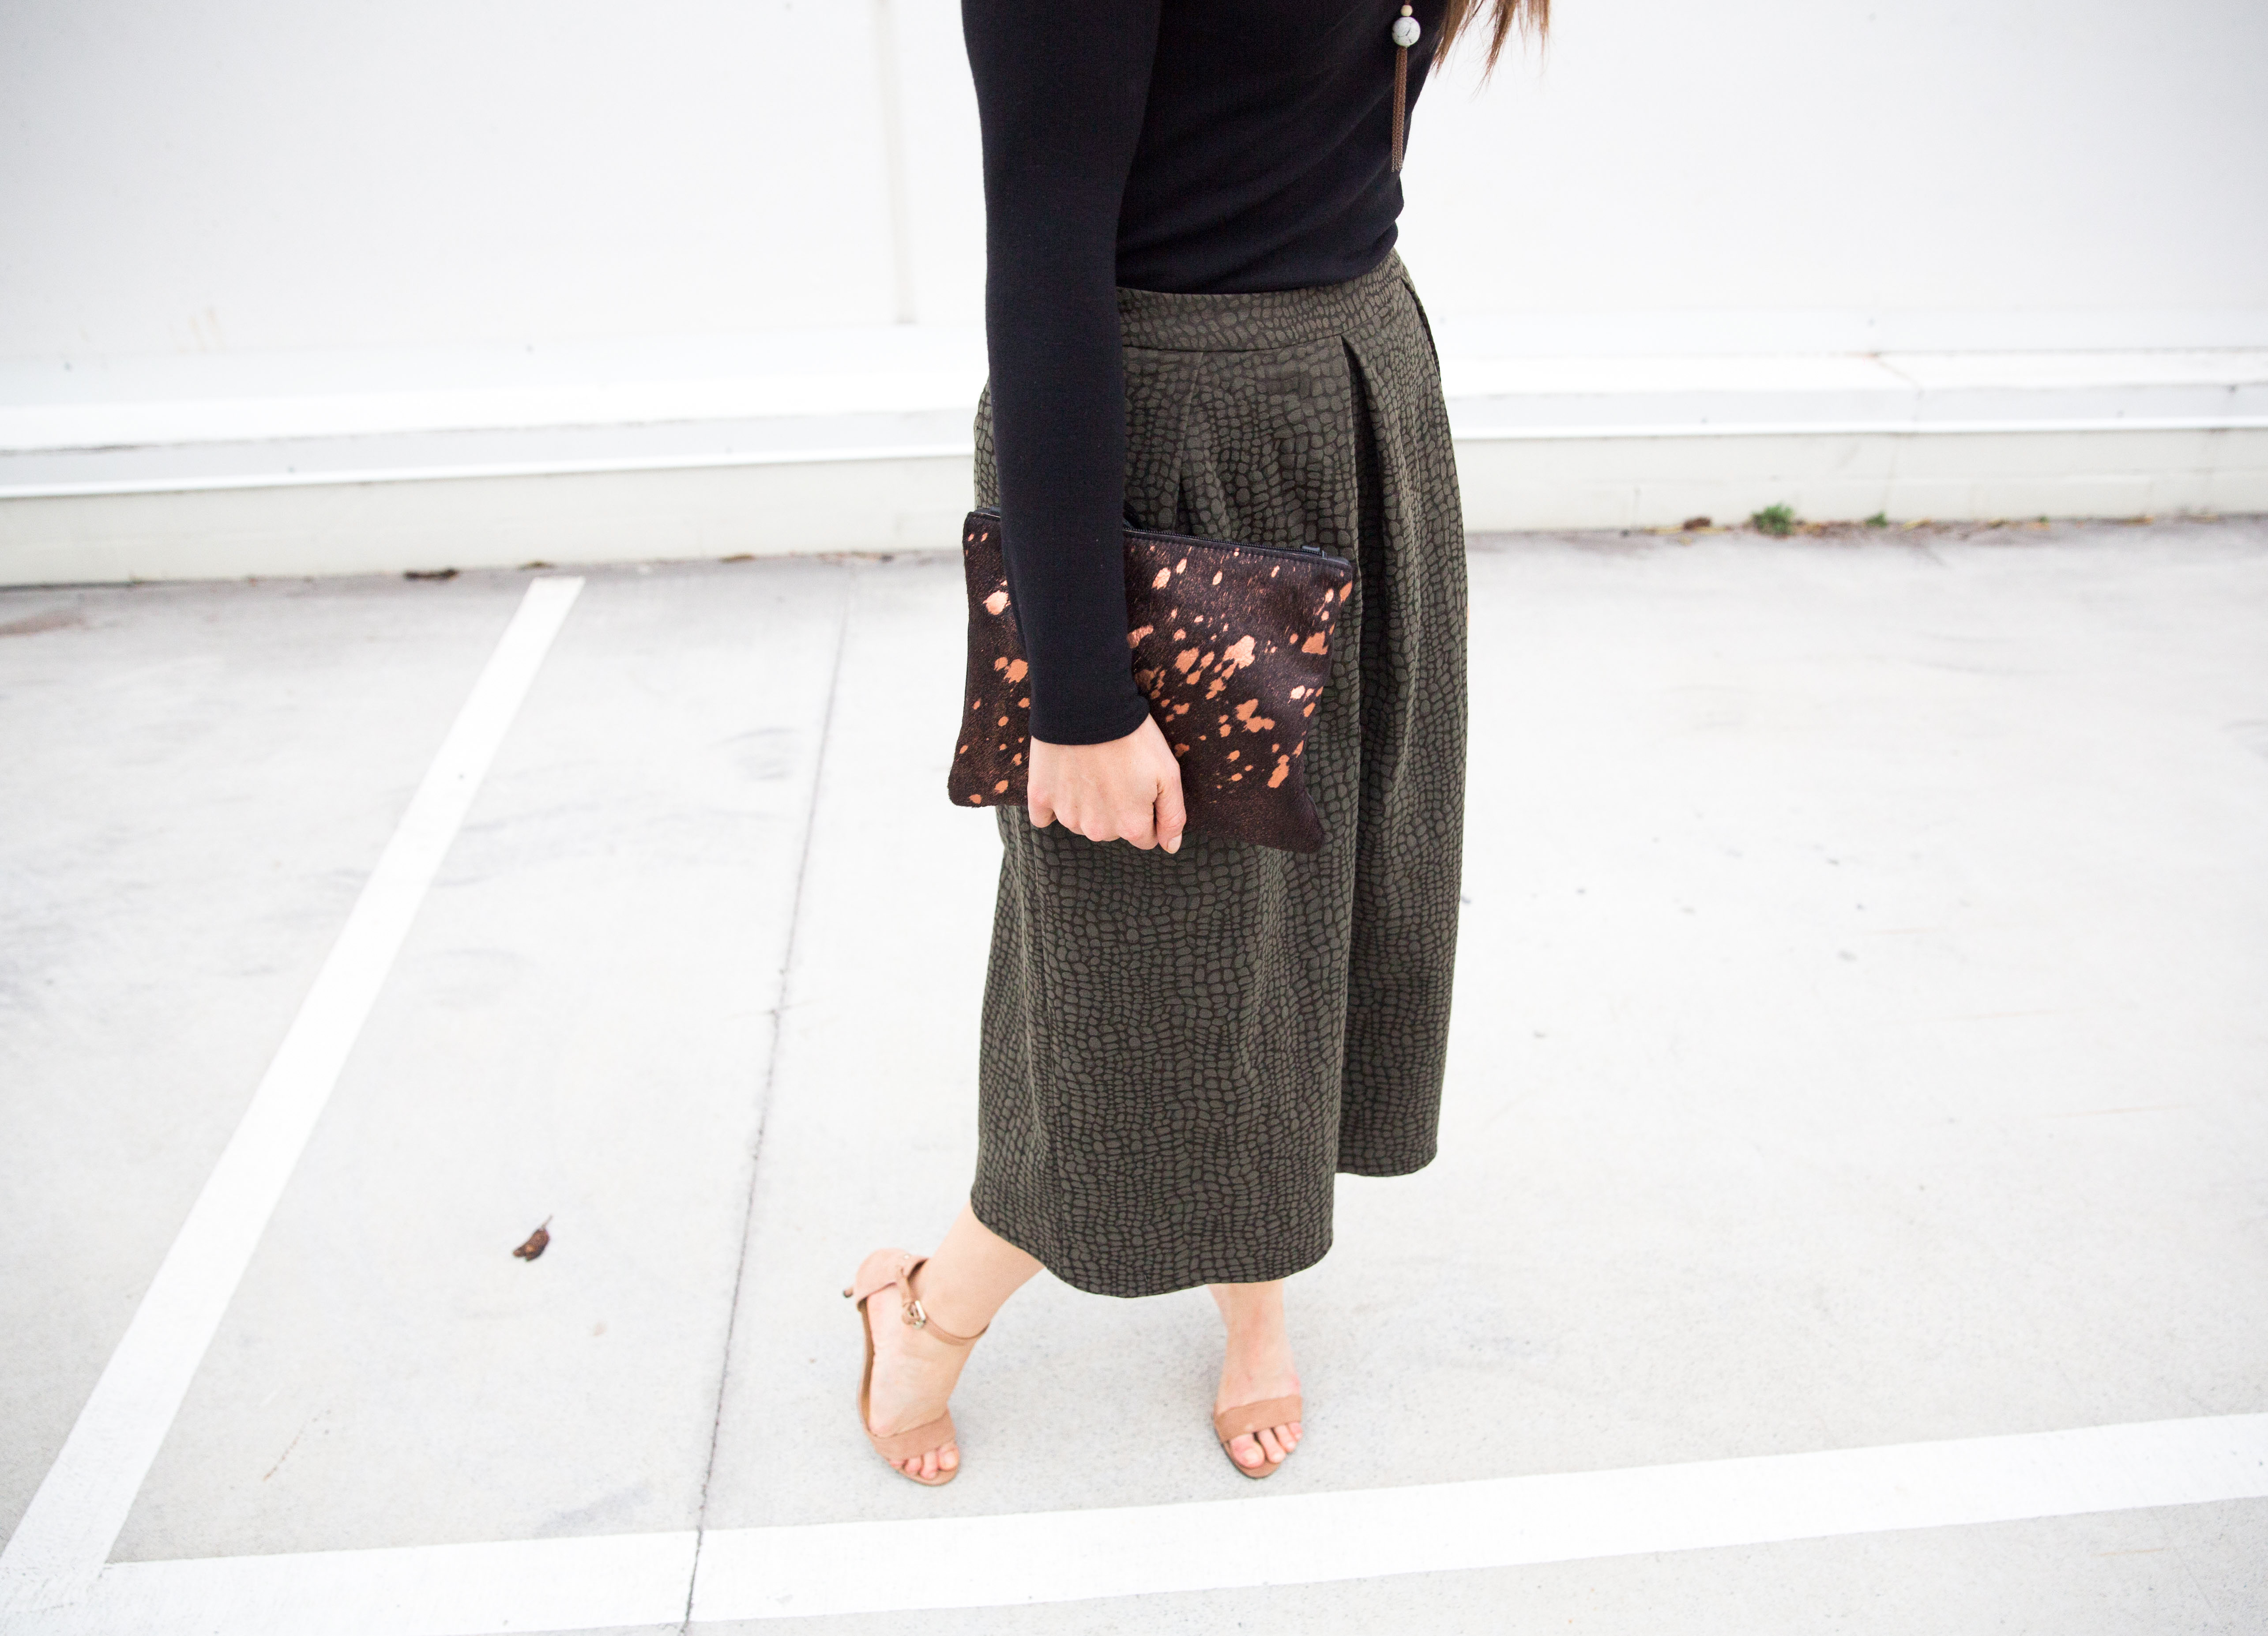 When choosing a culotte pattern, it’s important to know where you stand on pleats. You can have no pleats, a dash of pleats, or shimmy right on down to pleat town. These are your options and it’s a personal choice but consider this: pleats add volume, not just in the pleat itself but that extra fabric all has to end up in the width of the pants at the base too. I’m partial to some detailing at the front, yes, but also aware it’s only one hop and a pleat away from the culottes-come-parachute look at any time.
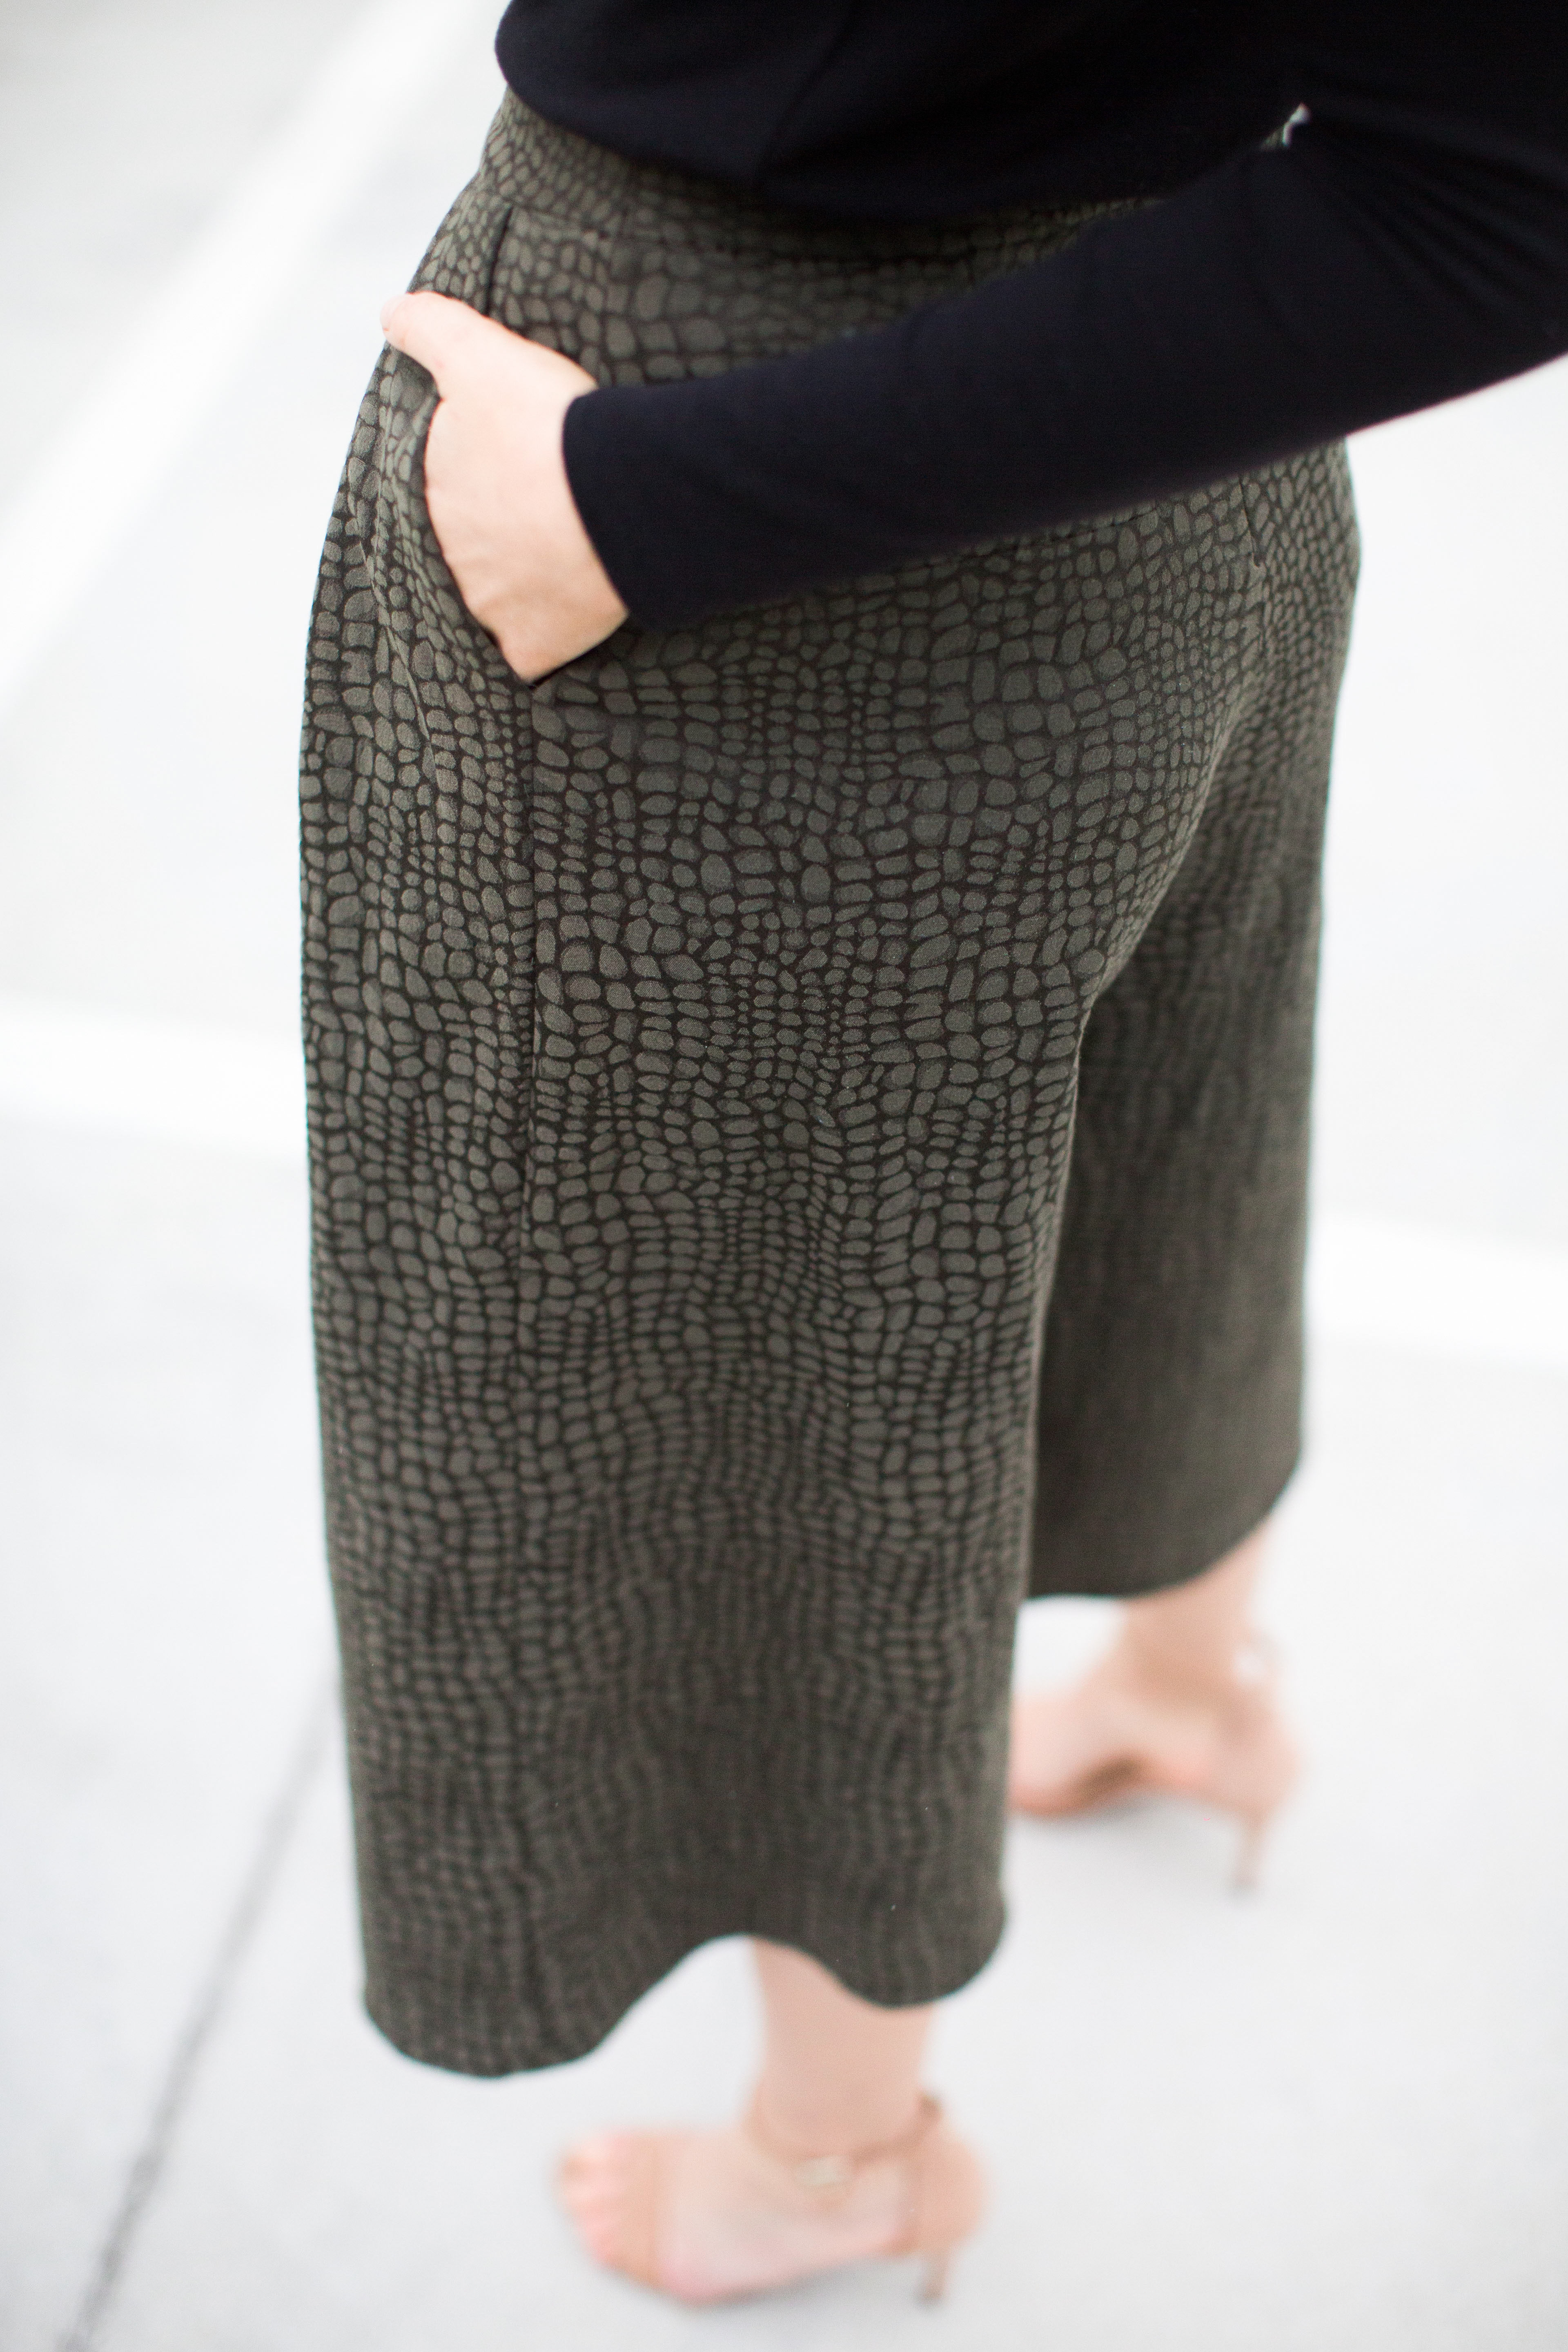 On the scale of pleats, the Erin culottes sit nicely around the middle. Literally. The slanted side pockets become part of the side pleats and then there’s a hidden, deeper pleat in centre front. The result gives some interest and detail whilst maintaining a mostly flat front. The pattern makes up beautifully in a drapey woven, as you can see in this
 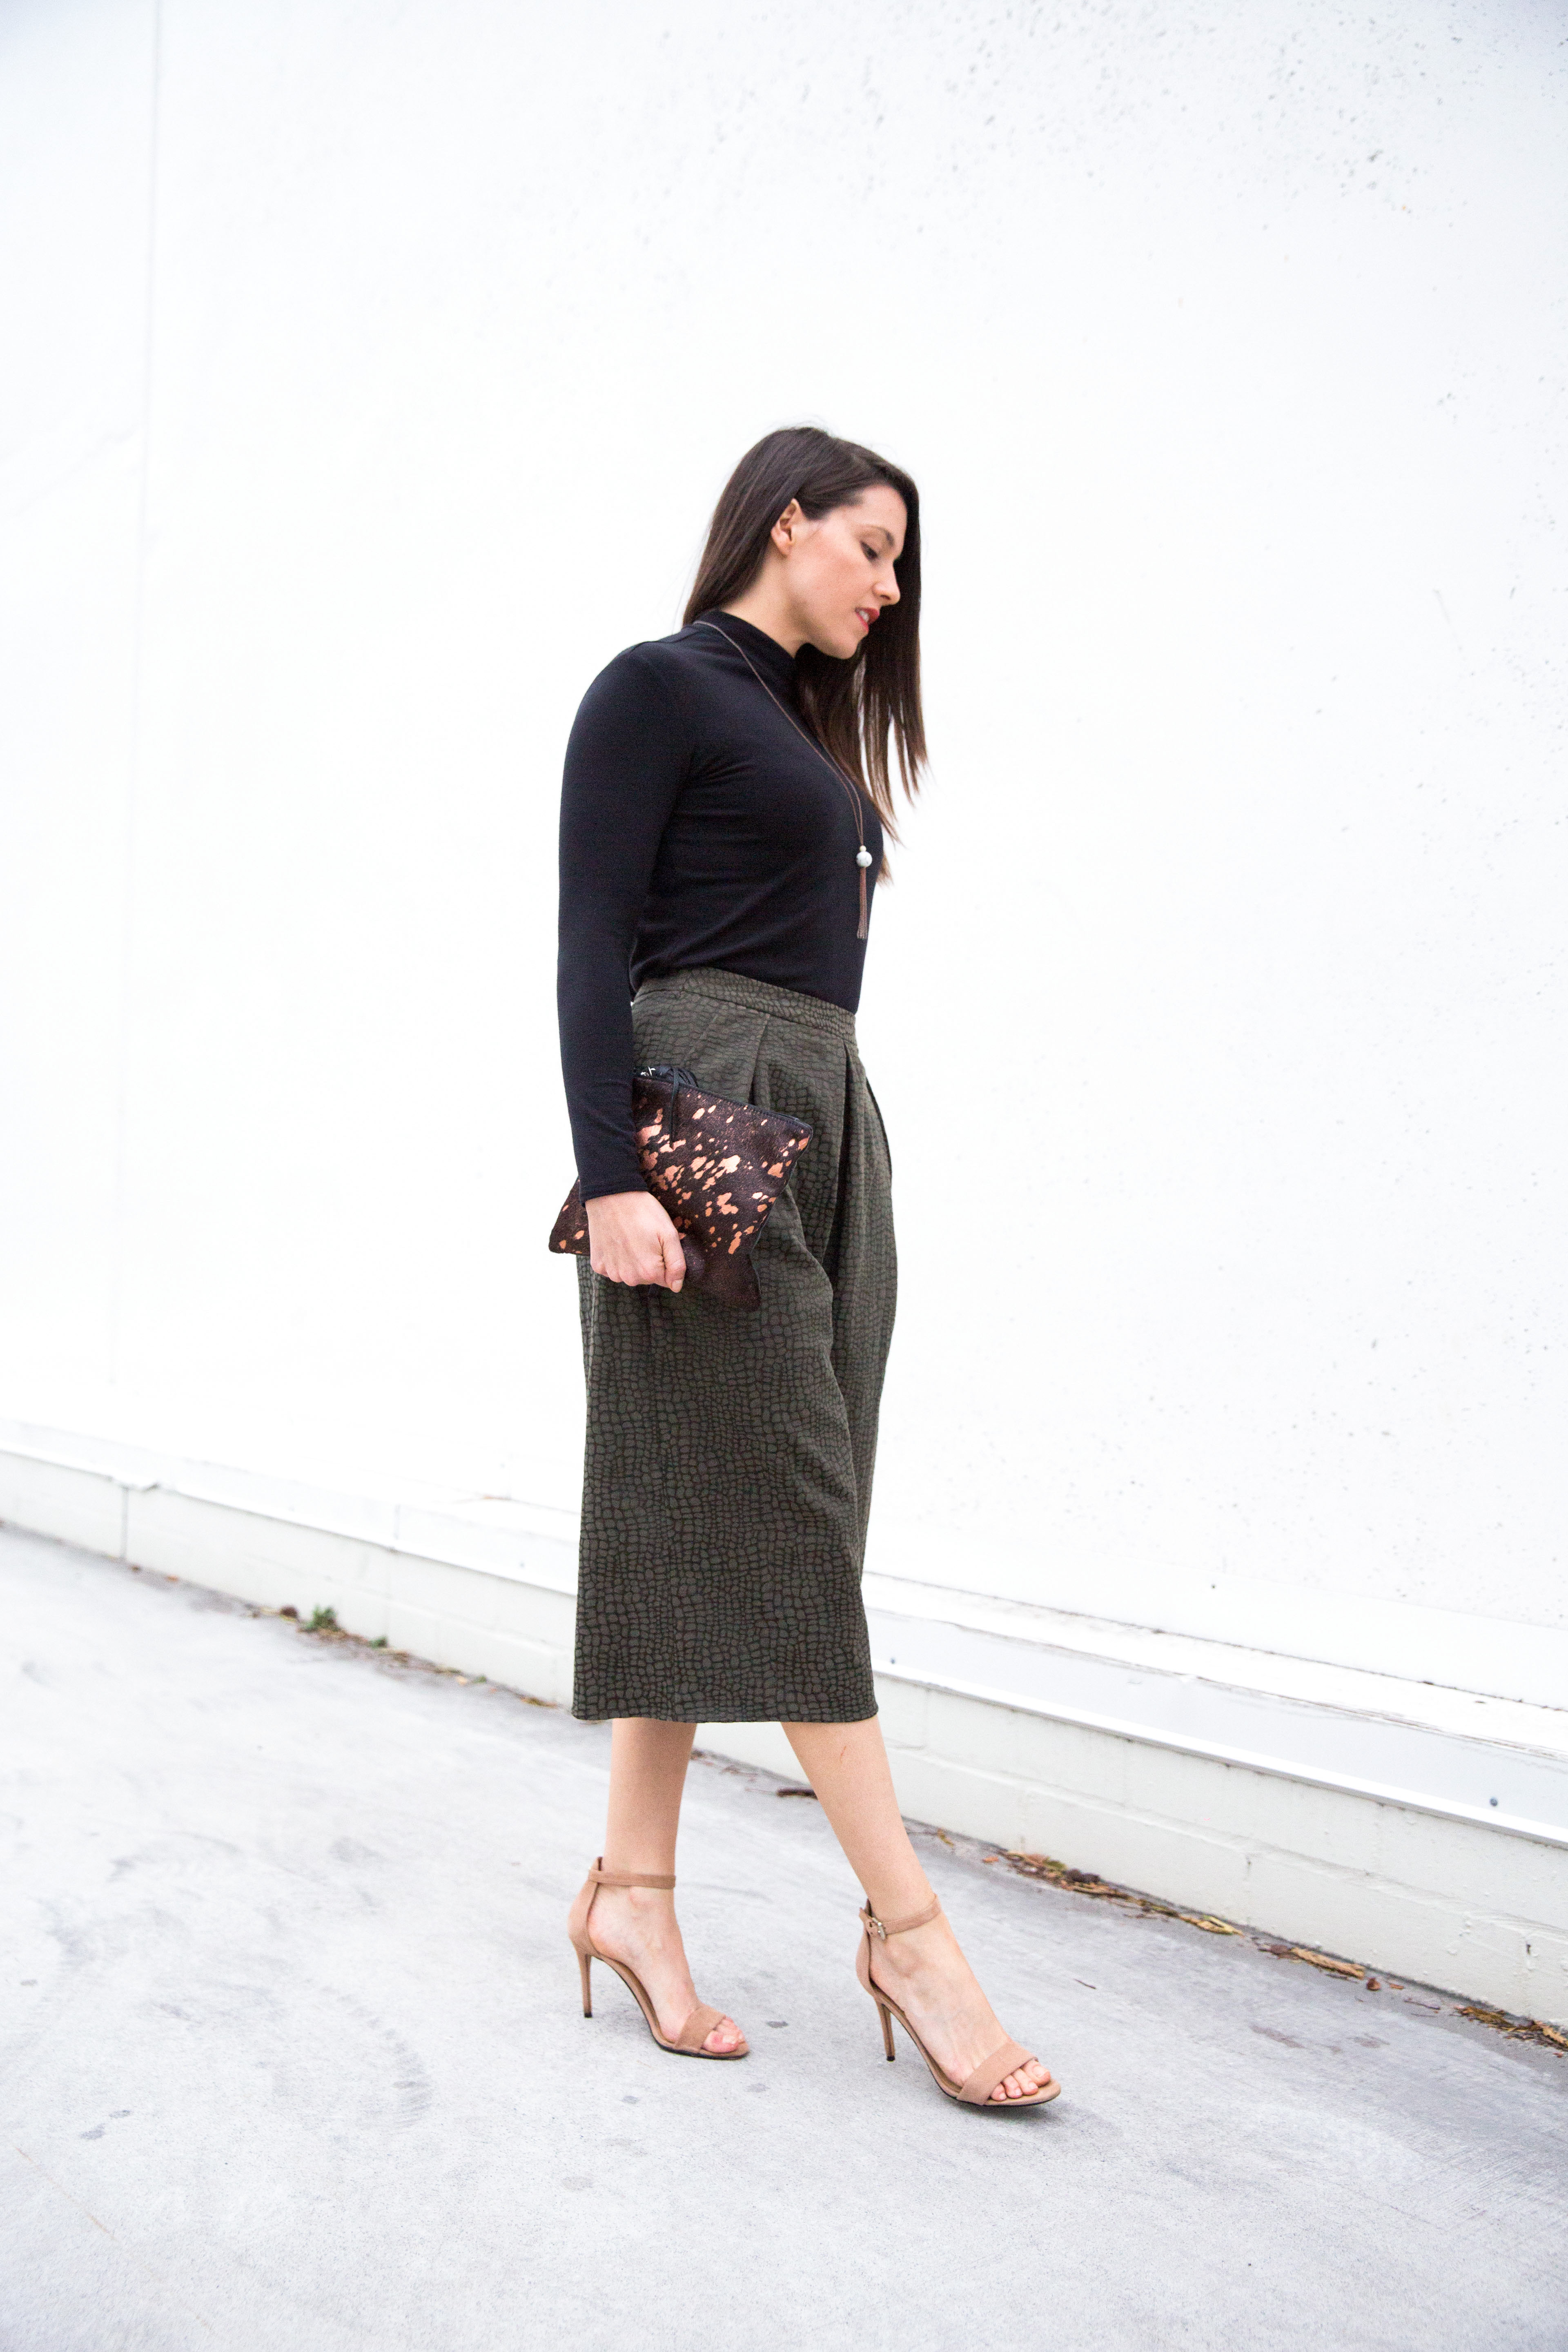 For the fabric, I was imagining something subtle and textured to make a classic winter culotte to pair with cosy knitwear. This cotton blend from
  Sizing wise, I made my usual Style Arc size 8 (normally vogue 12ish, to give you an idea of the difference). They ended up roomy enough that I had to take them in through the waist and hips. The one thing I didn’t love about the pattern is the curved waistband. I feel like the way the fabric is sitting at the front pleats, it really wants to be hanging off a straight waistband and then sit on the waist. I feel like comfort-wise I want things to sit high waisted or on the hips, not in between. However because the pattern is designed to sit at the natural waist, it makes sense to have a curved waistband. I suspect it’s also better suited to lighter fabrics that won’t drag on the waistband, as in the original pattern version. A good press might help too, who was responsible for that?
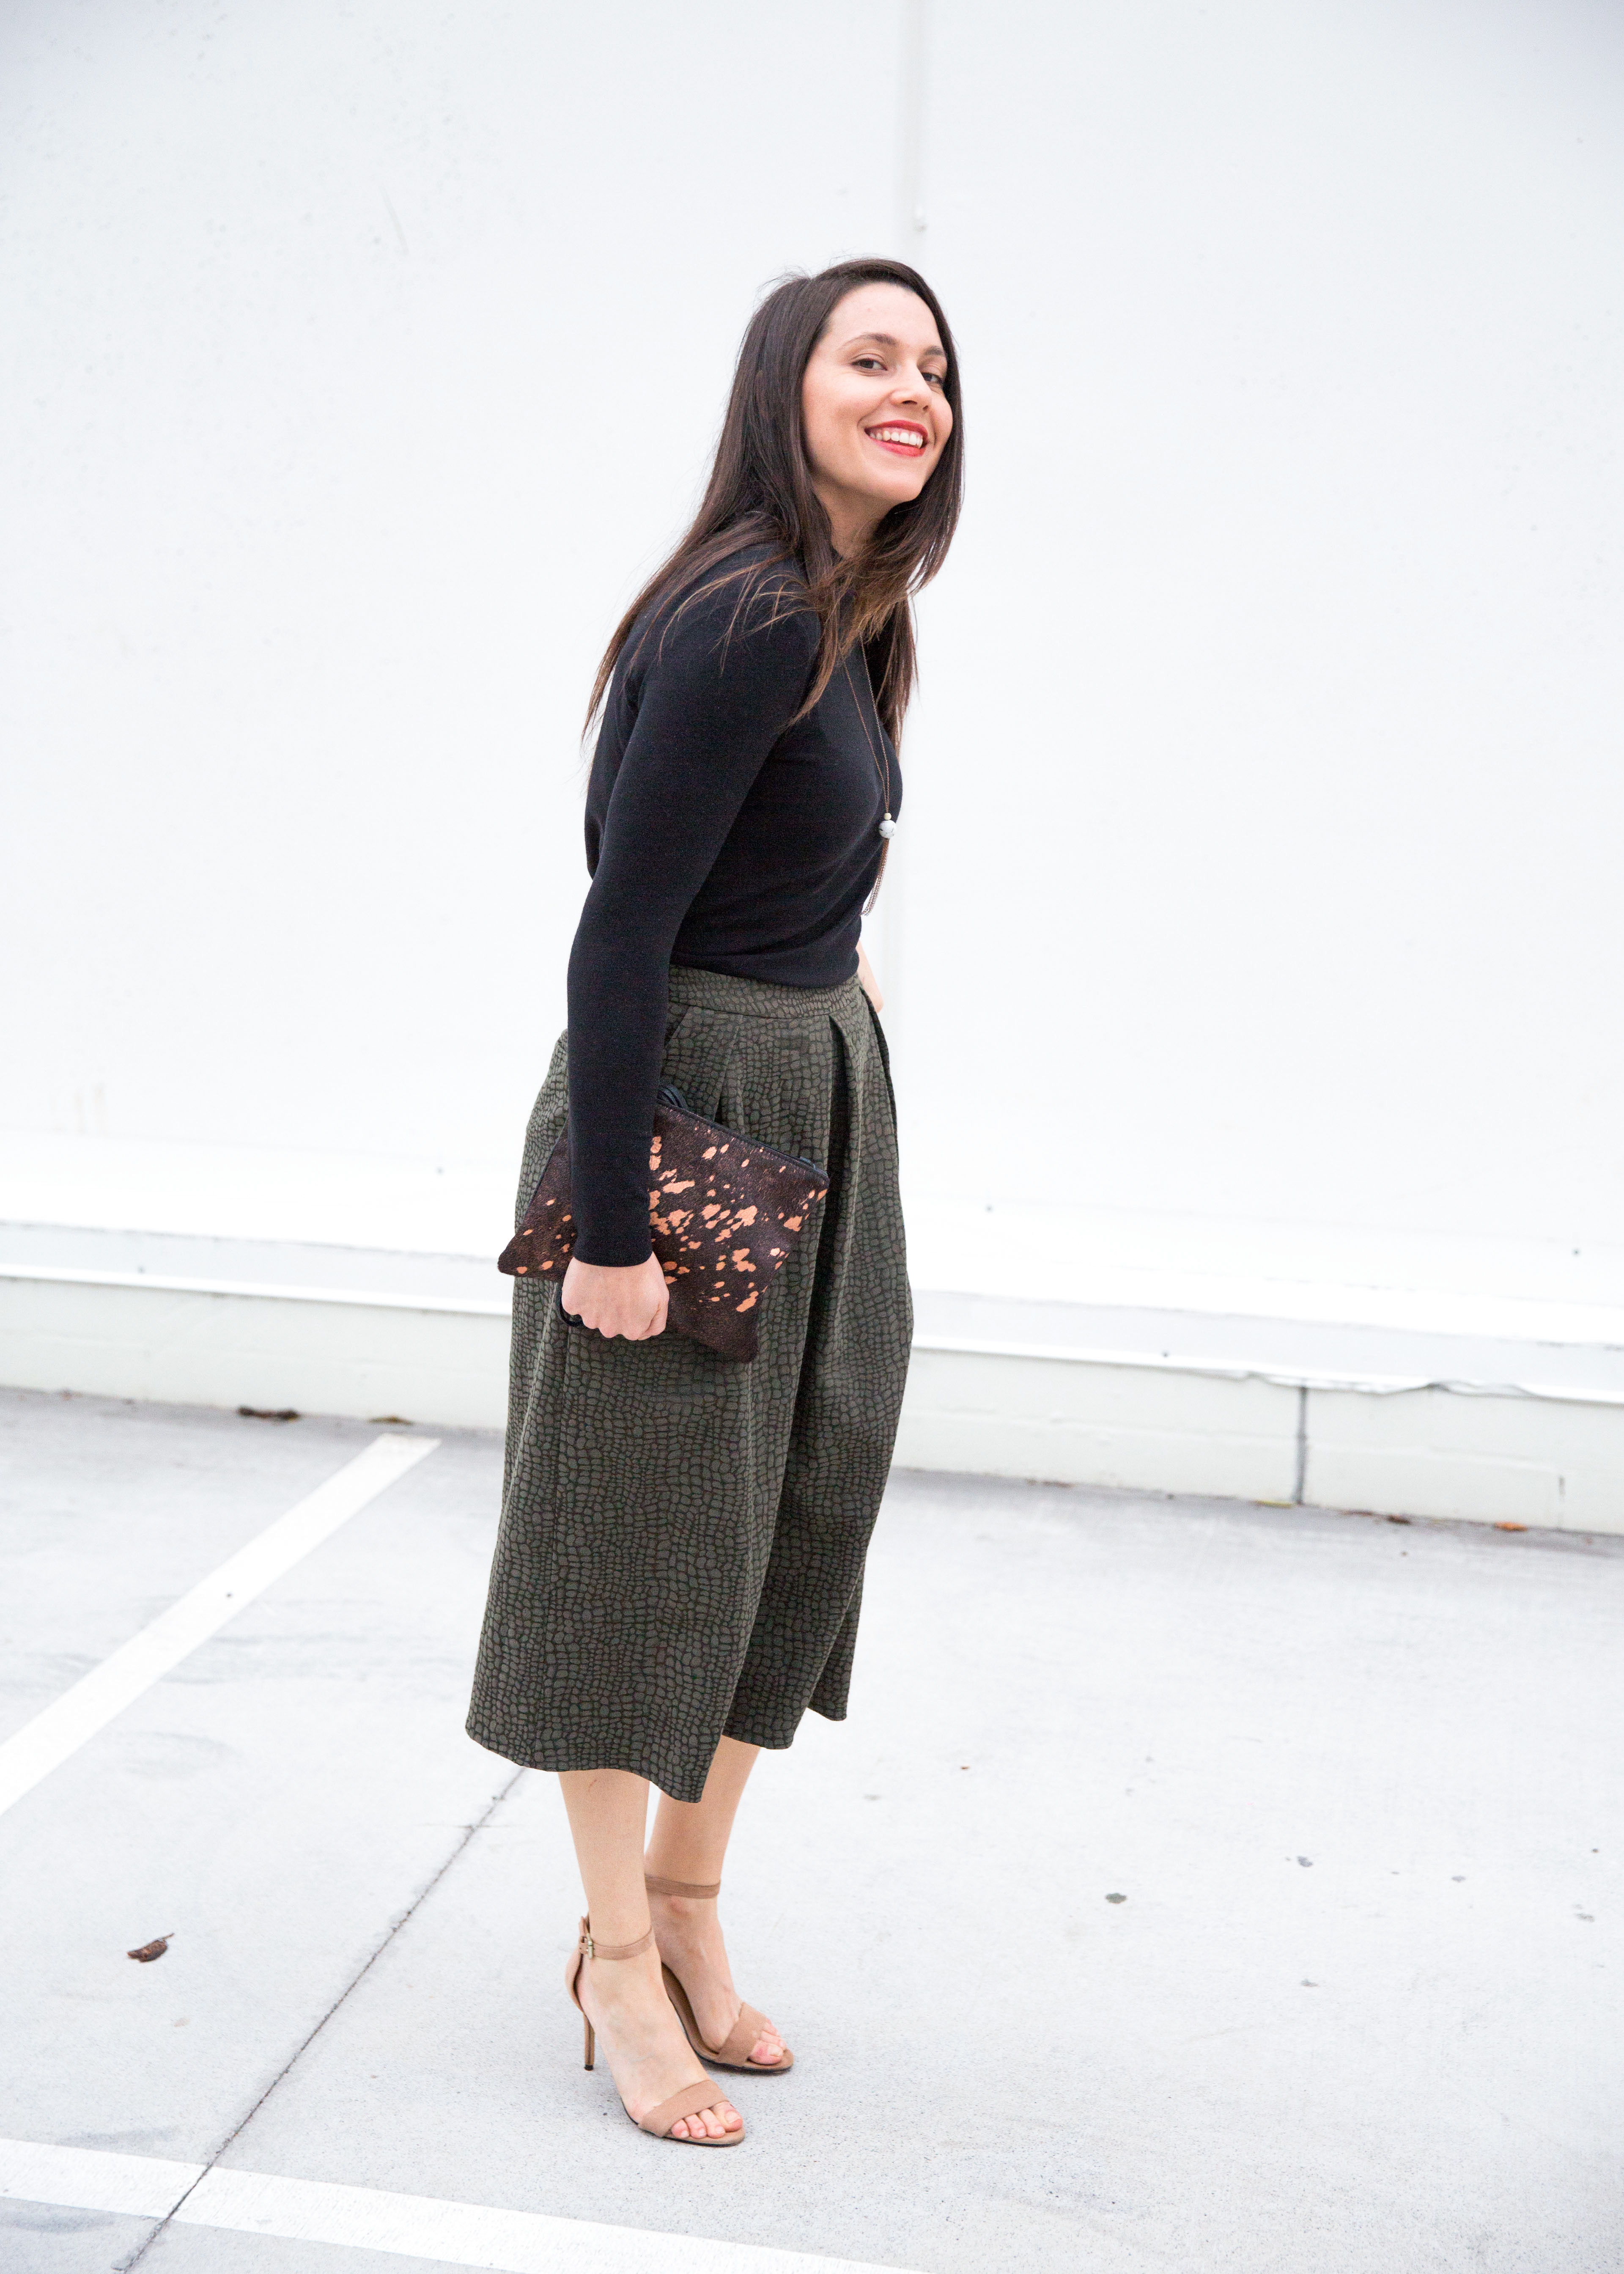
 The only mod I made was to add welt pockets using
 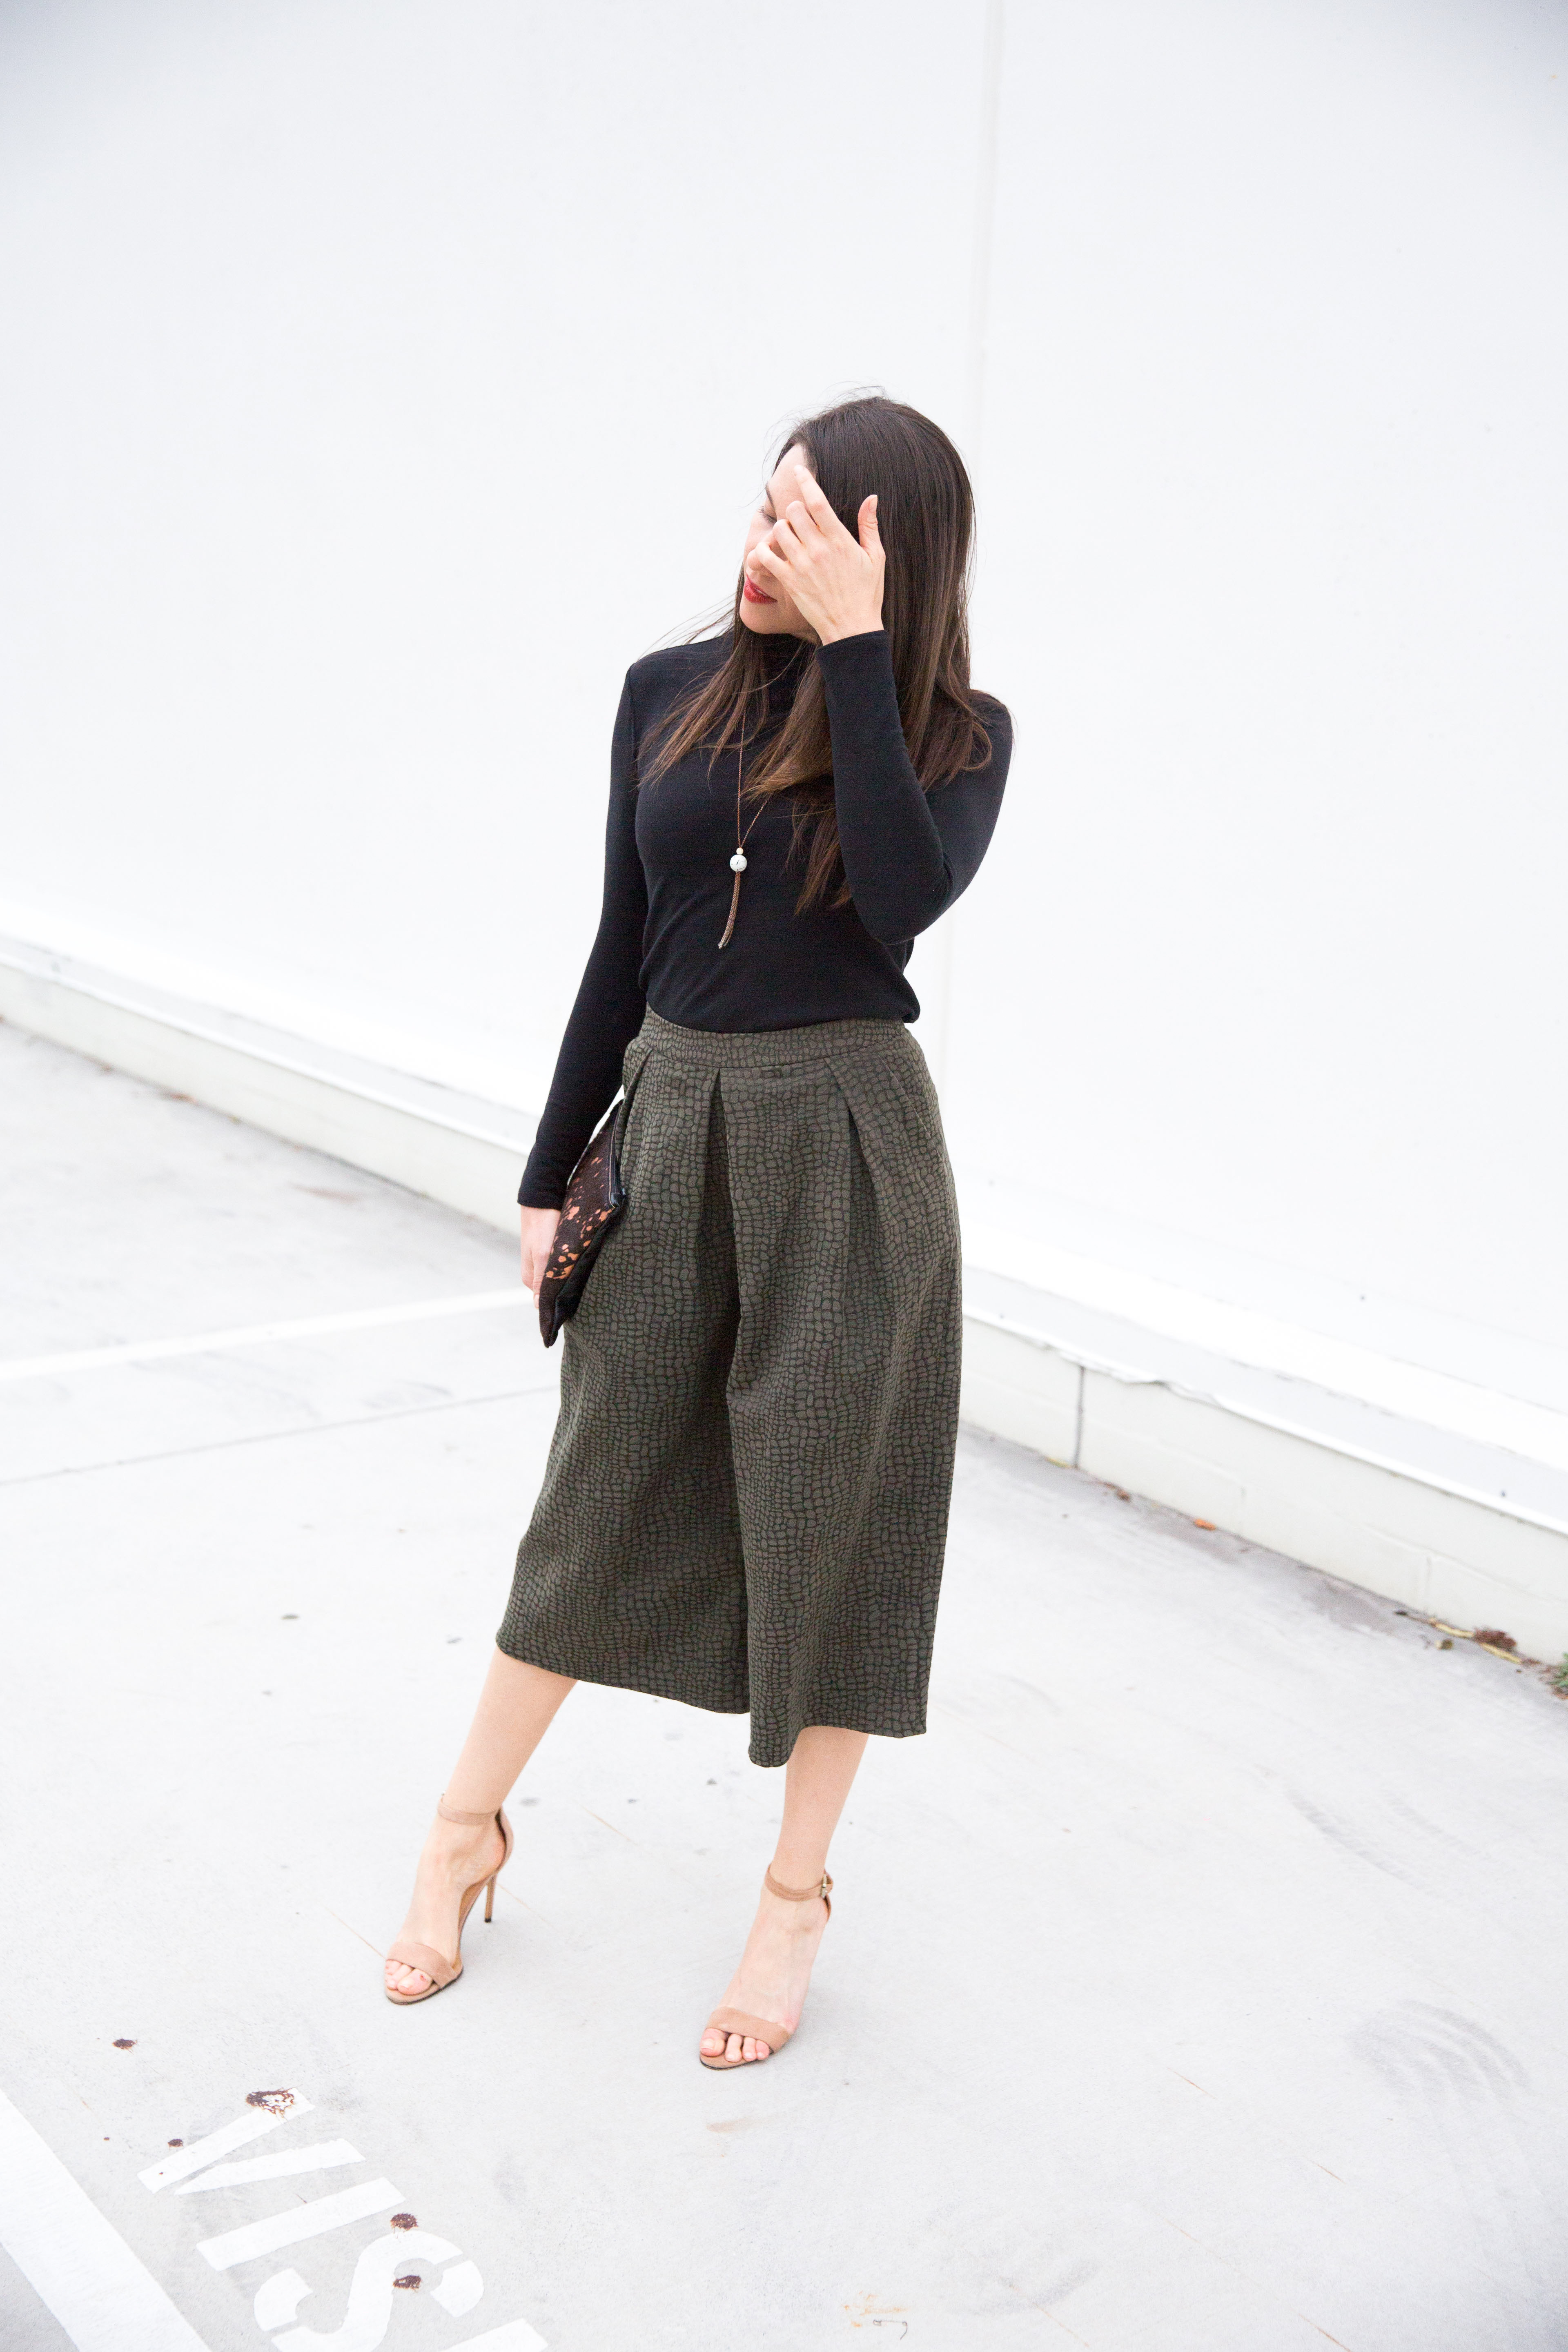 Like Burdastyle, Style Arc instructions were once always light on the illustrations side, but I’ve noticed their more recent patterns include more diagrams at crucial steps, which is ever so nice. This may or may not be related to having some trouble with part of the instructions for the centre front here. As you can see the pleats meet in the middle instead of overlapping like they’re supposed to. The effect is okay, but if you’re making these, follow the instructions, don’t refer to mine for a visual!
 I love this top patternnn! After the
 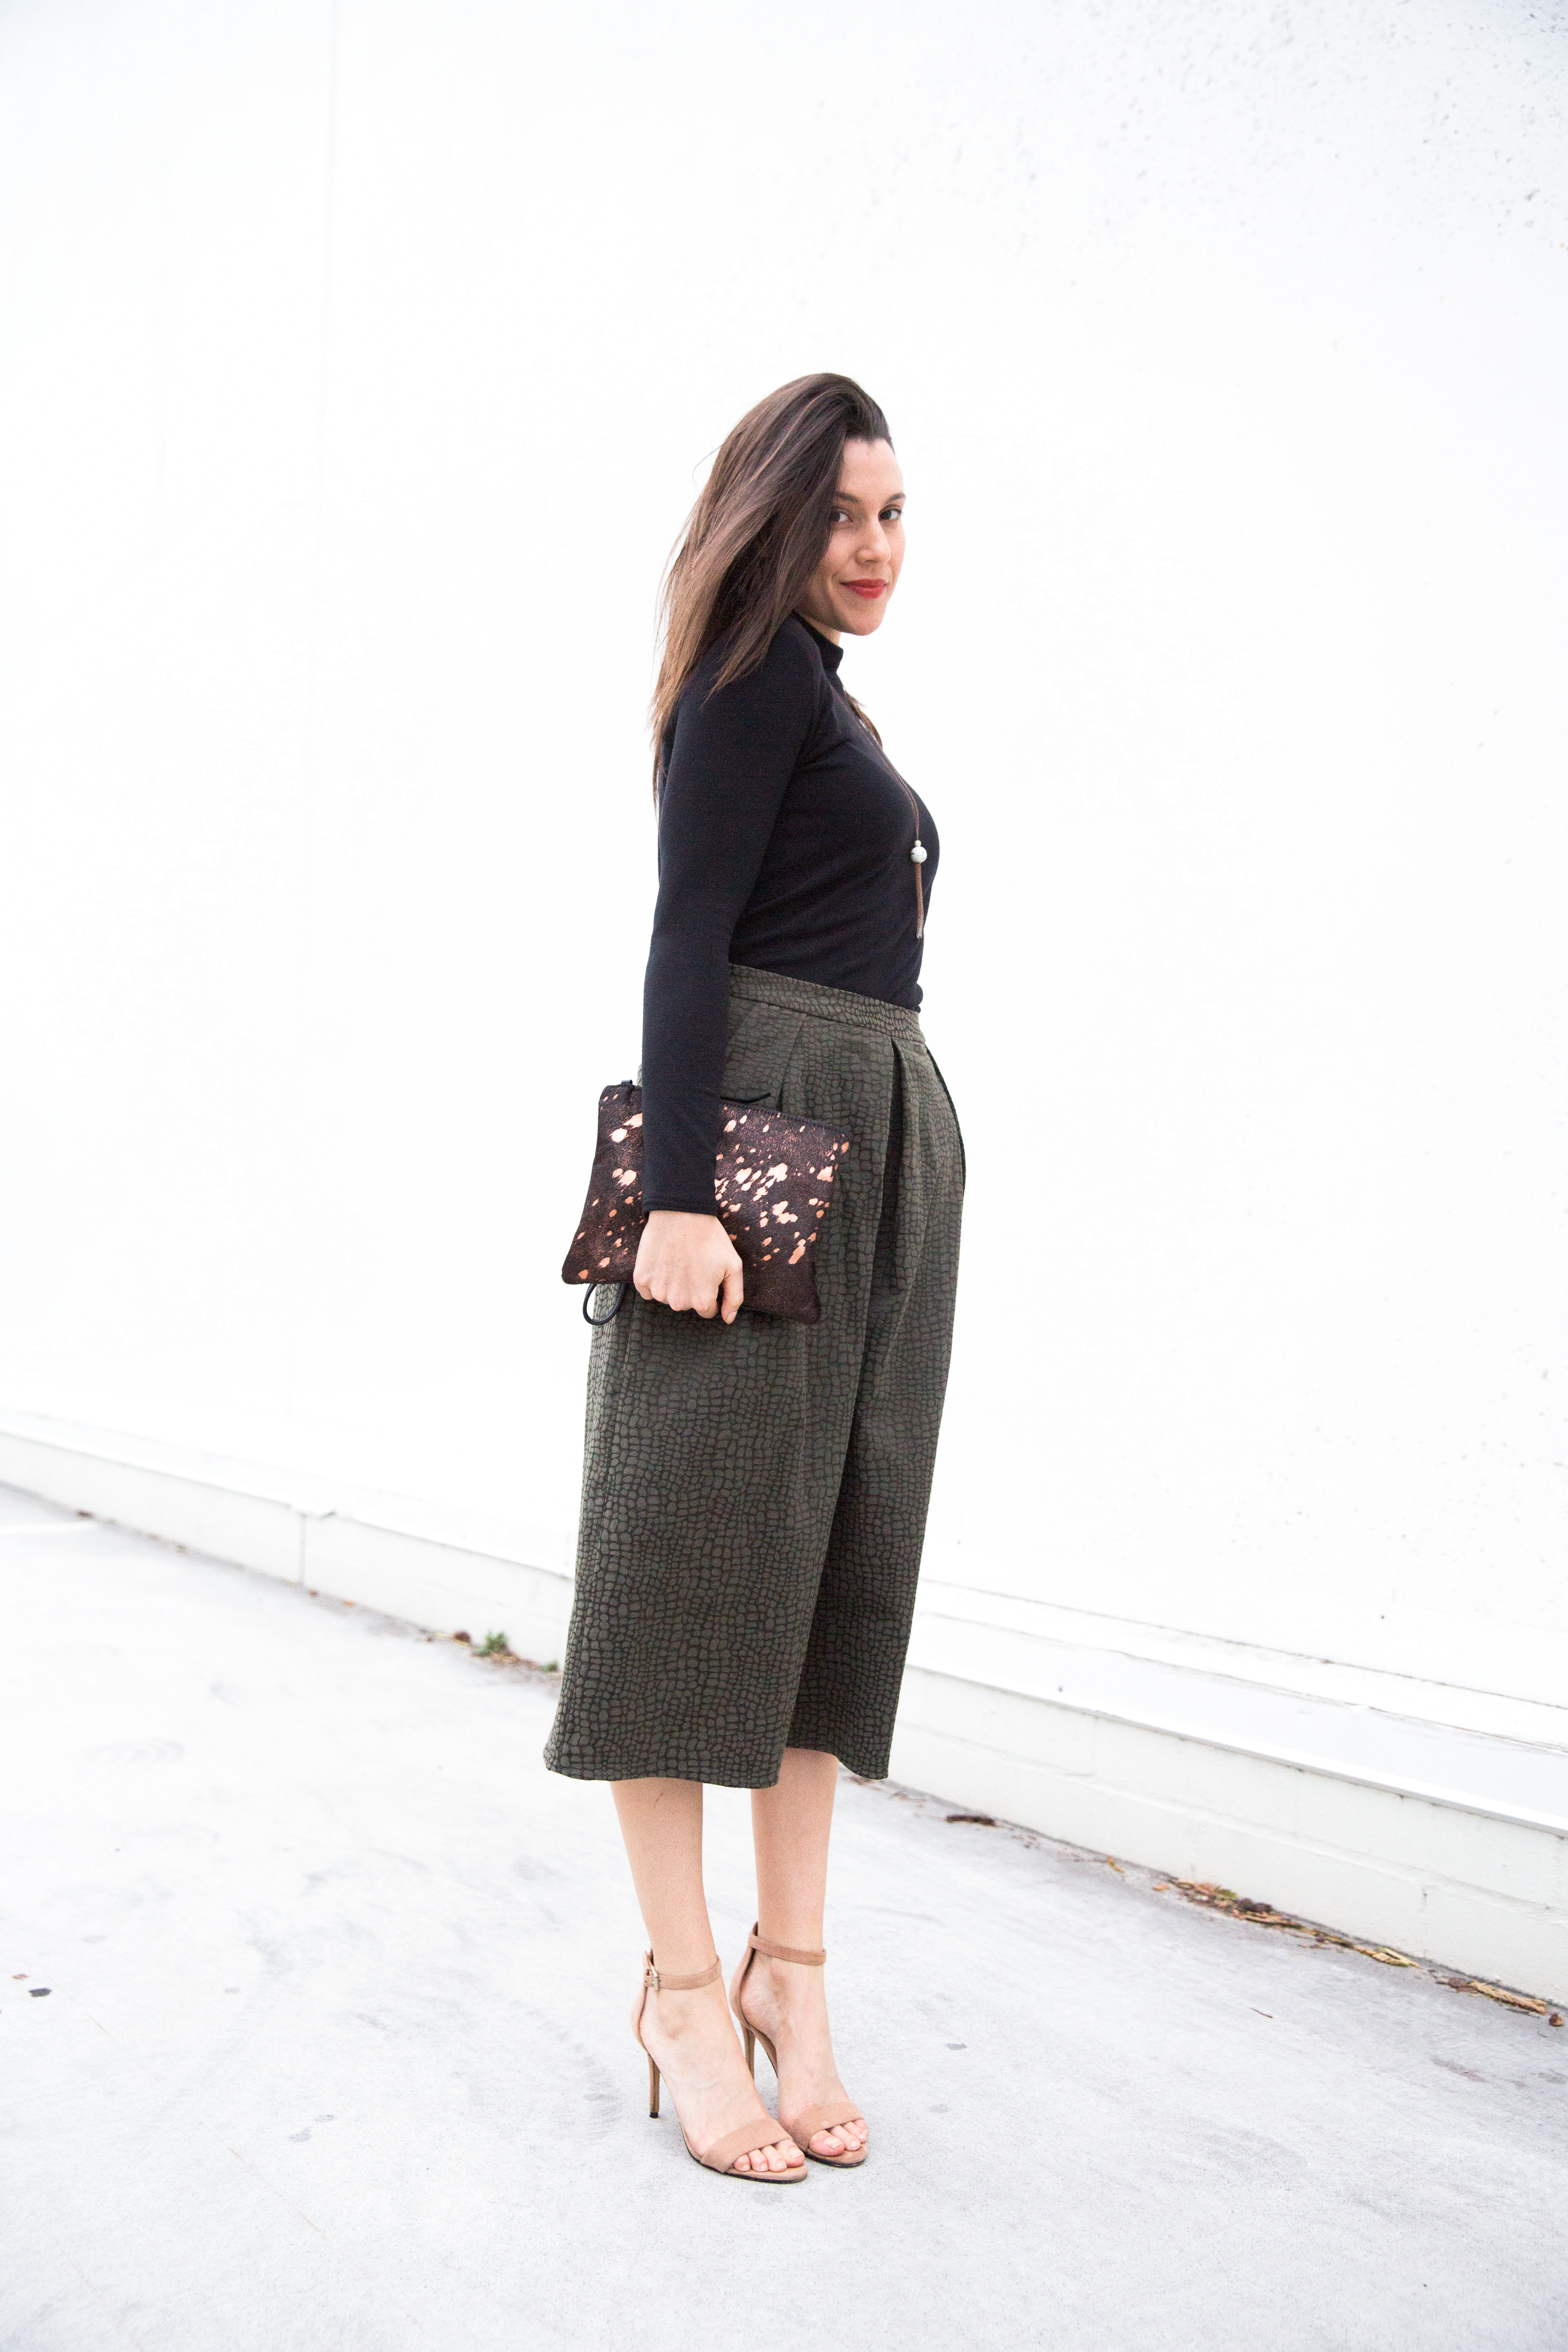 As is habit now, I did some preliminary sleuthing and found that while most said they loved the pattern, they wished they had sized down. I sized down and the fit through the body is perfection. The only mod I made was to add 1″ to the sleeves. Next time I would add 2″ to the sleeves and 1-2″ to the hems but if you have regular length arms this wouldn’t be necessary. Now I’m dreaming of another version with above elbow length sleeves, in a stripe.
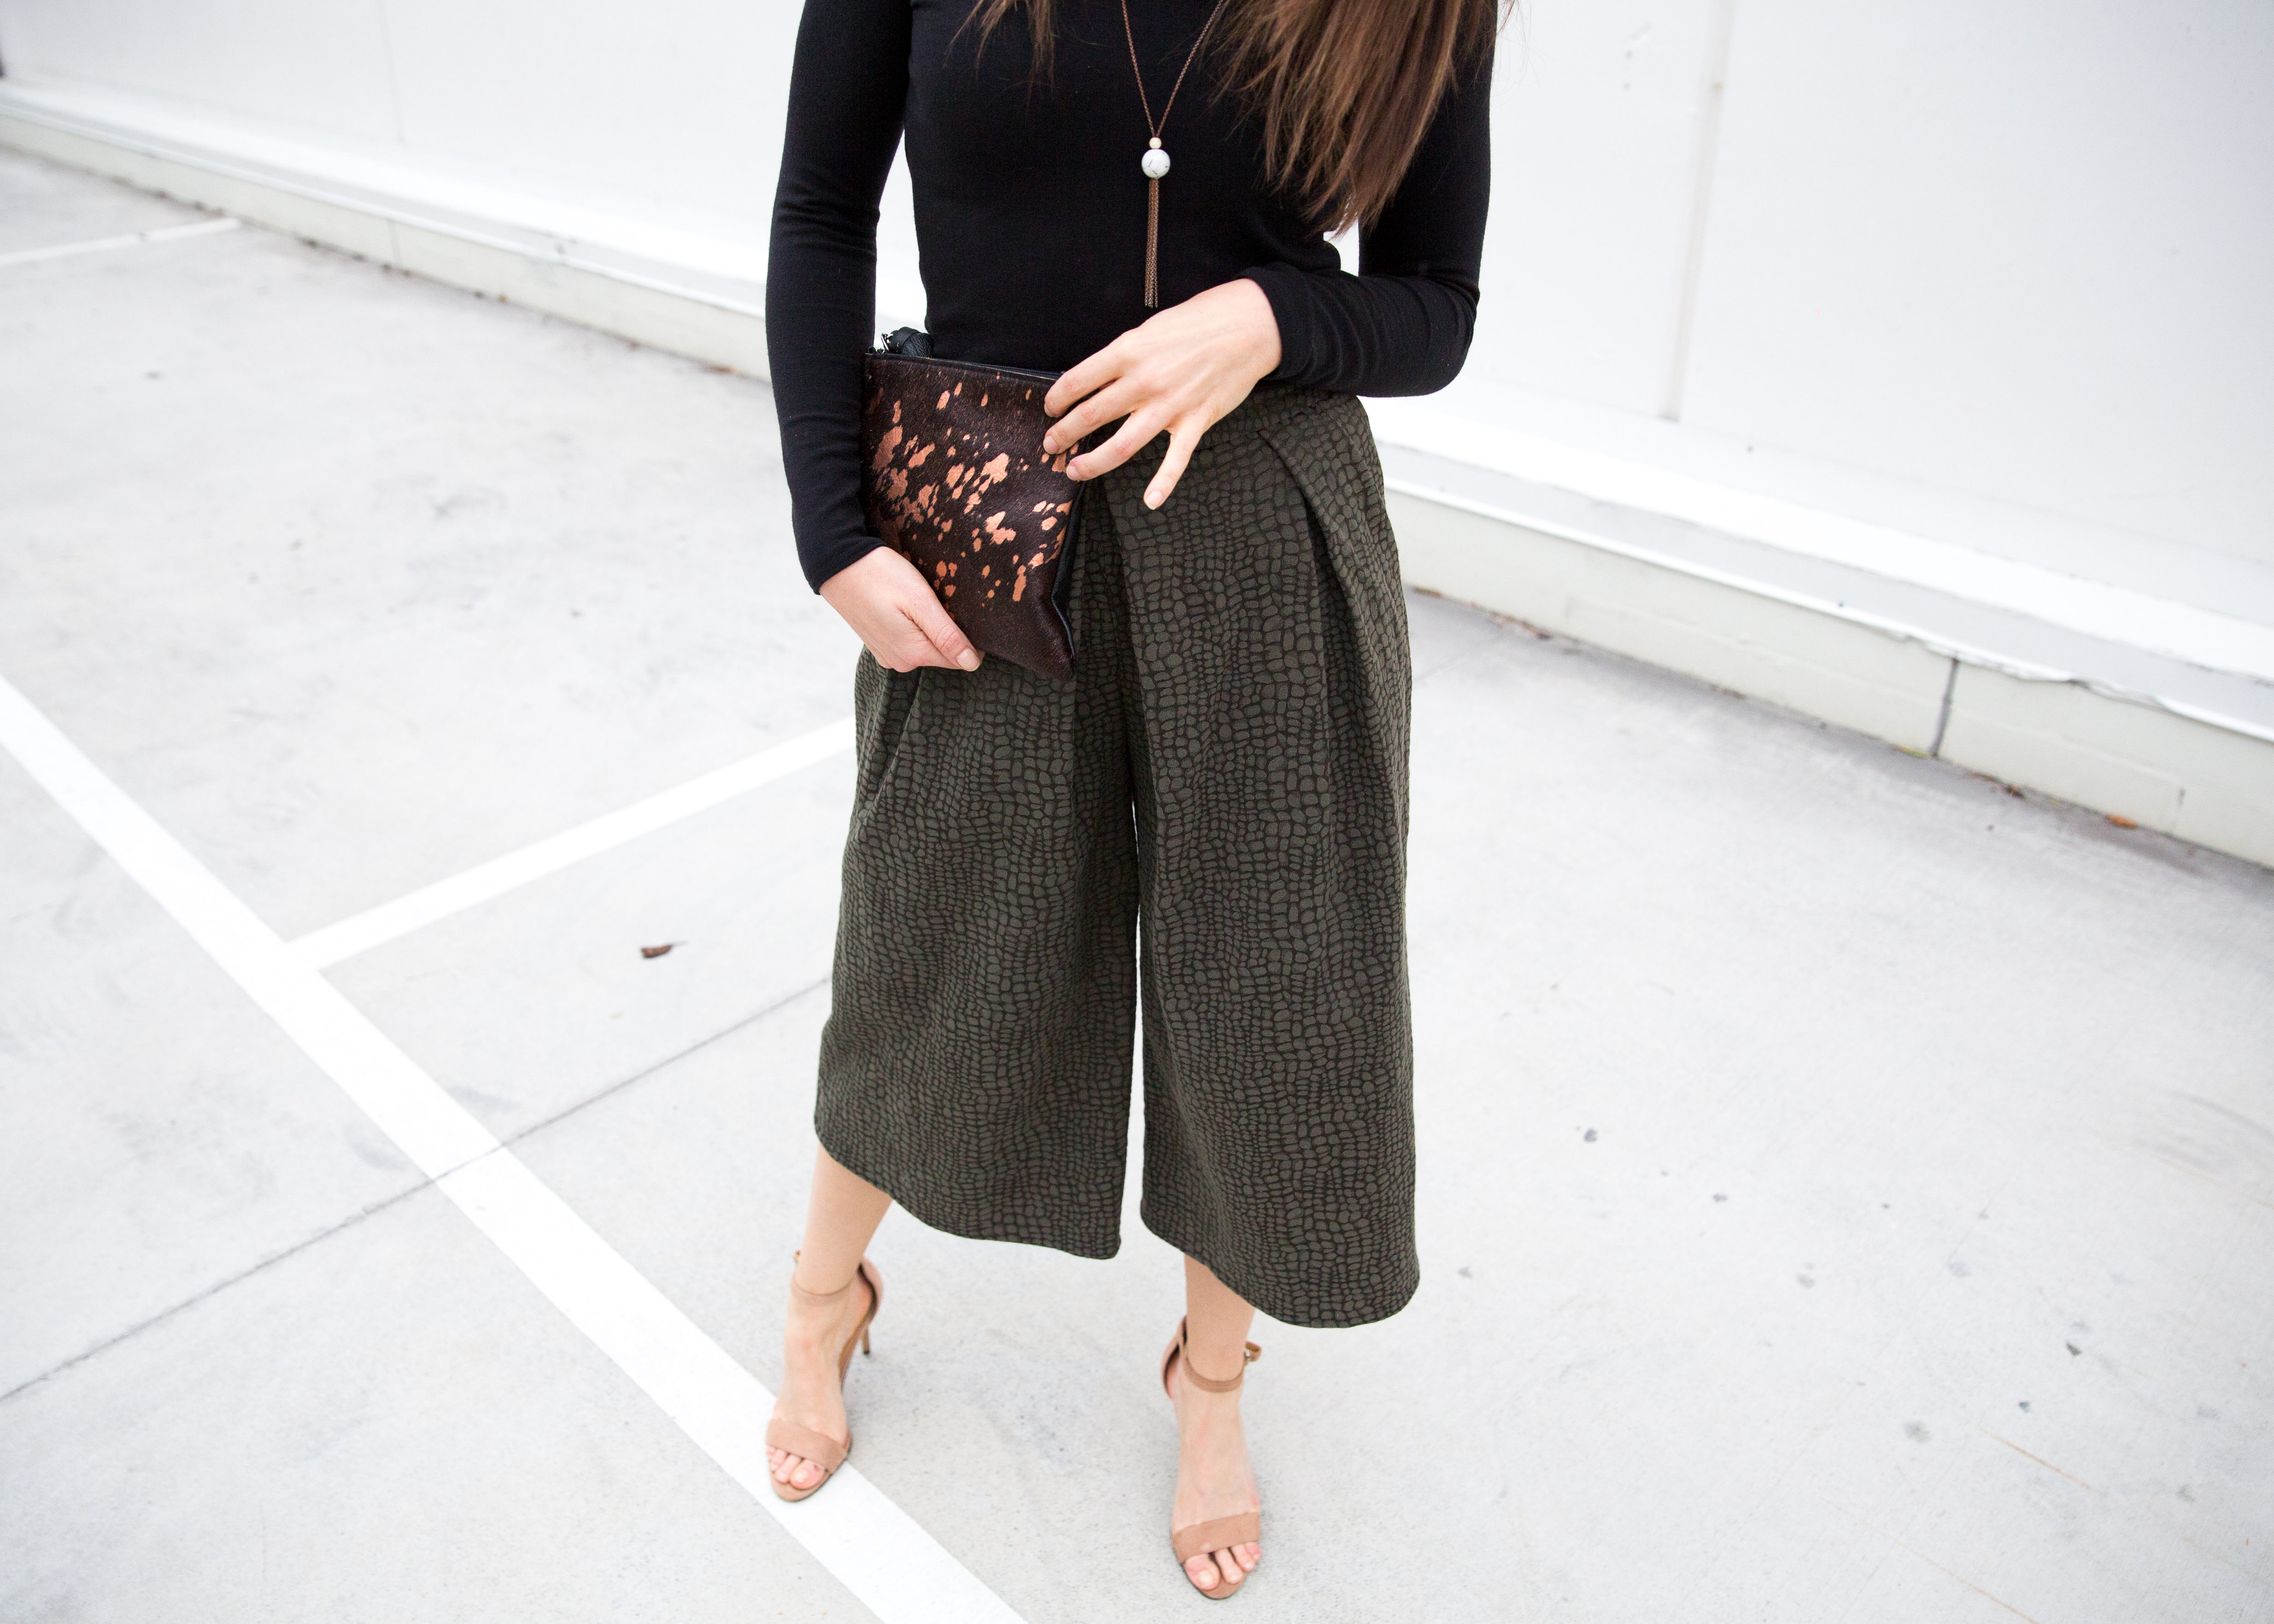 There’s nothing else to add, it has kept me toasty warm through a mild Brisbane winter and I need 100 more.
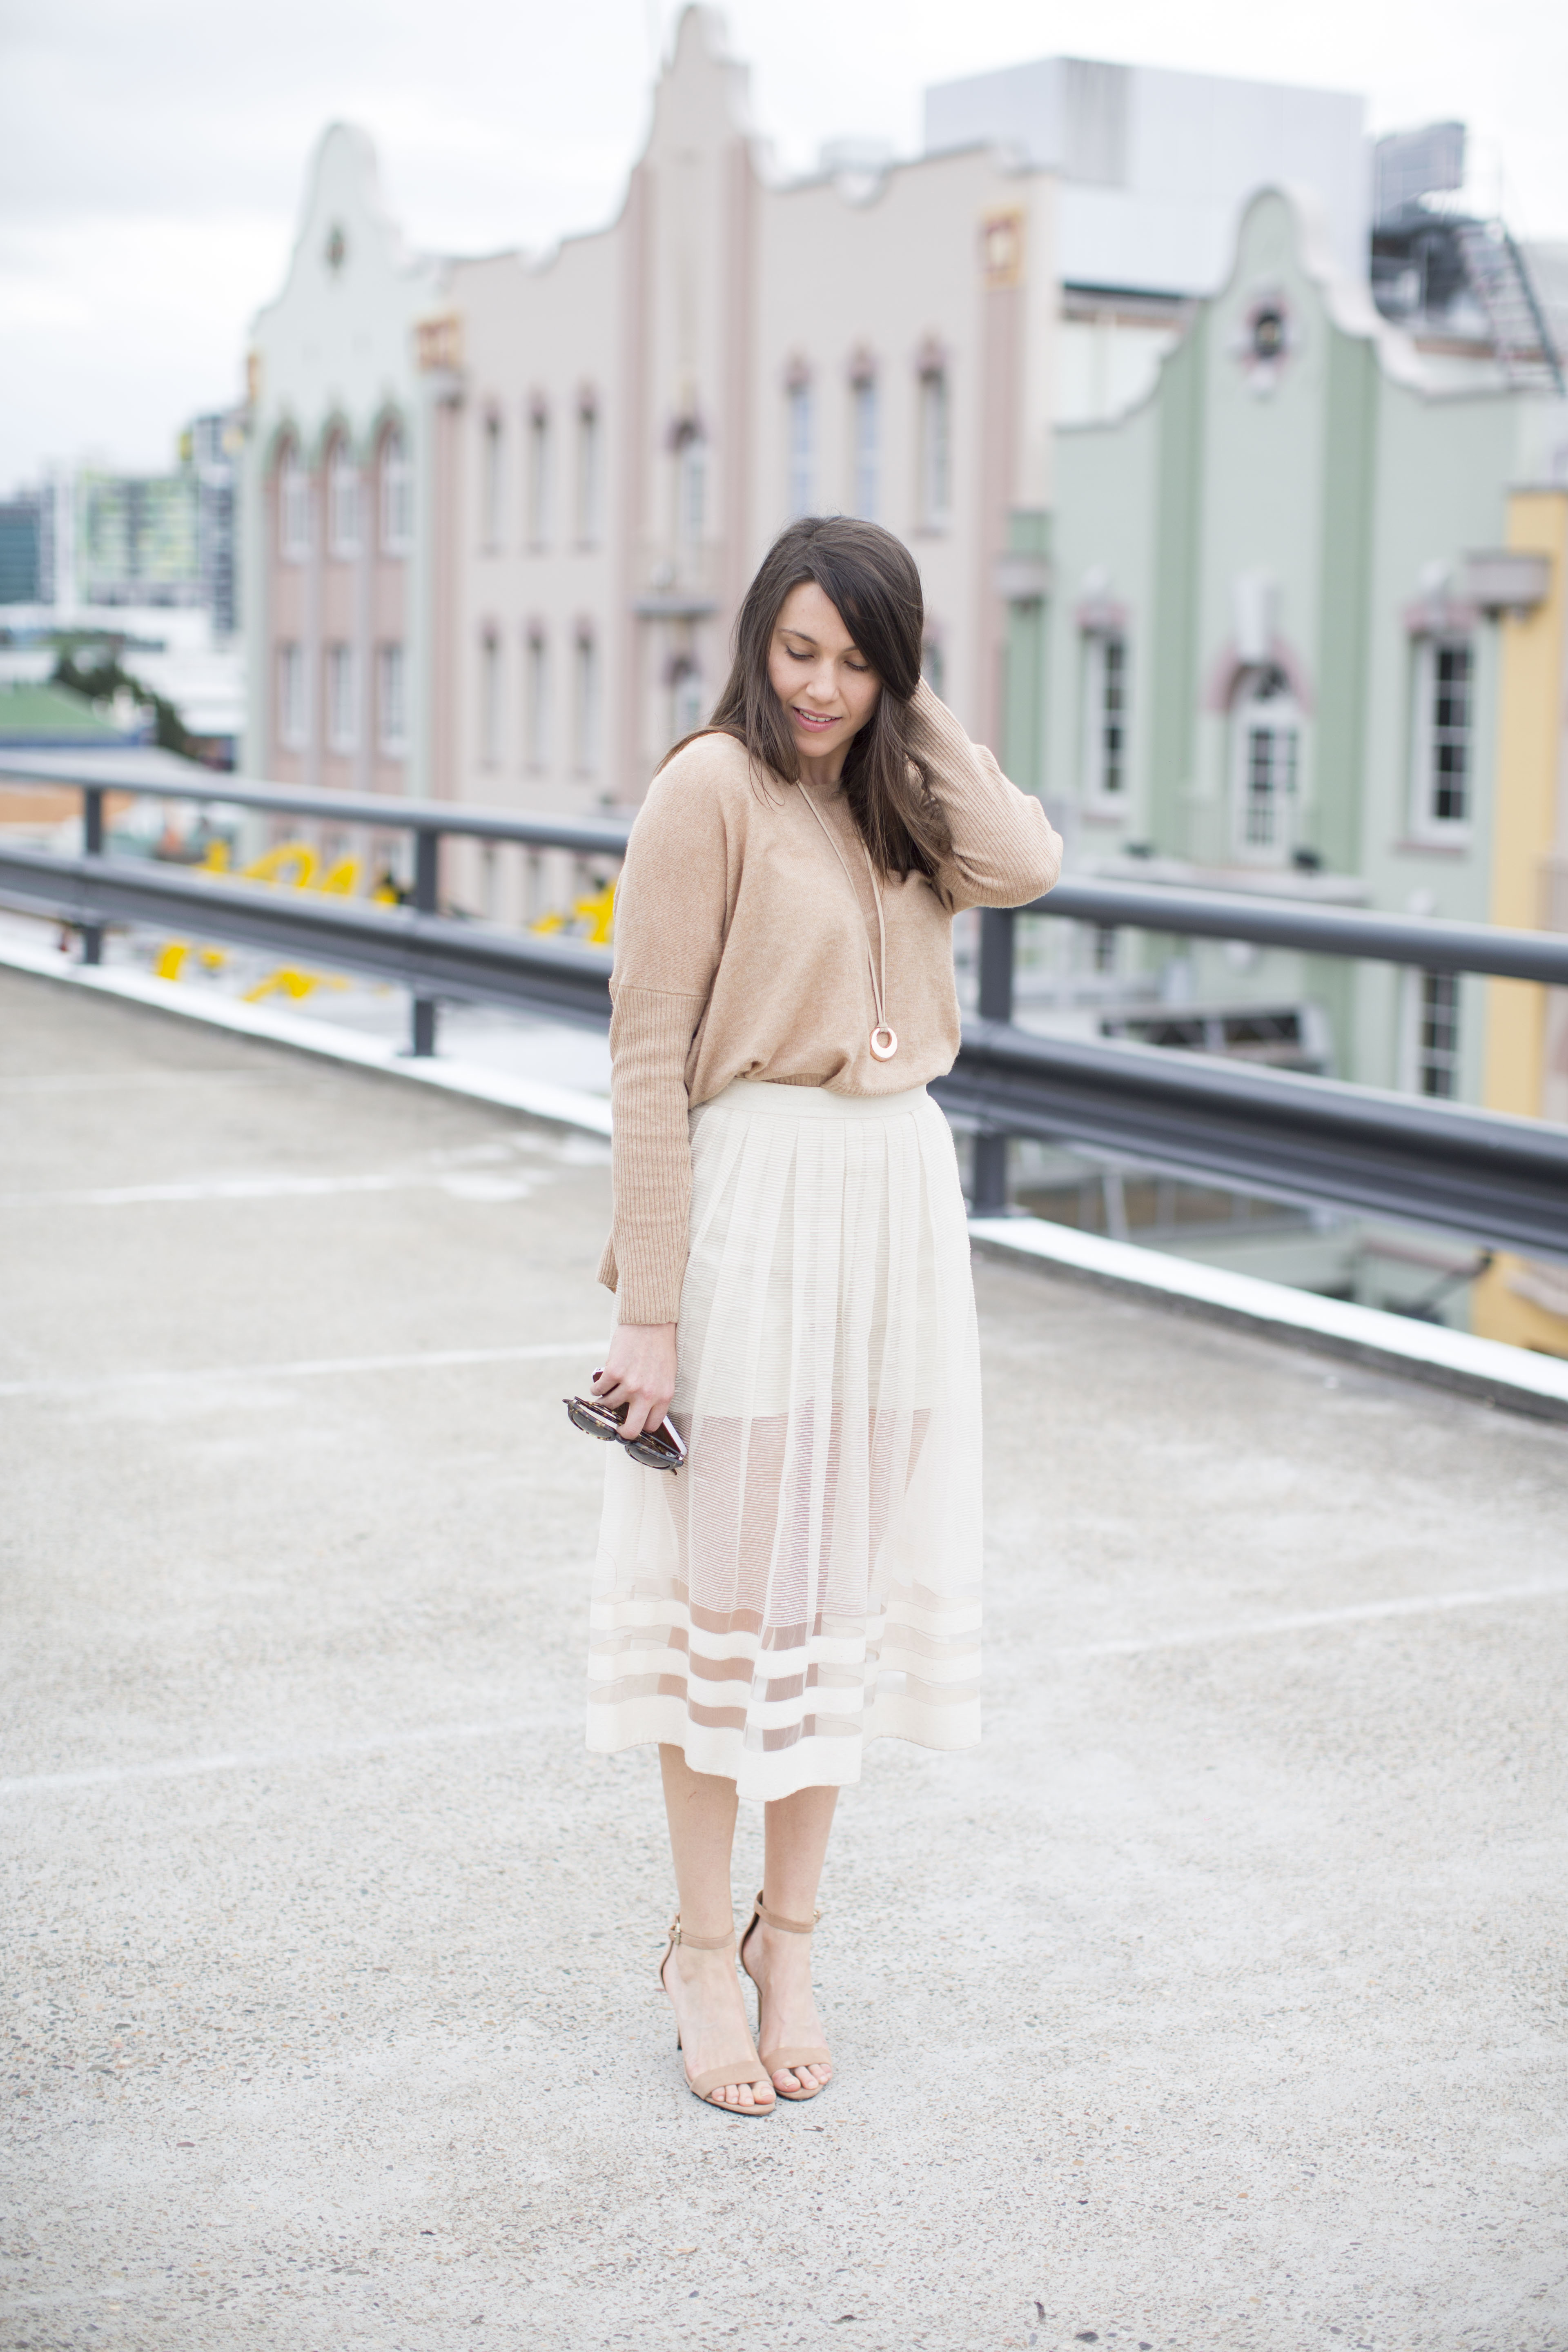

 Buying fabric online is a game of roulette I like to play. It either goes one of two ways: the fabric turns up and it’s exactly what you were hoping, or it turns up and you realise the monitor lied, the texture is weird and it smells like old person. Happily, this fabric was the former! I’ve bought a few pieces from
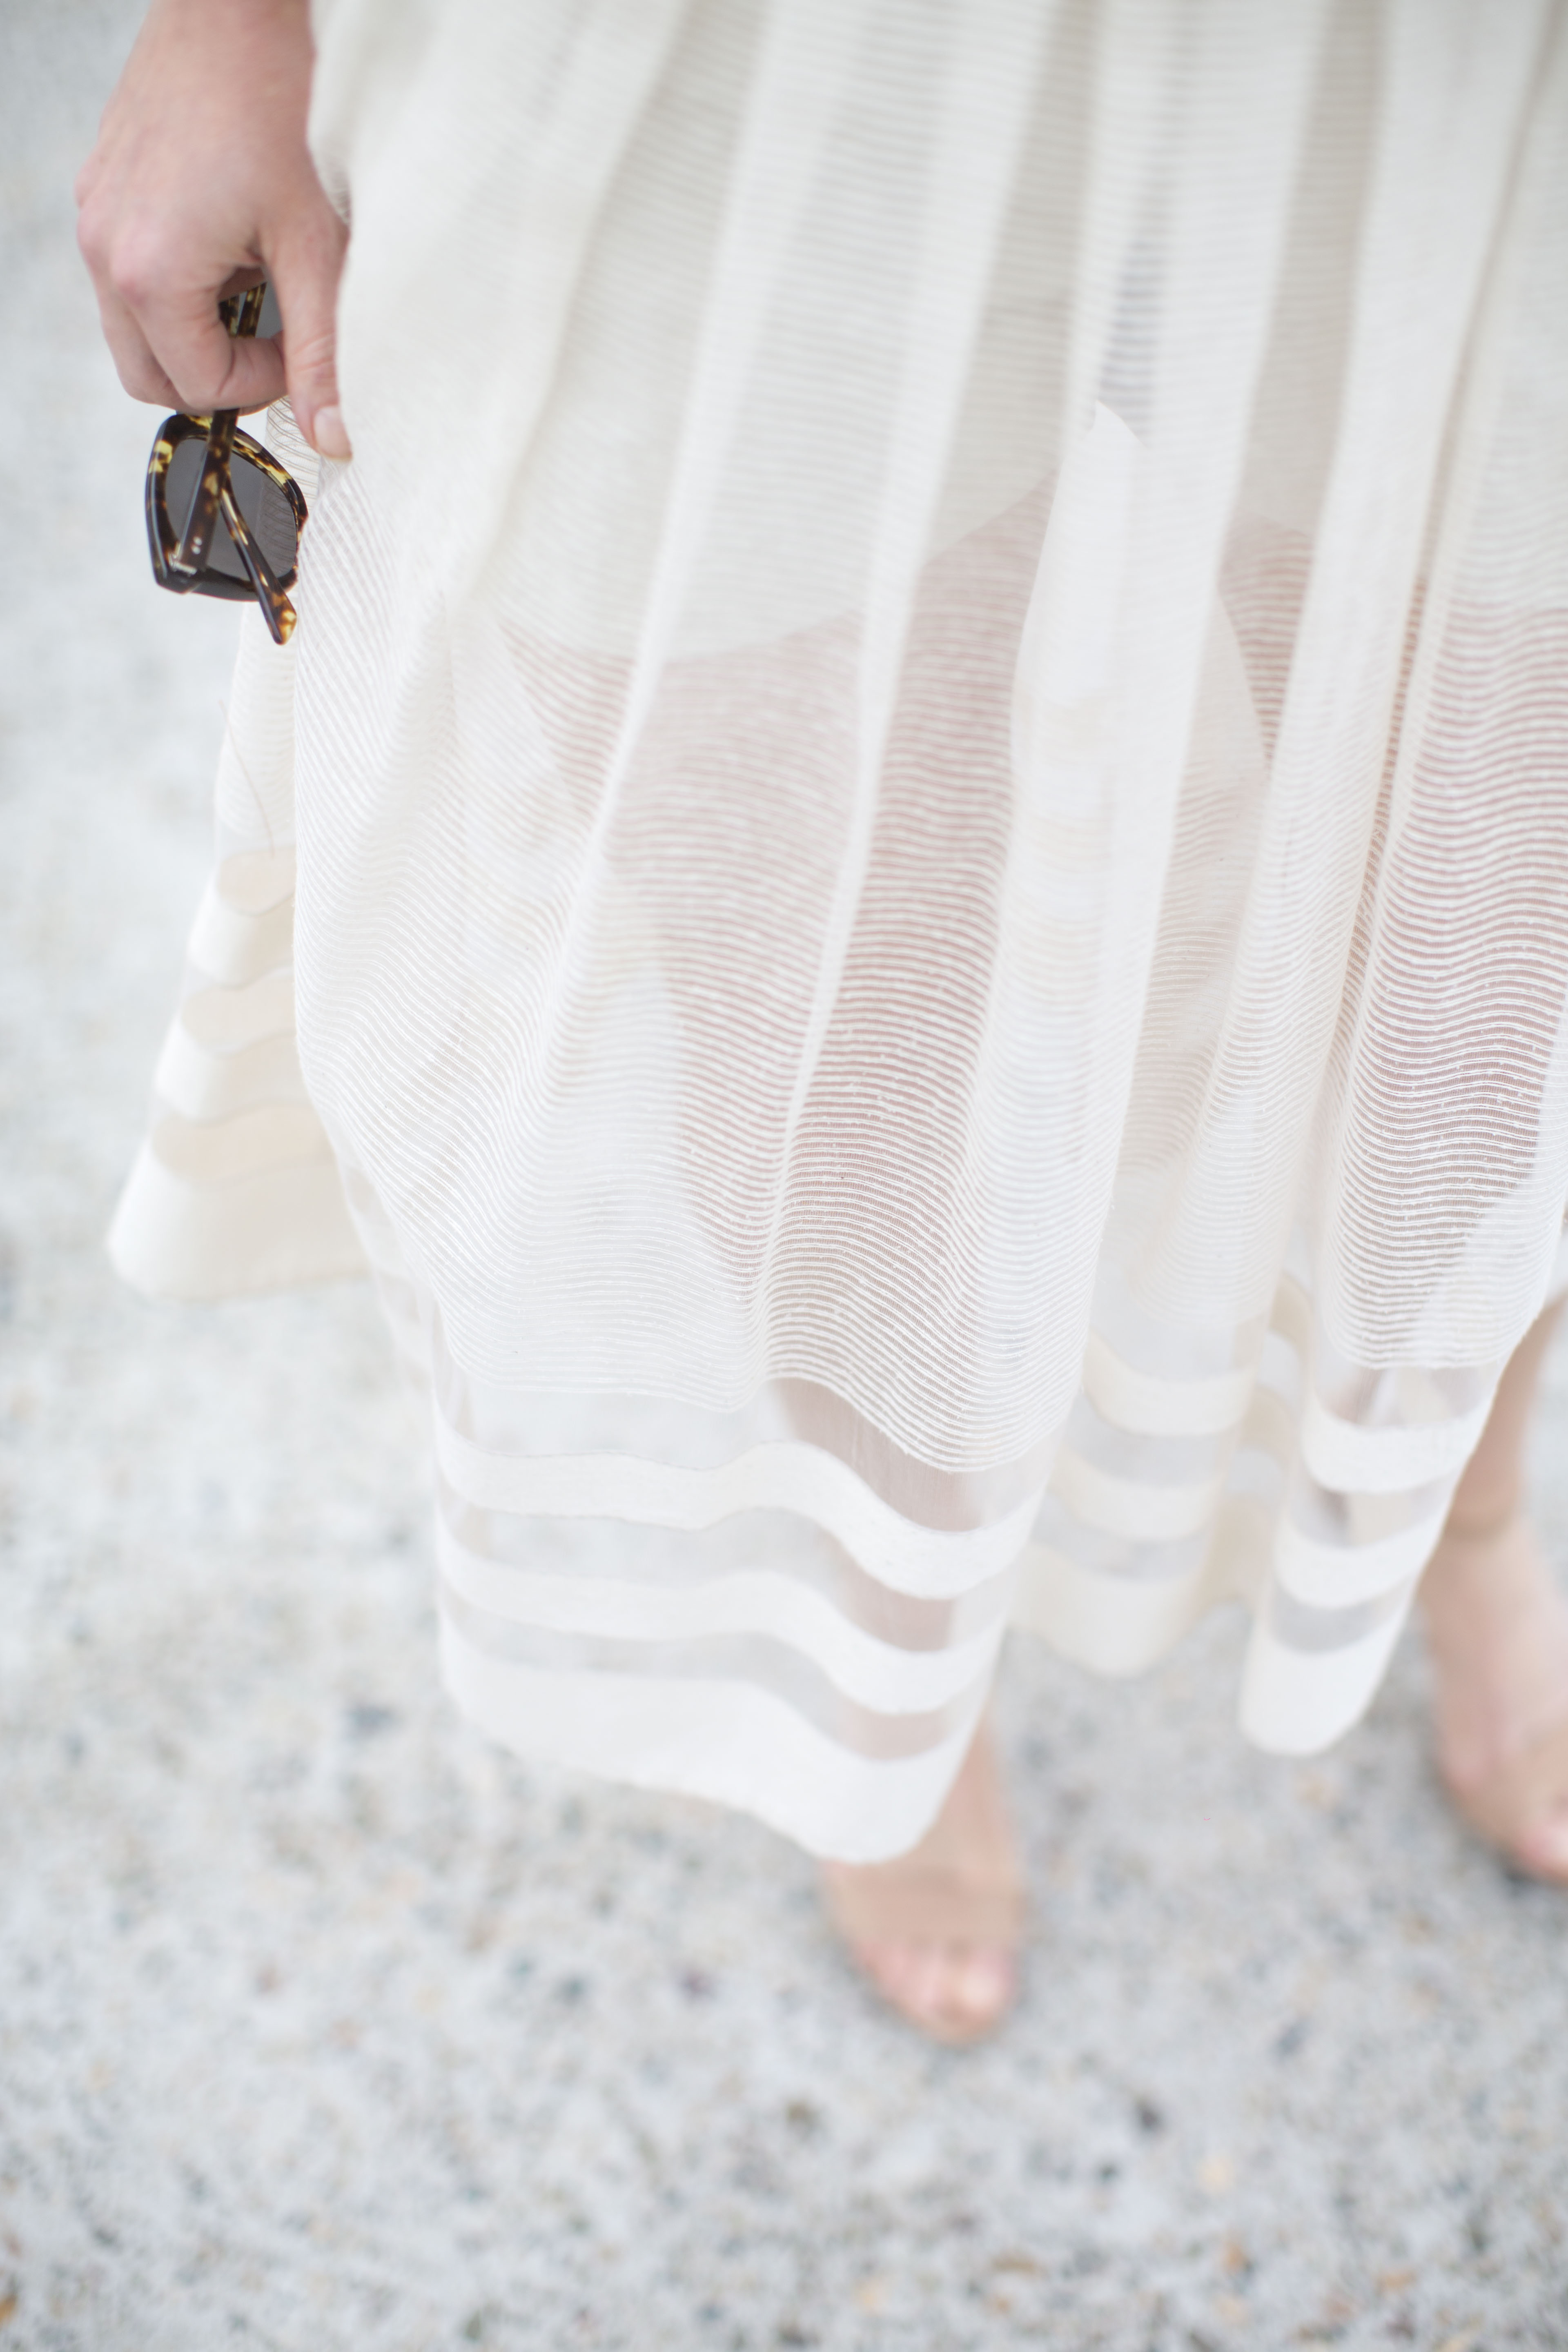
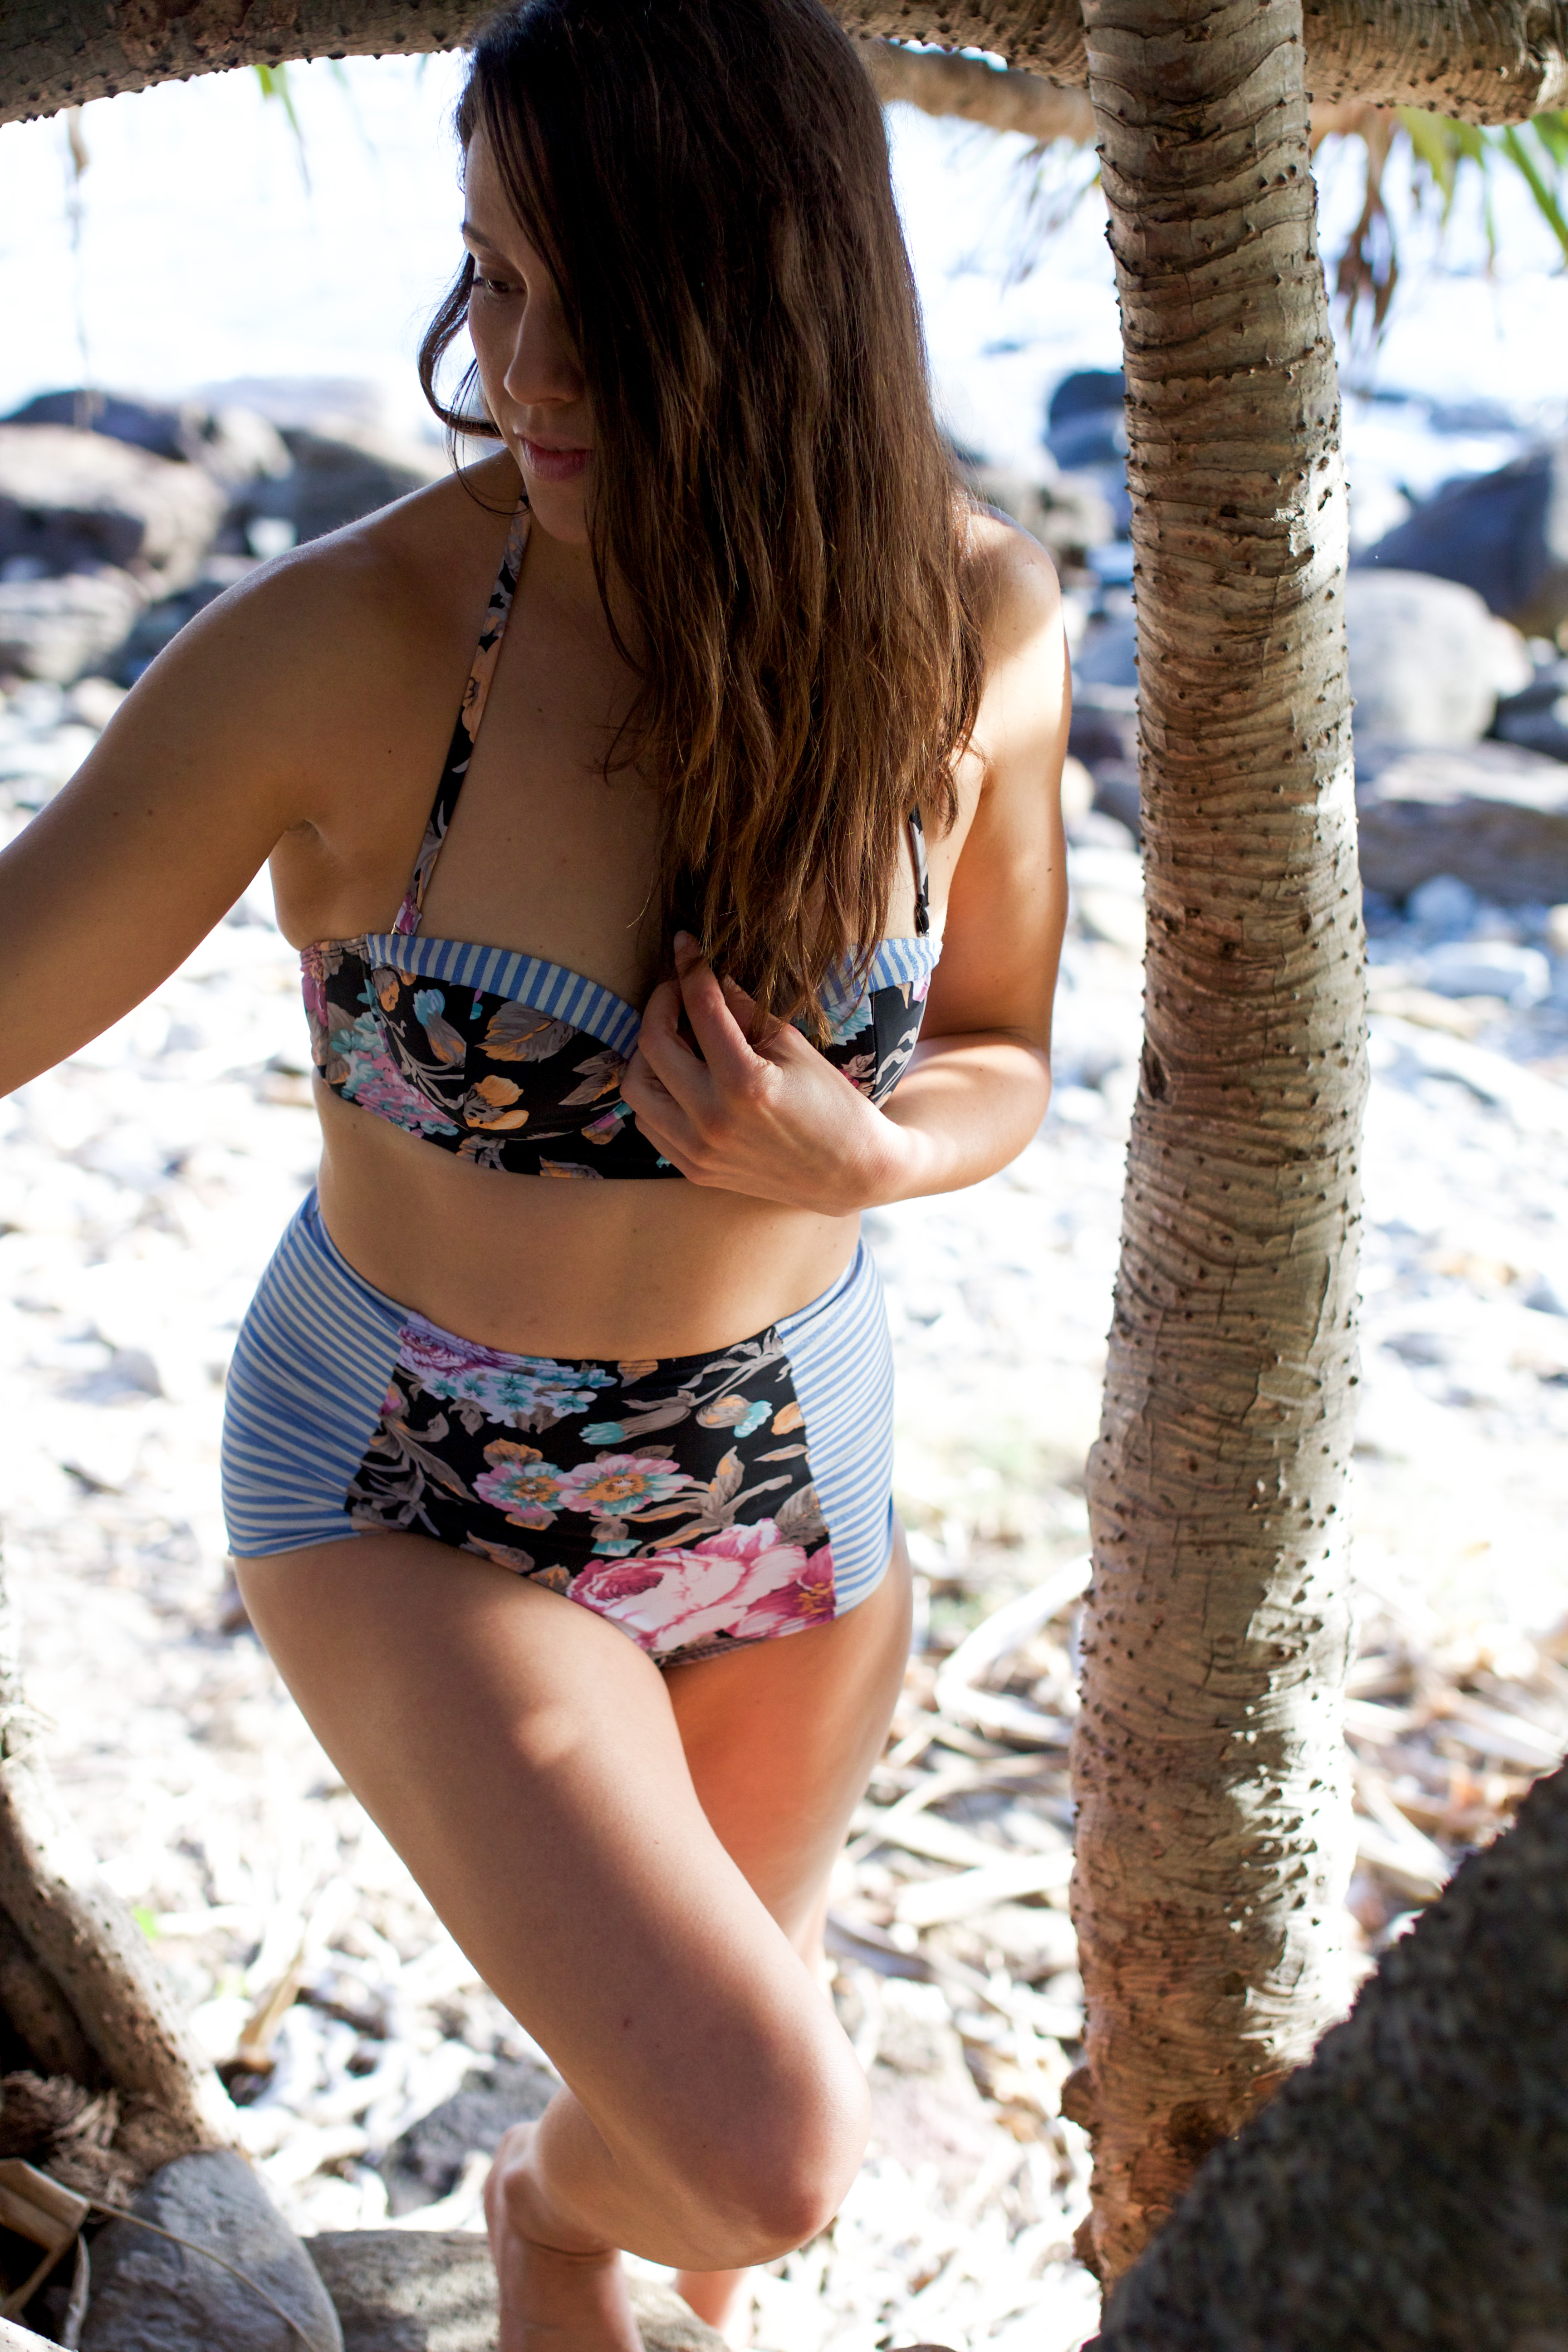
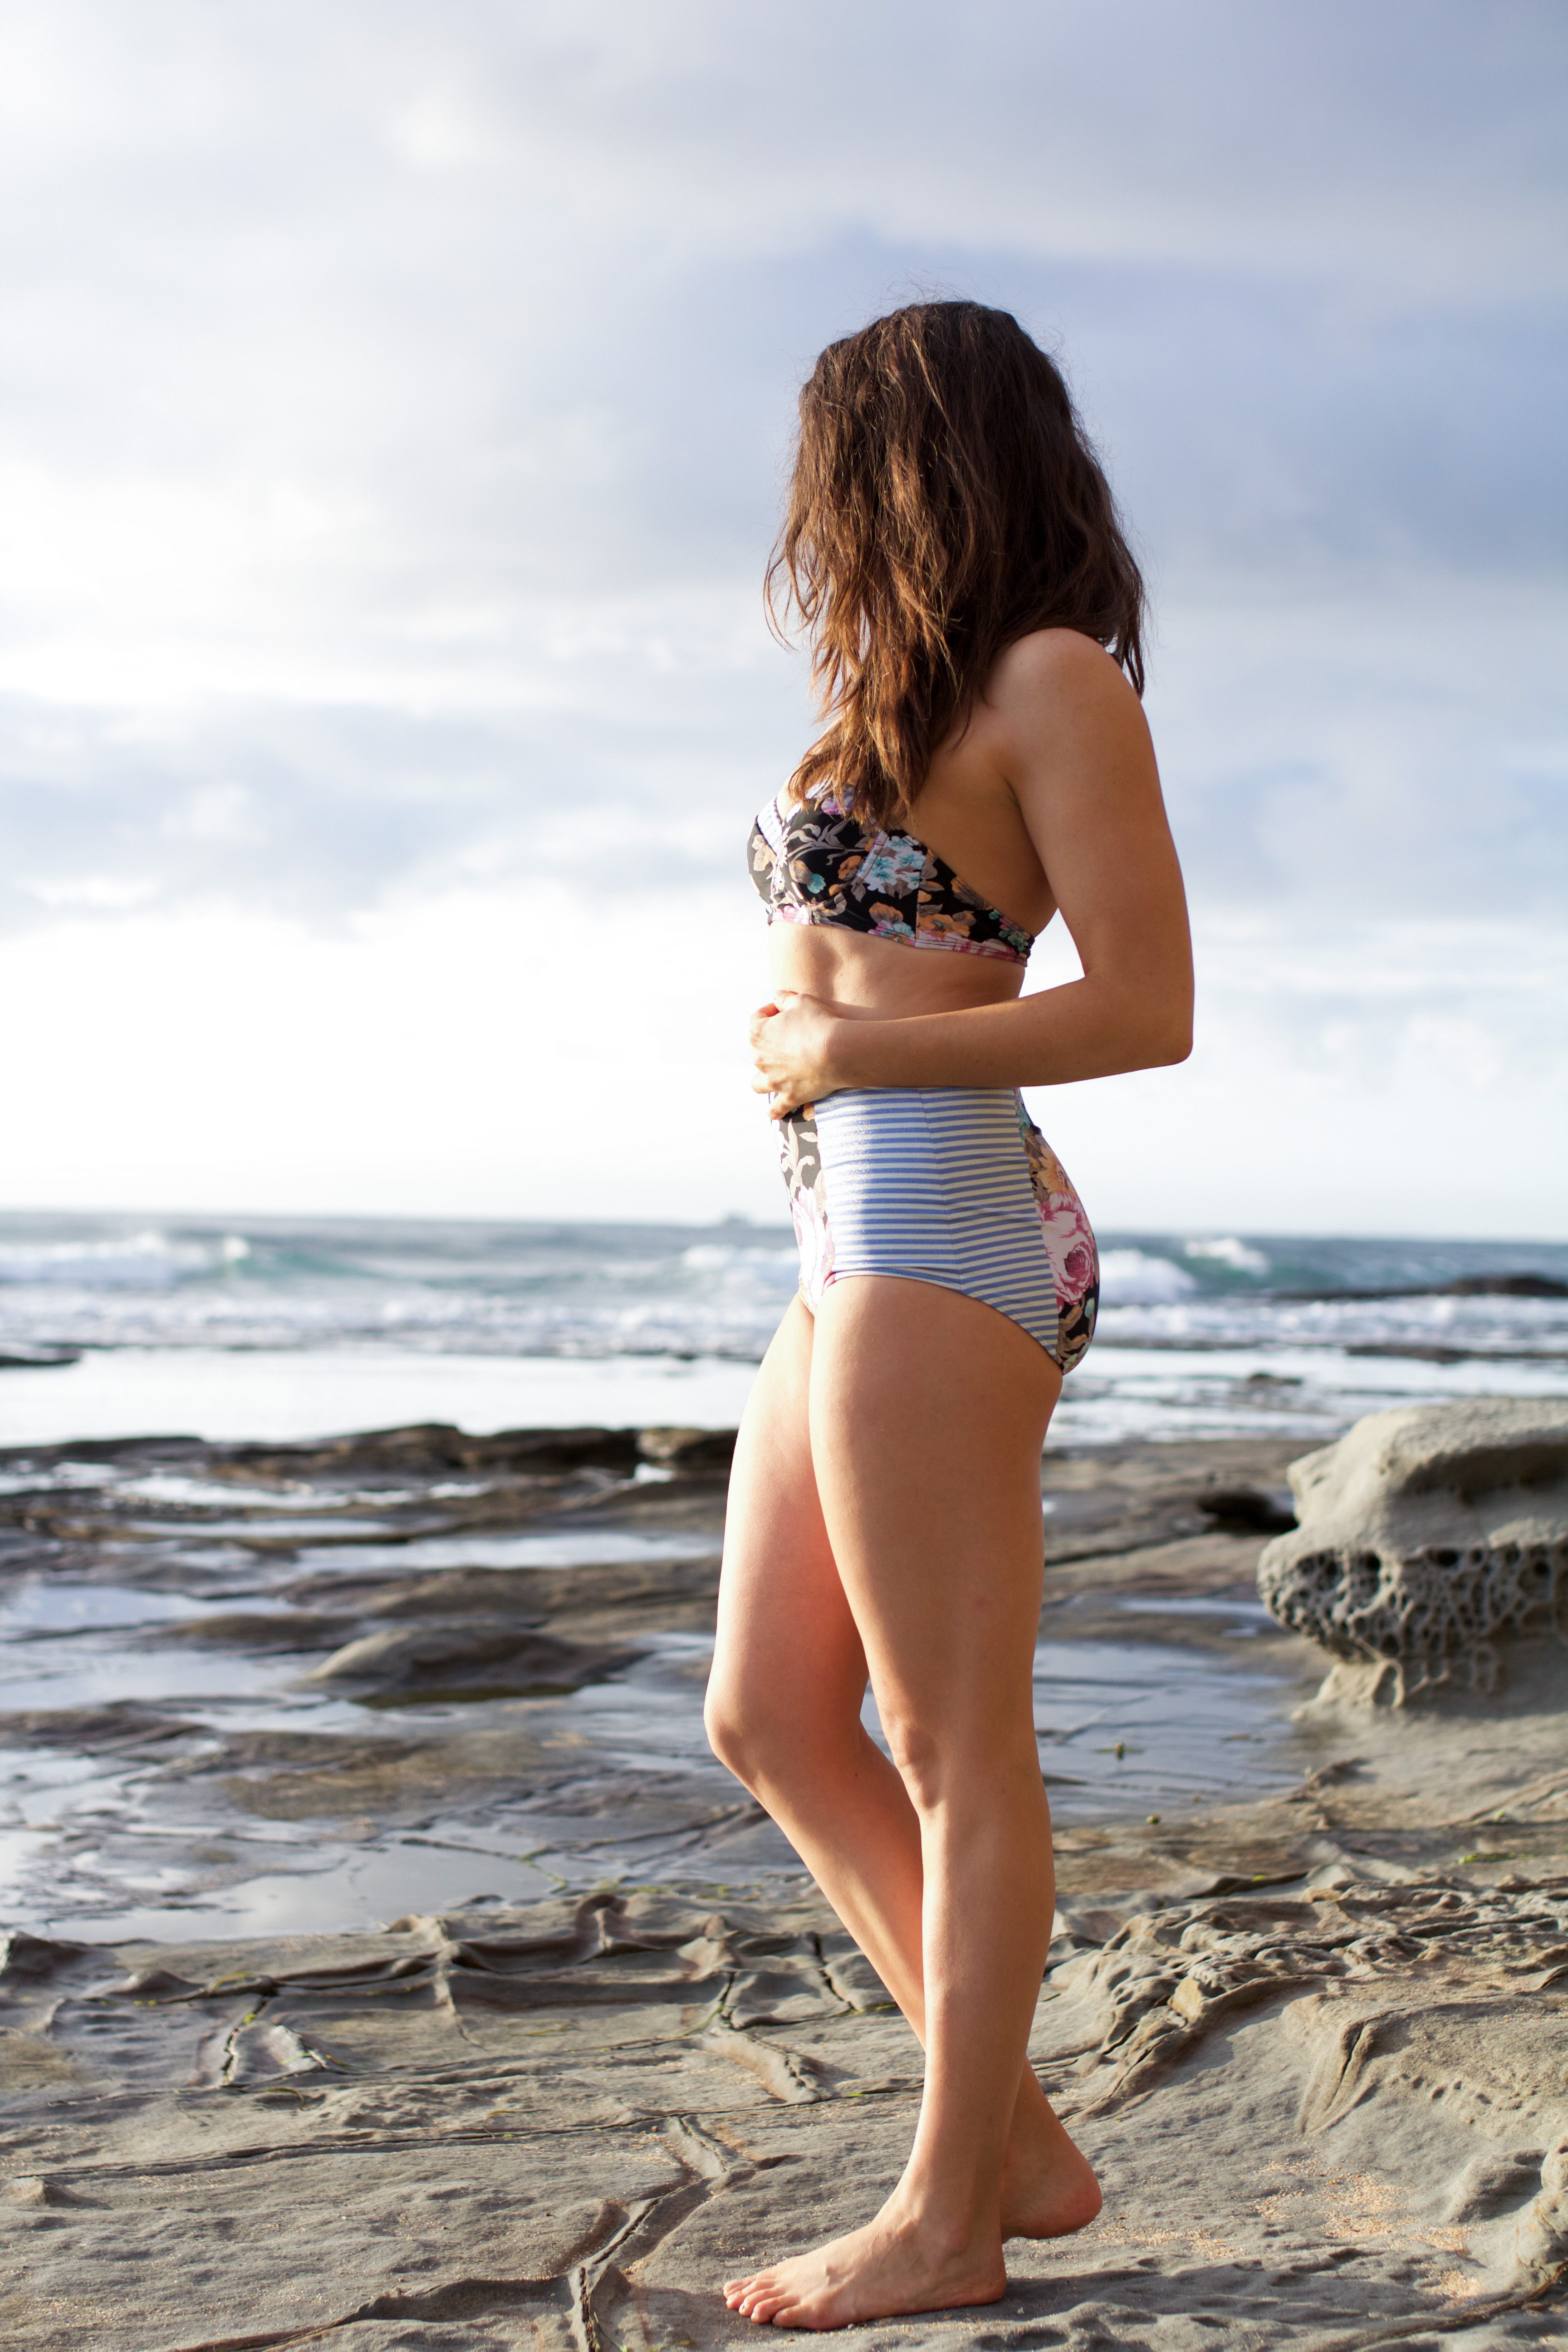
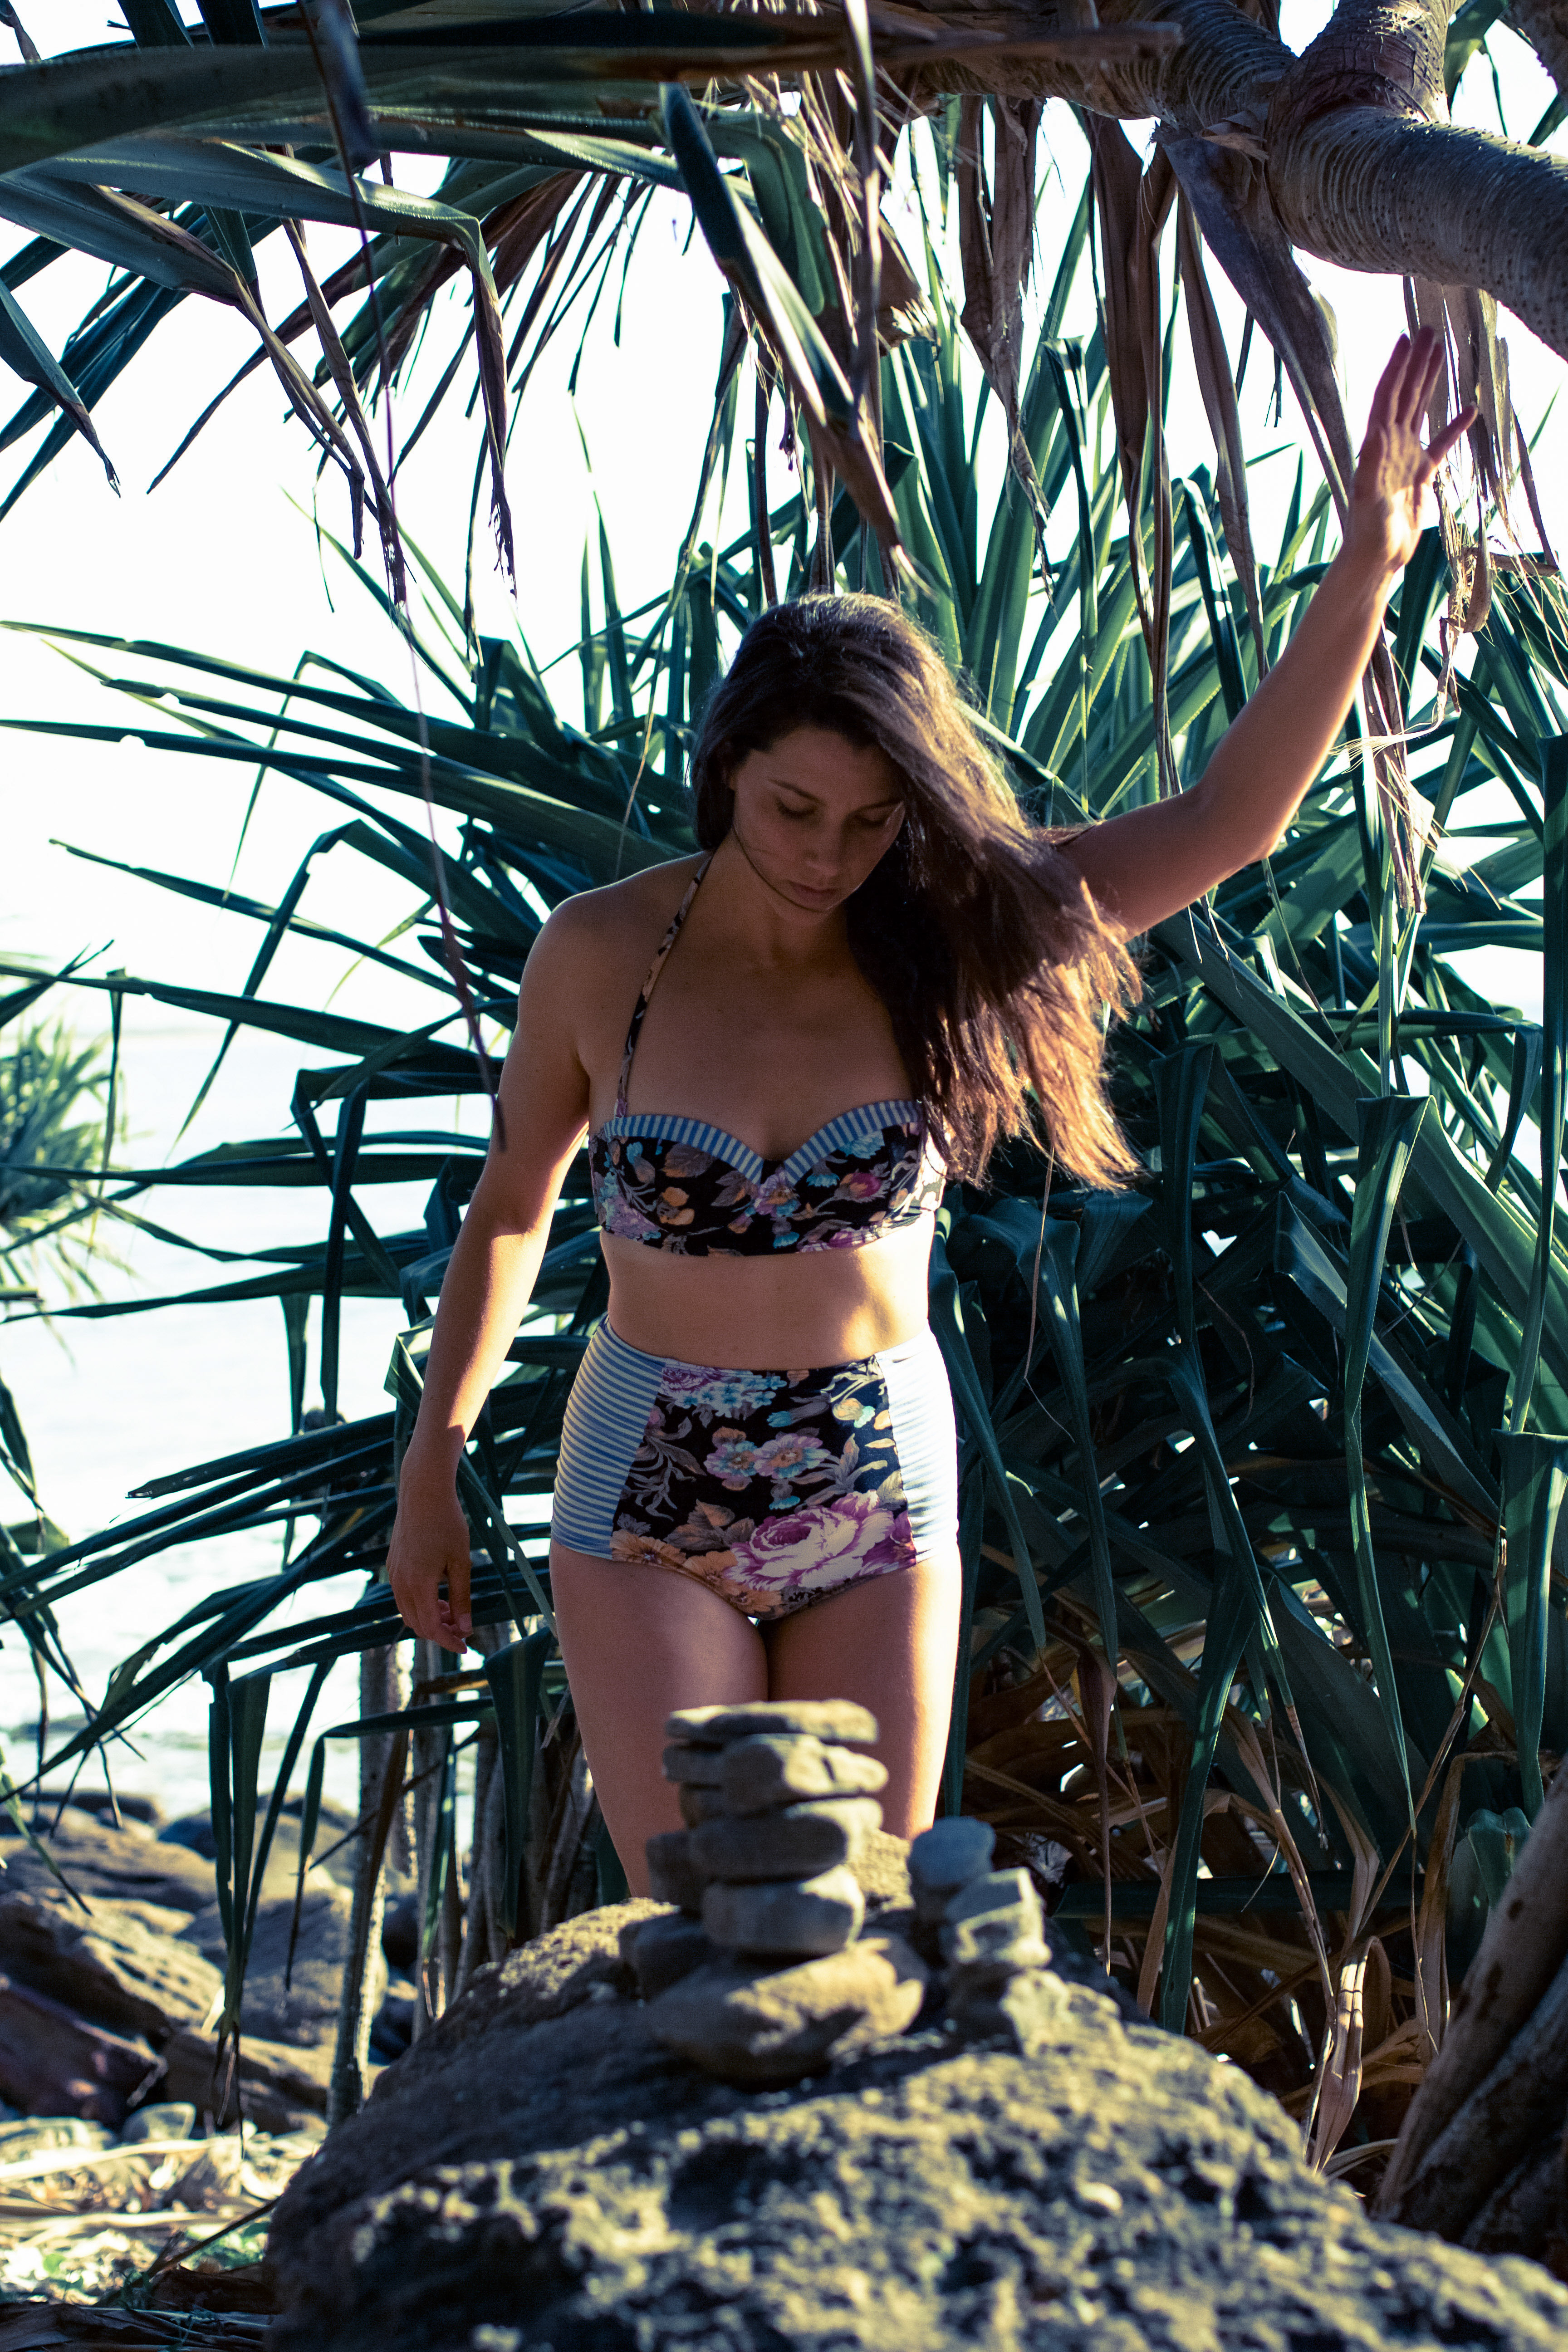
 As for a plan…nada! I thought a good place to start was to find a high waisted pattern for the undershorts, with a side zipper and a relatively slim leg so as not so have too much volume with my volume. The Named
 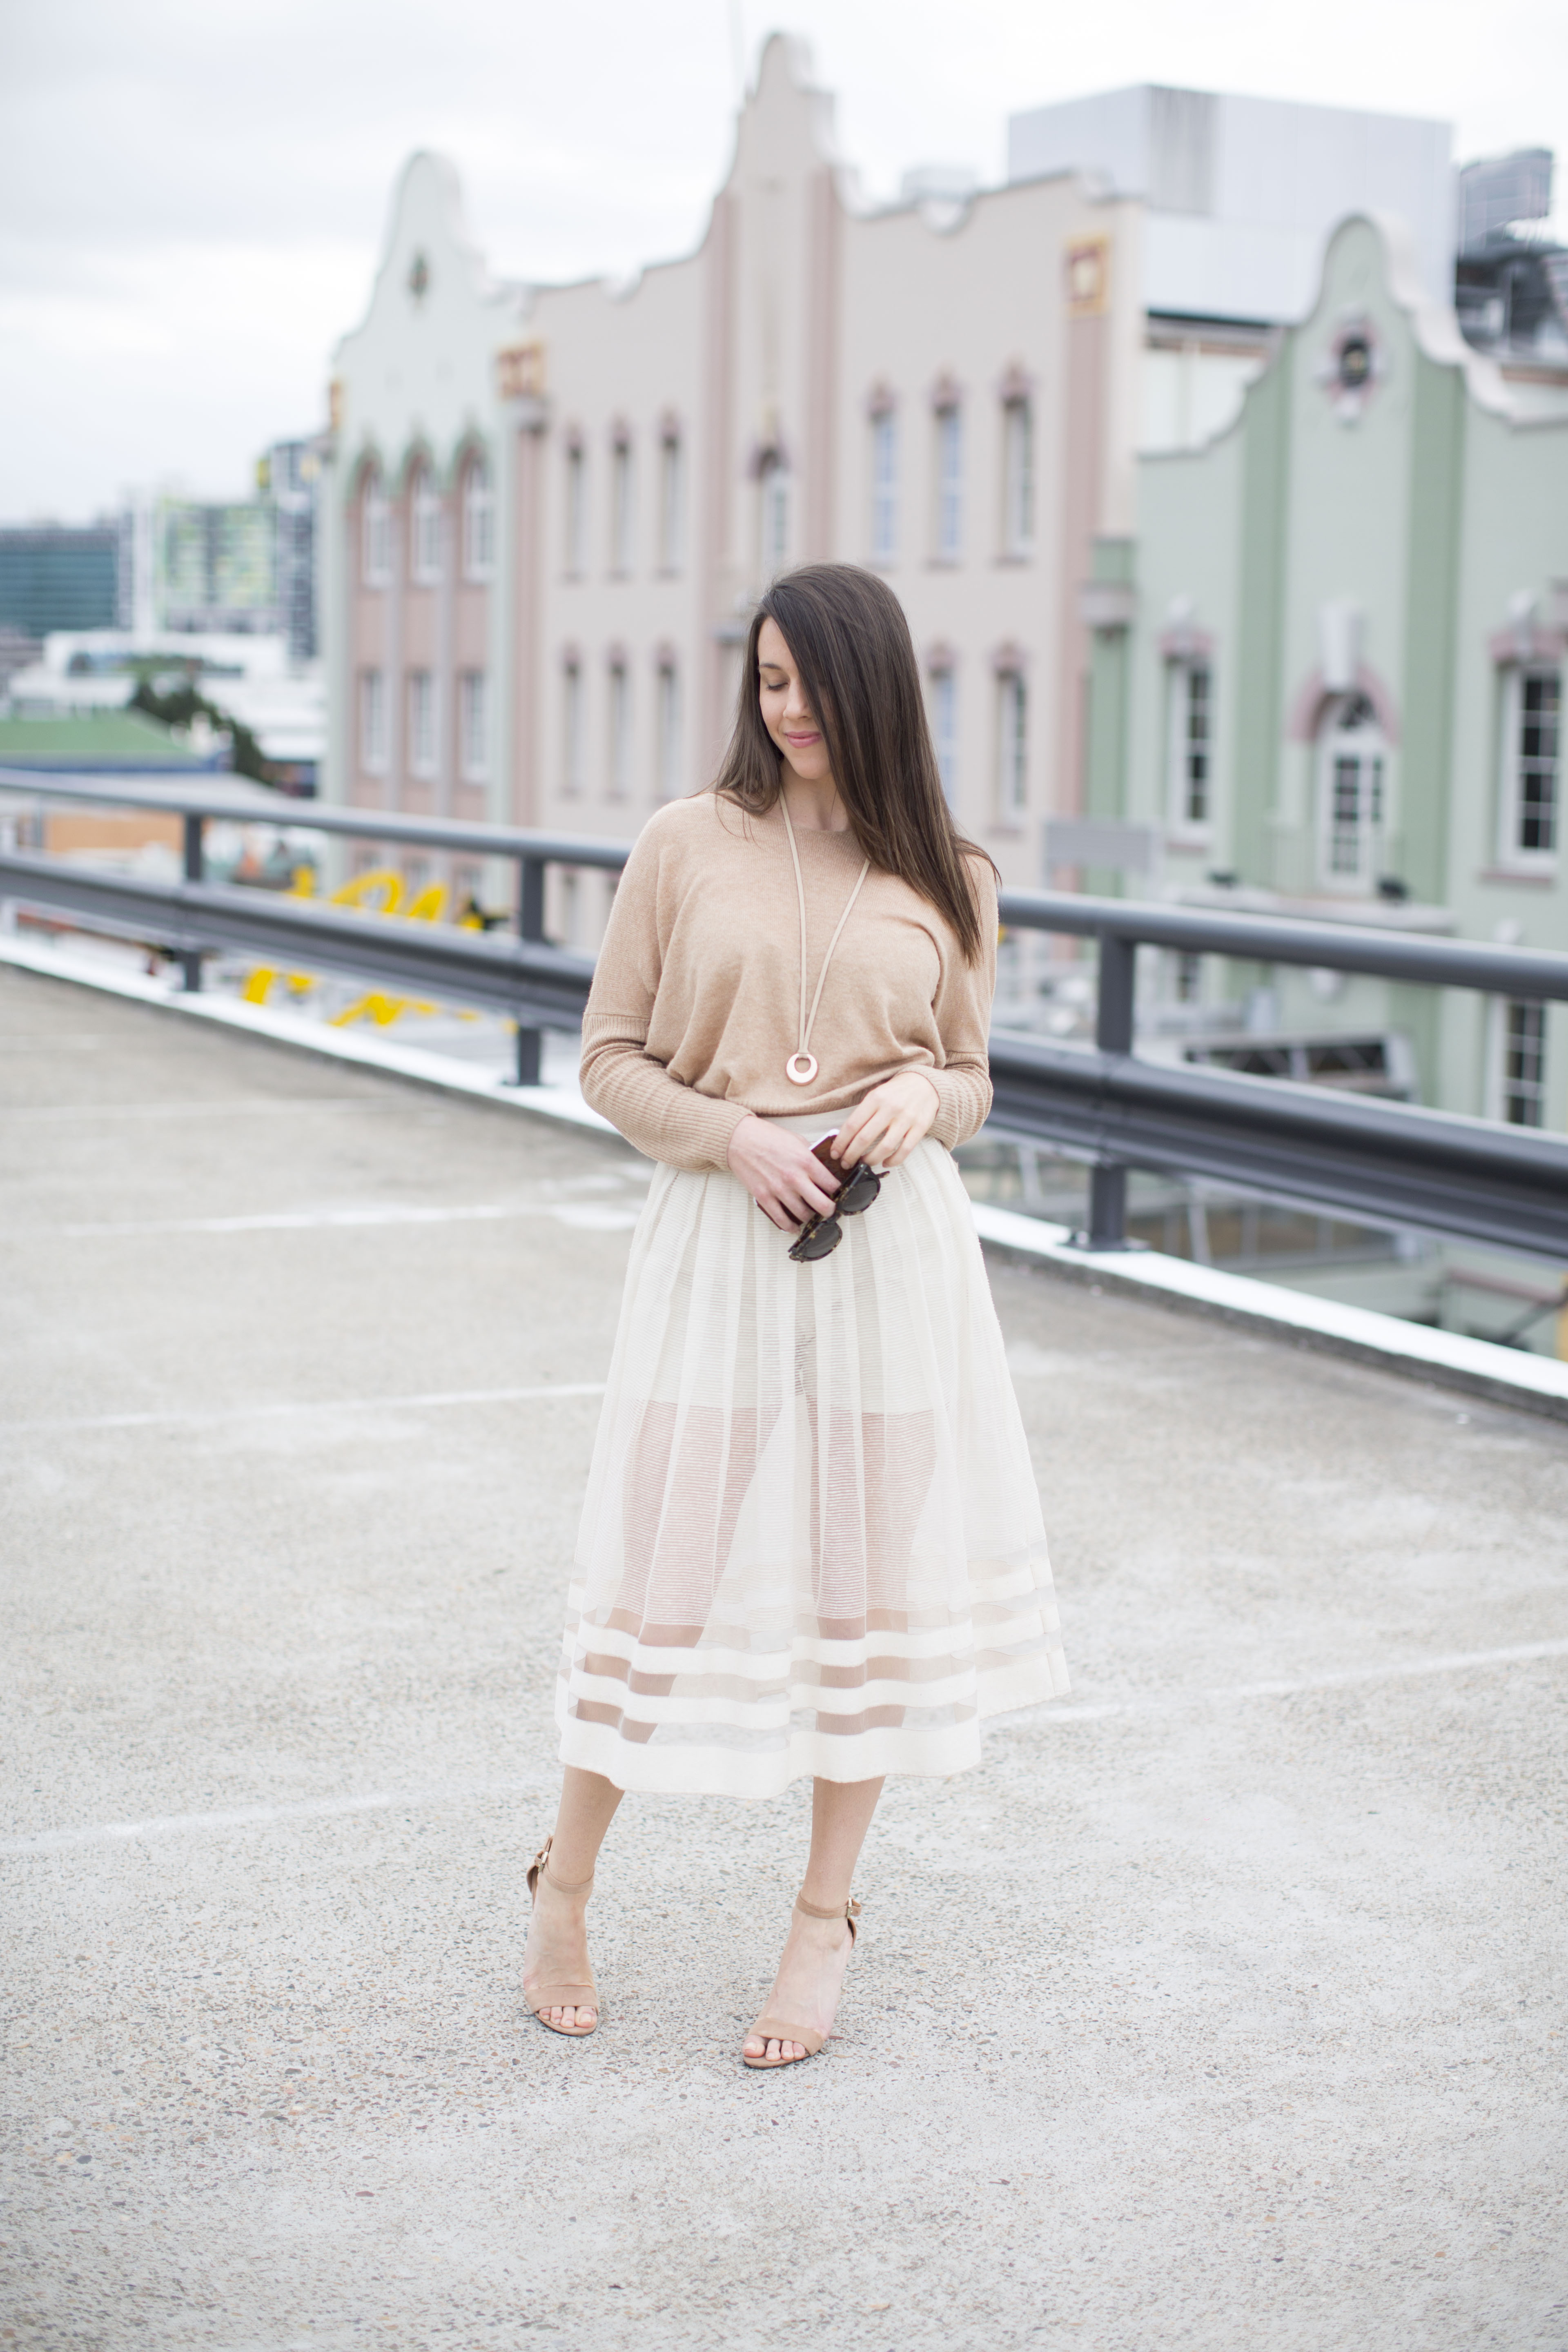 Construction wise, I made up the shorts all but attaching the waist band and inserting the zipper. Separately, I made up the overlay of the skirt, starting with some teensy french side seams, leaving them open from the zipper point. Then I measured out the pleats and basted them in place mostly even! The waistband I constructed out a section of one of the slubby parts of the silk from the spare panel piece. To attach everything together I sandwiched the overlay between the shorts and waistband.
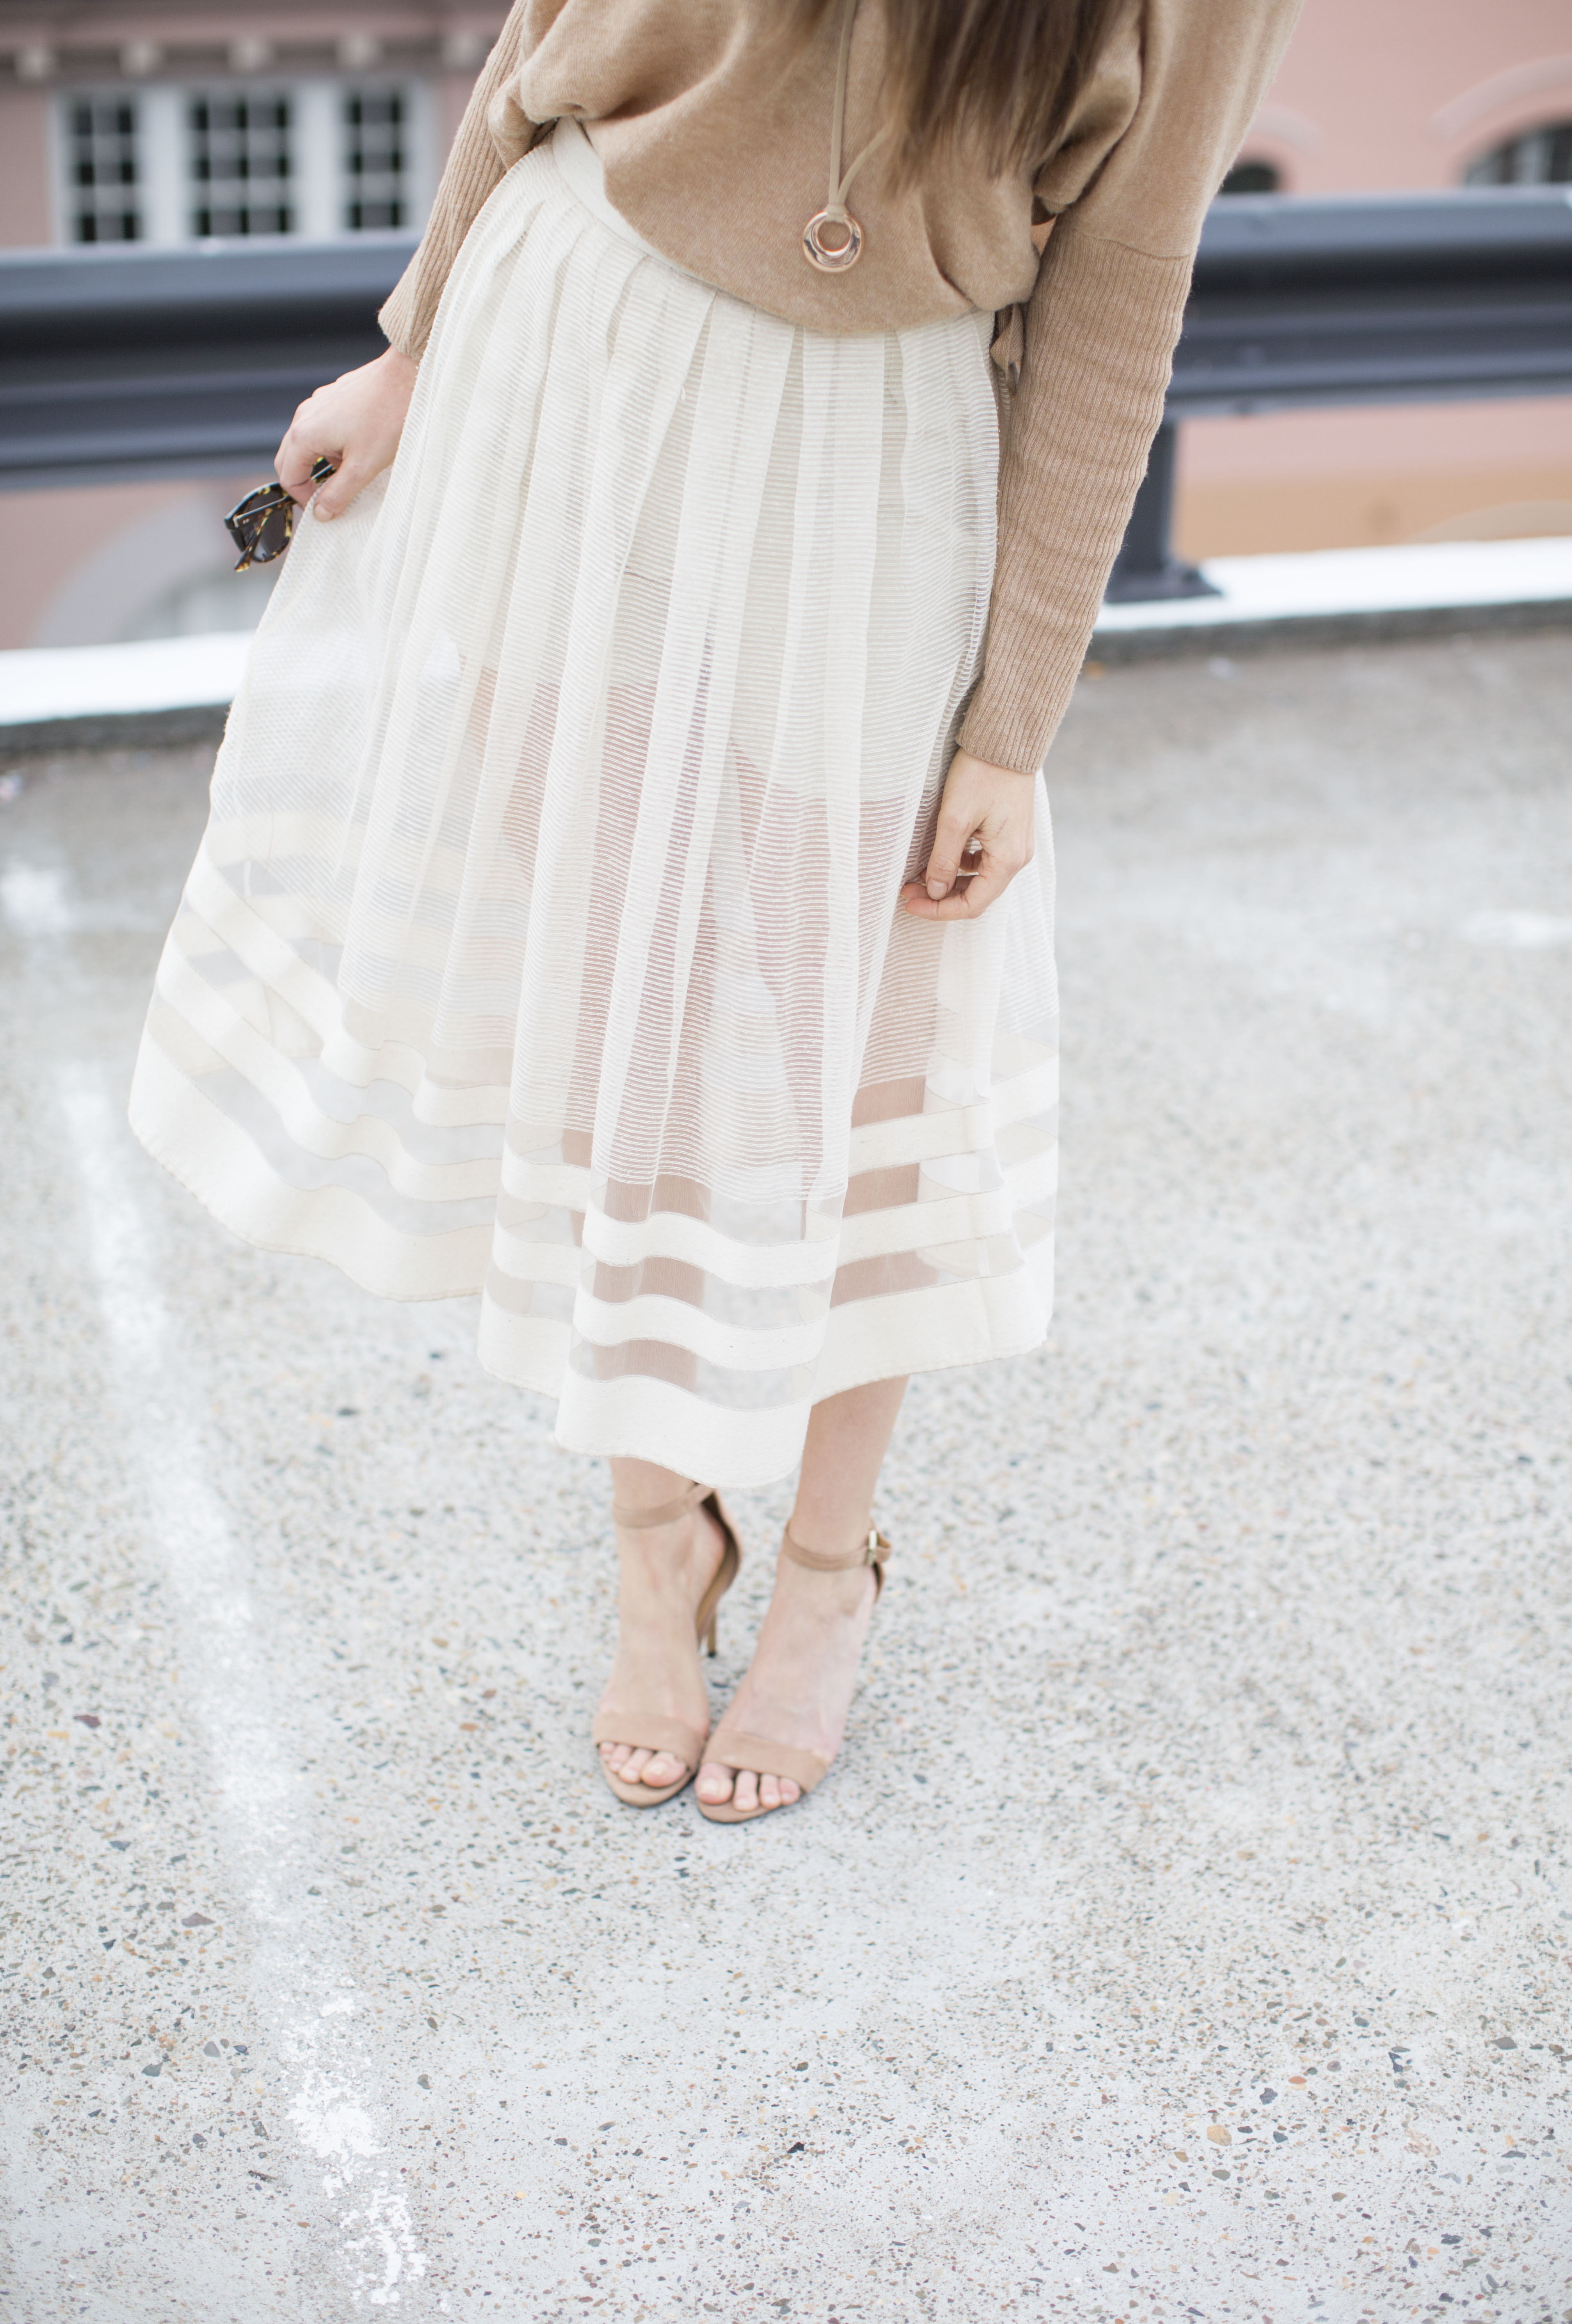 To put in the zipper took a little wizardry. Somehow, and I’m still not exactly sure how, I managed to insert the zipper through both the over-lay and the shorts and continue the french seam in the skirt down the side seams. It’s held together with pixie dust! Really. I’ve had to reinforce this section once already and the waist band is about to fray on the inside. Still, I broke the cardinal rule of sewing blogging and wore this many many times before it made it here, which is to say I love her so!
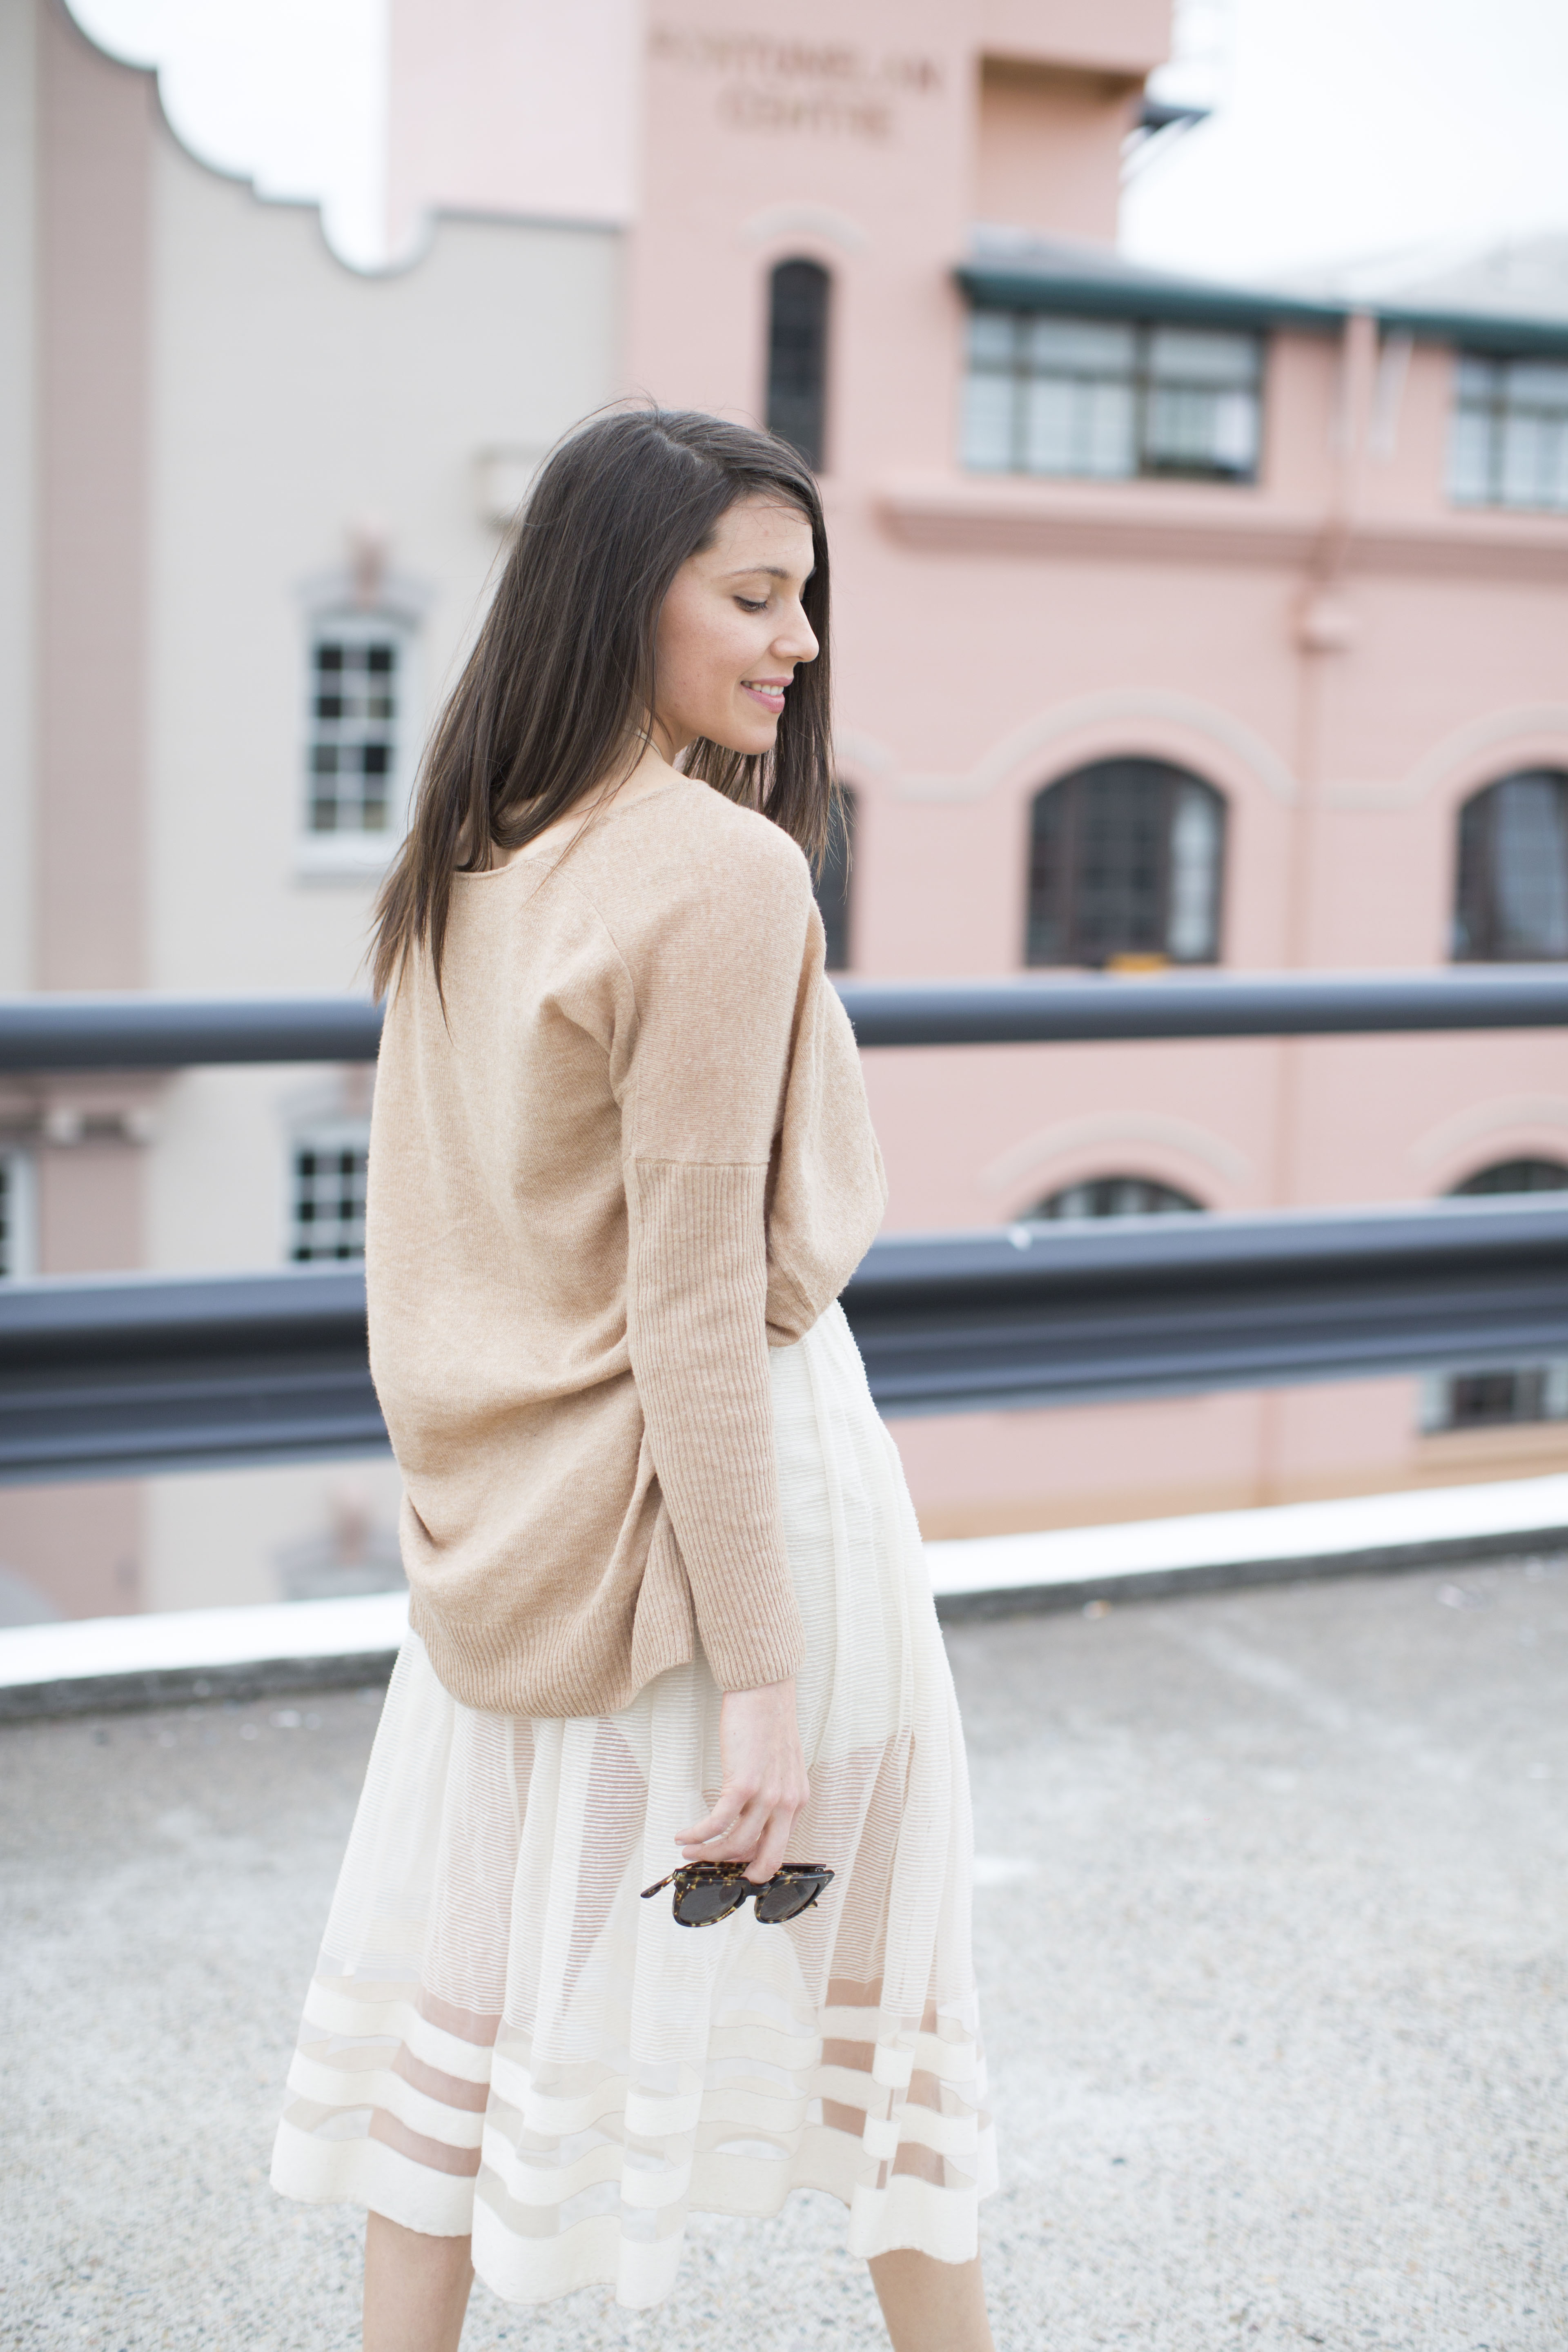


 Bloglovin
 Feedburner
 Feedly
 Kollabora
 In Your Inbox