A hundred and one doodles, four patterns and three muslins later I think I’m officially broken into Project Sewn. This is a big deal, coming from a girl who’s typical stance on muslins is ‘life is too short’. Now I can see they have their place but only when one is chopping into prized woodland critter silk and hoping not to get voted off the island!!
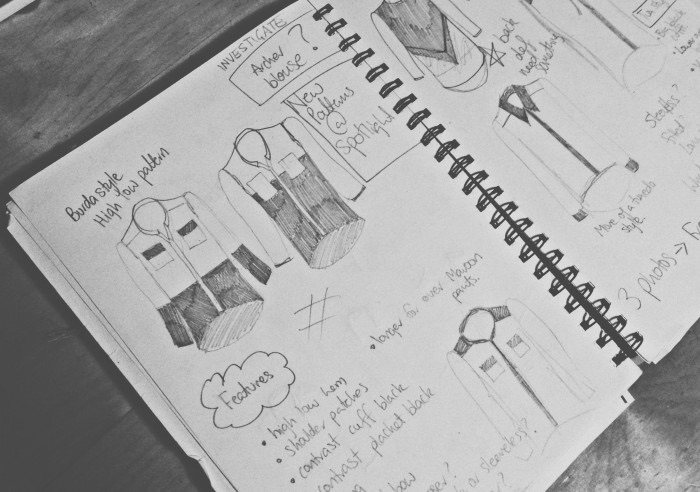
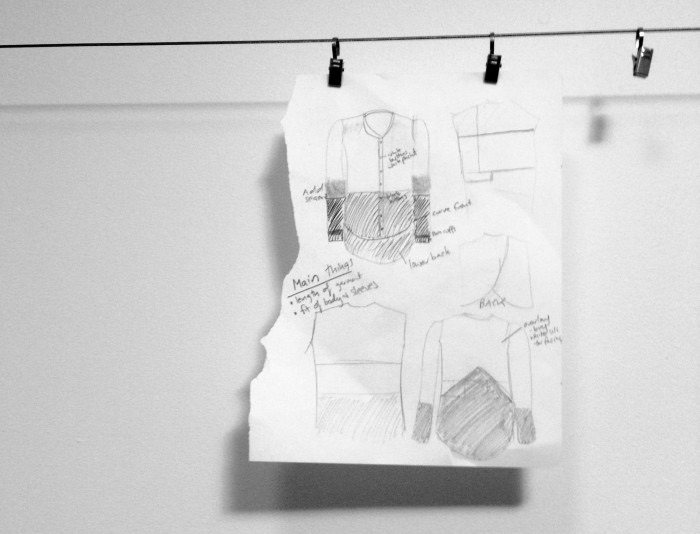
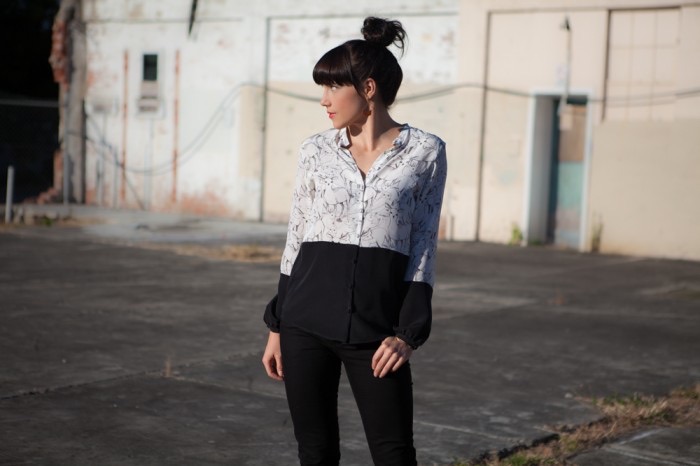
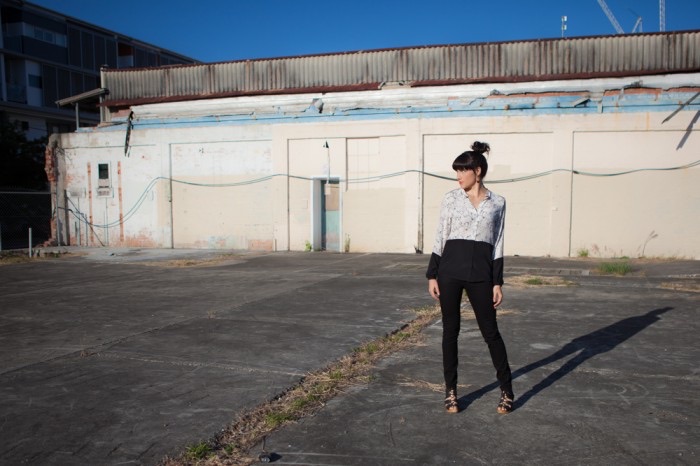
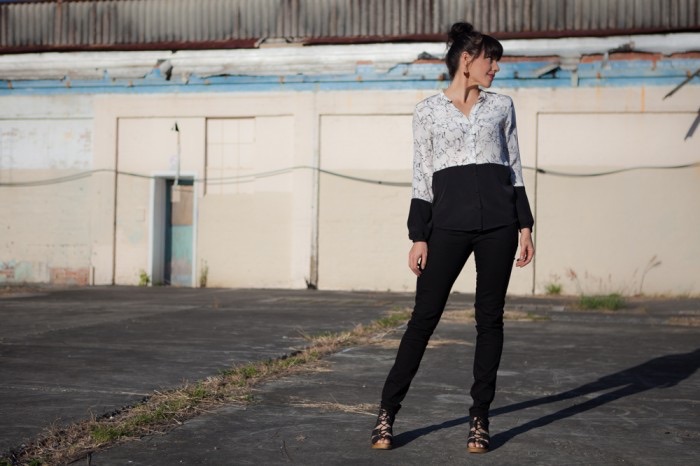
Now I am no fashion illustrator but getting ideas down on paper really helped to reign in the flood of black and white. I narrowed it down from several pages to a few designs and ended up going with my original instinct to keep it simple: Clean lines, blocked shapes. Let the fabric do the talking. Or bleating and scurrying, I suppose.
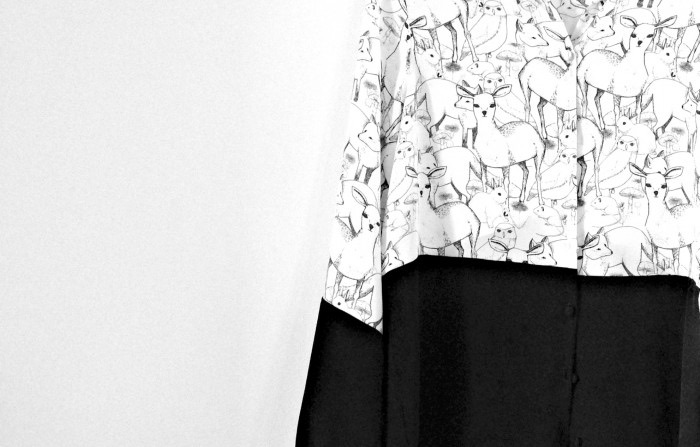
But lets start at the beginning…this week’s theme was Black and White! Did you sew at home? My sewing week began with the realization that I didn’t actually have a week. Minus three days of work and it was more like four days…to plan, trace, cut, muslin, sew and photograph. True to calculation I finished with half an hour to spare before photos and only because I covered the buttons at Archie’s circus class and sewed them on at the hairdresser. I found being limited color-wise challenging and refreshing. I had to dig deeper to try and come up with something interesting/beautiful in two colors (if you can call them that) that I actually don’t own or wear very much. But I knew, straight up, it was time to break out the woodland printed silk crepe de chine from Spoonflower. I’ve been saving it for something special!
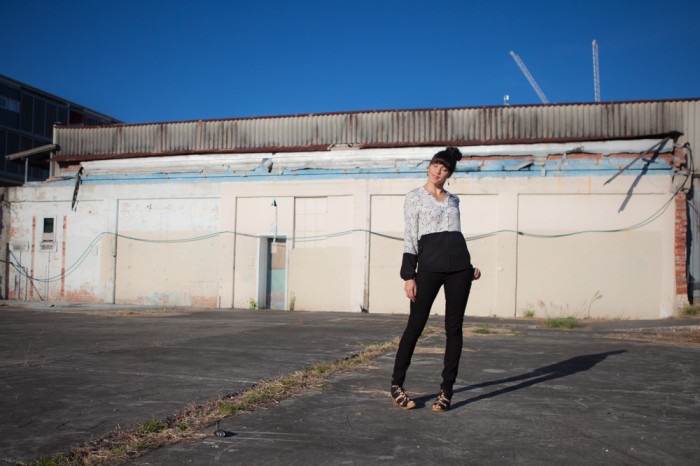
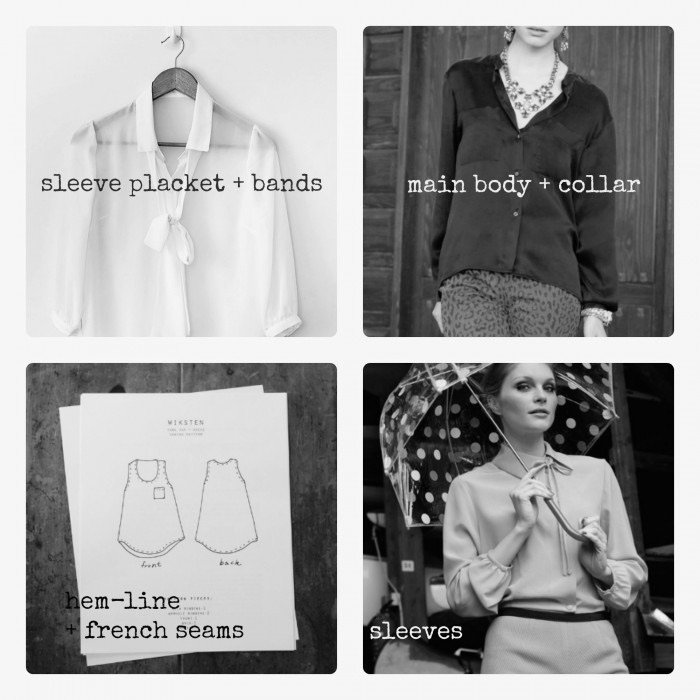
The next question was what to do it? Something to go with rust skirt was a given. And I wanted to sew a piece that I’d love and wear forever, or hopefully beyond May. I could totally see myself getting swept up in making something ‘comp worthy’ but never wear it again. So I conducted a little change room ‘research’, by which I mean trying on this blouse and had an epiphany! Blouses and shirts, for me, are daywear and it’s got to do with collars and fit. But this one was handsome and feminine, like a girly tuxedo. And a definite after 5-er. I wanted in. Color-blocking is one of my fav trends at the moment and the perfect way to let the print stand out here. As you could imagine it was inspiration overload so I had to cull like a boss to come up with this list:
-
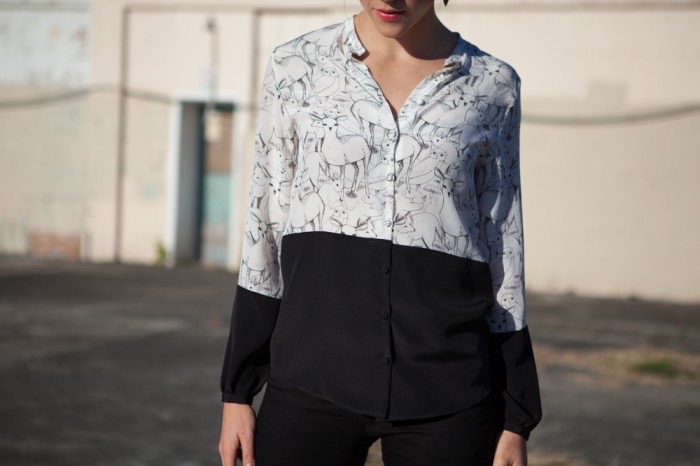
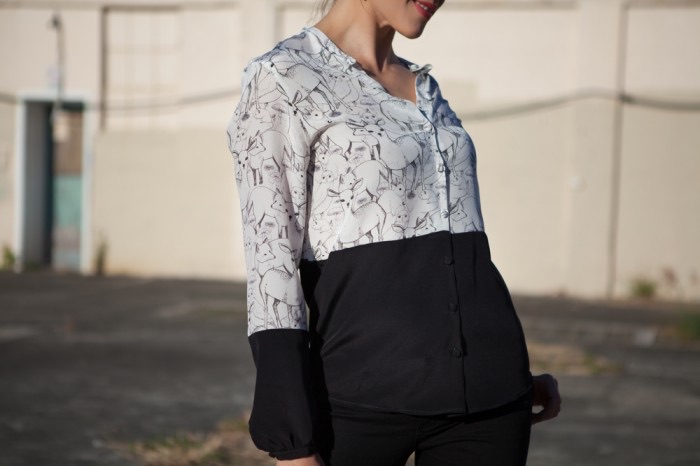
Color-blocked
-
Understated collar
-
Sleeves with placket & cuffs (not elastic)
-
Slim fit body and sleeves (no gathers)
-
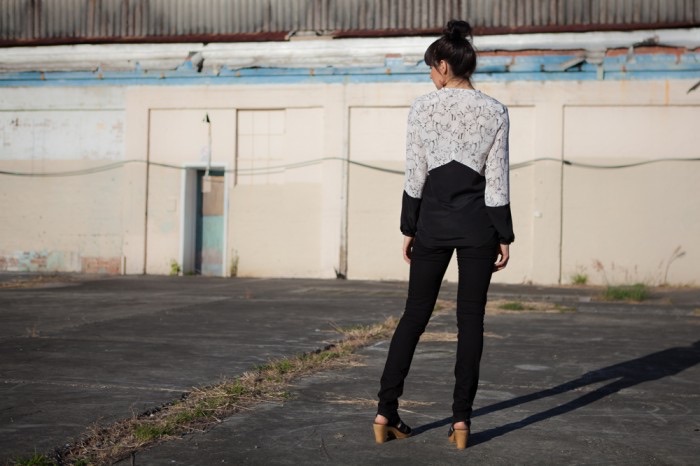
A curved front and butt skimming back hem
Four patterns…didn’t you believe me? This is how you make do sans drafting skills. Pilfer a sleeve from here, pinch a hem from there. Nothing to it. Okay, I lie, there was a lot to it. As well as adjustments to all the parts: sleeves lengthened, width taken out of shoulders, cuffs narrowed, front hem lengthened, seam allowances added to sleeves but not body. Hence the three muslins. The hardest part was deciding on a pattern to use for the base and being time poor it would have made sense to use something familiar. But the Pussybow blouse was all ‘casual’ and ‘shirty’ where I wanted ‘dashing’ so I went with the PPB’s sleeker sister, the Burdastyle High Low blouse. Mostly for its little hardly-a-collar and conveniently lowered back hem.
Oh, so many decisions! What kind of seams? French. Thick or thin cuffs? Thin. Interface both layers of collar or one? One. Should the triangle point up or down? Up. Contrasting buttons or not? Not. Plastic buttons or covered? Covered. What sized buttons? Small and inconspicuous. Should I go vacuum? No. And on it went. I can foresee my sticking point will be knowing when to let things go. With a day to finish the collar, front placket, hems and buttonholes and faced with ‘to French seam or not to French seam’ the armholes, I went the frenchies. Yup, totally busted my butt for beautiful seams that only my armpits will see.
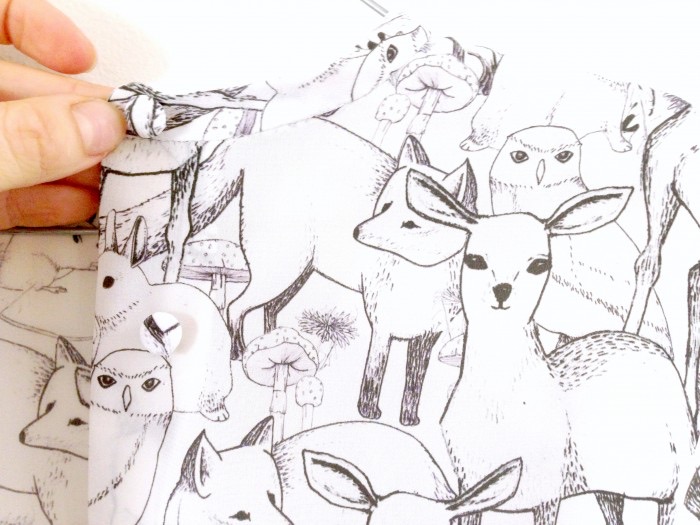
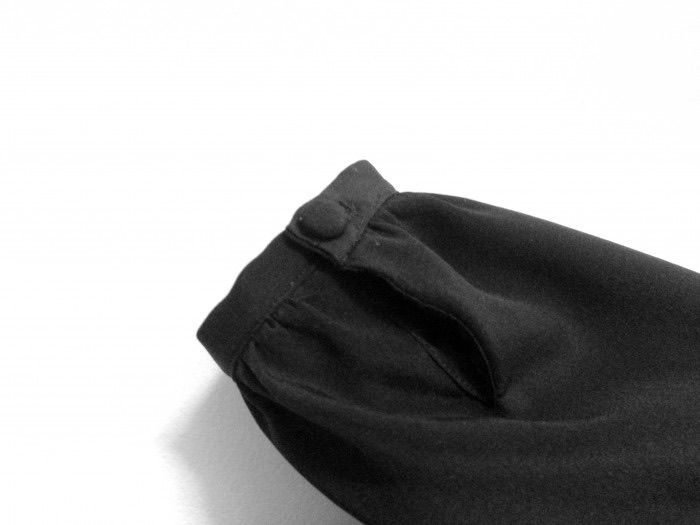
Totes proud of my collar! I ‘stitched in the ditch’ instead of a top-stitch for a neater finish. The sleeve plackets went swimmingly, glad though that this was not my first attempt. They’re not scary but I get confused easily so this tutorial was helpful. This particular sized self-cover button didn’t come with a press in tool so I had to stitch around the outside and pull on the thread to gather the circle of fabric tight around the buttons. A new experience, but probably how buttons used to be made, come to think of it.
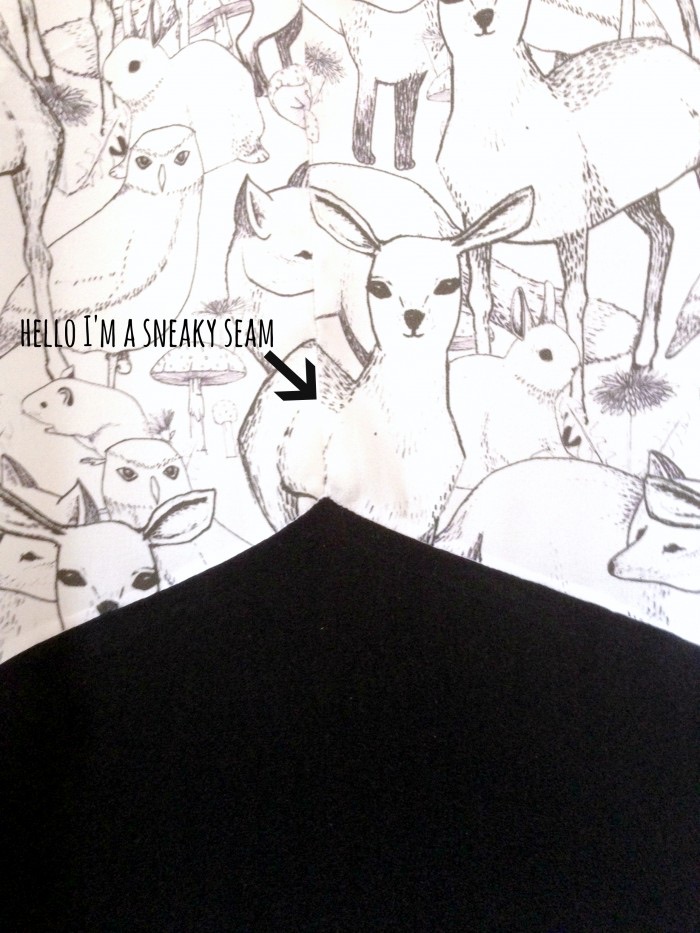
And then the pieced back panel whipped my butt! I lined up the edges, sewed to the point, flipped it over to the right side and there was this huge pucker above the tip. I was just like ‘WHAT is THAT and why is it HERE?!’. But after inspecting closely, the mystery wedge looked like it could be pinched out and sewn like a dart. You can’t even see the seam unless you’re looking for it or wondering why that particular deer has a pointy rump. As an after thought I attached cotton stay tape to triangle seams so hopefully they hold their shape over time.

Proud much? Um, yes! For only chucking a modest tanty over buttonhole foot being a jerk and sewing one cuff beautifully then refusing the other. Stitching that buttonhole entirely by hand! Lining up all the color blocking. Getting the rolled hems to sit flat around the curves. Making an army of muslins. What I’m most proud of is attempting something where I had no idea until I tried it on at the end whether it was going to be amazing or not so. What a week! It was intense. It was fun. Now it’s up to you. If you’d like to see my next Project Sewn creation you have to VOTE, right HERE, right now. Do it for the critters!!