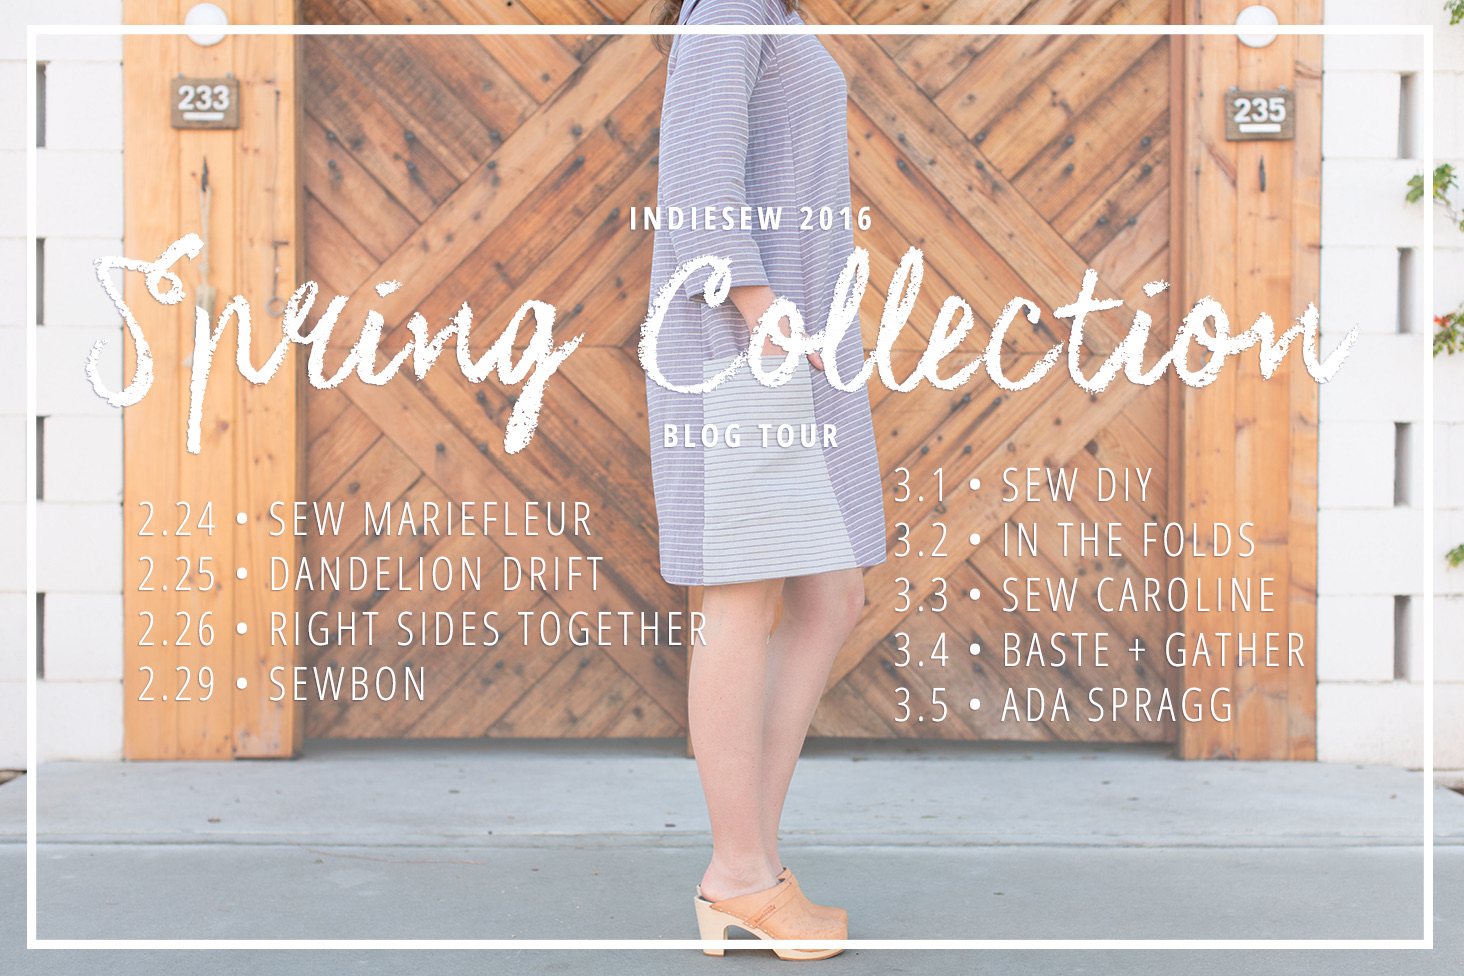
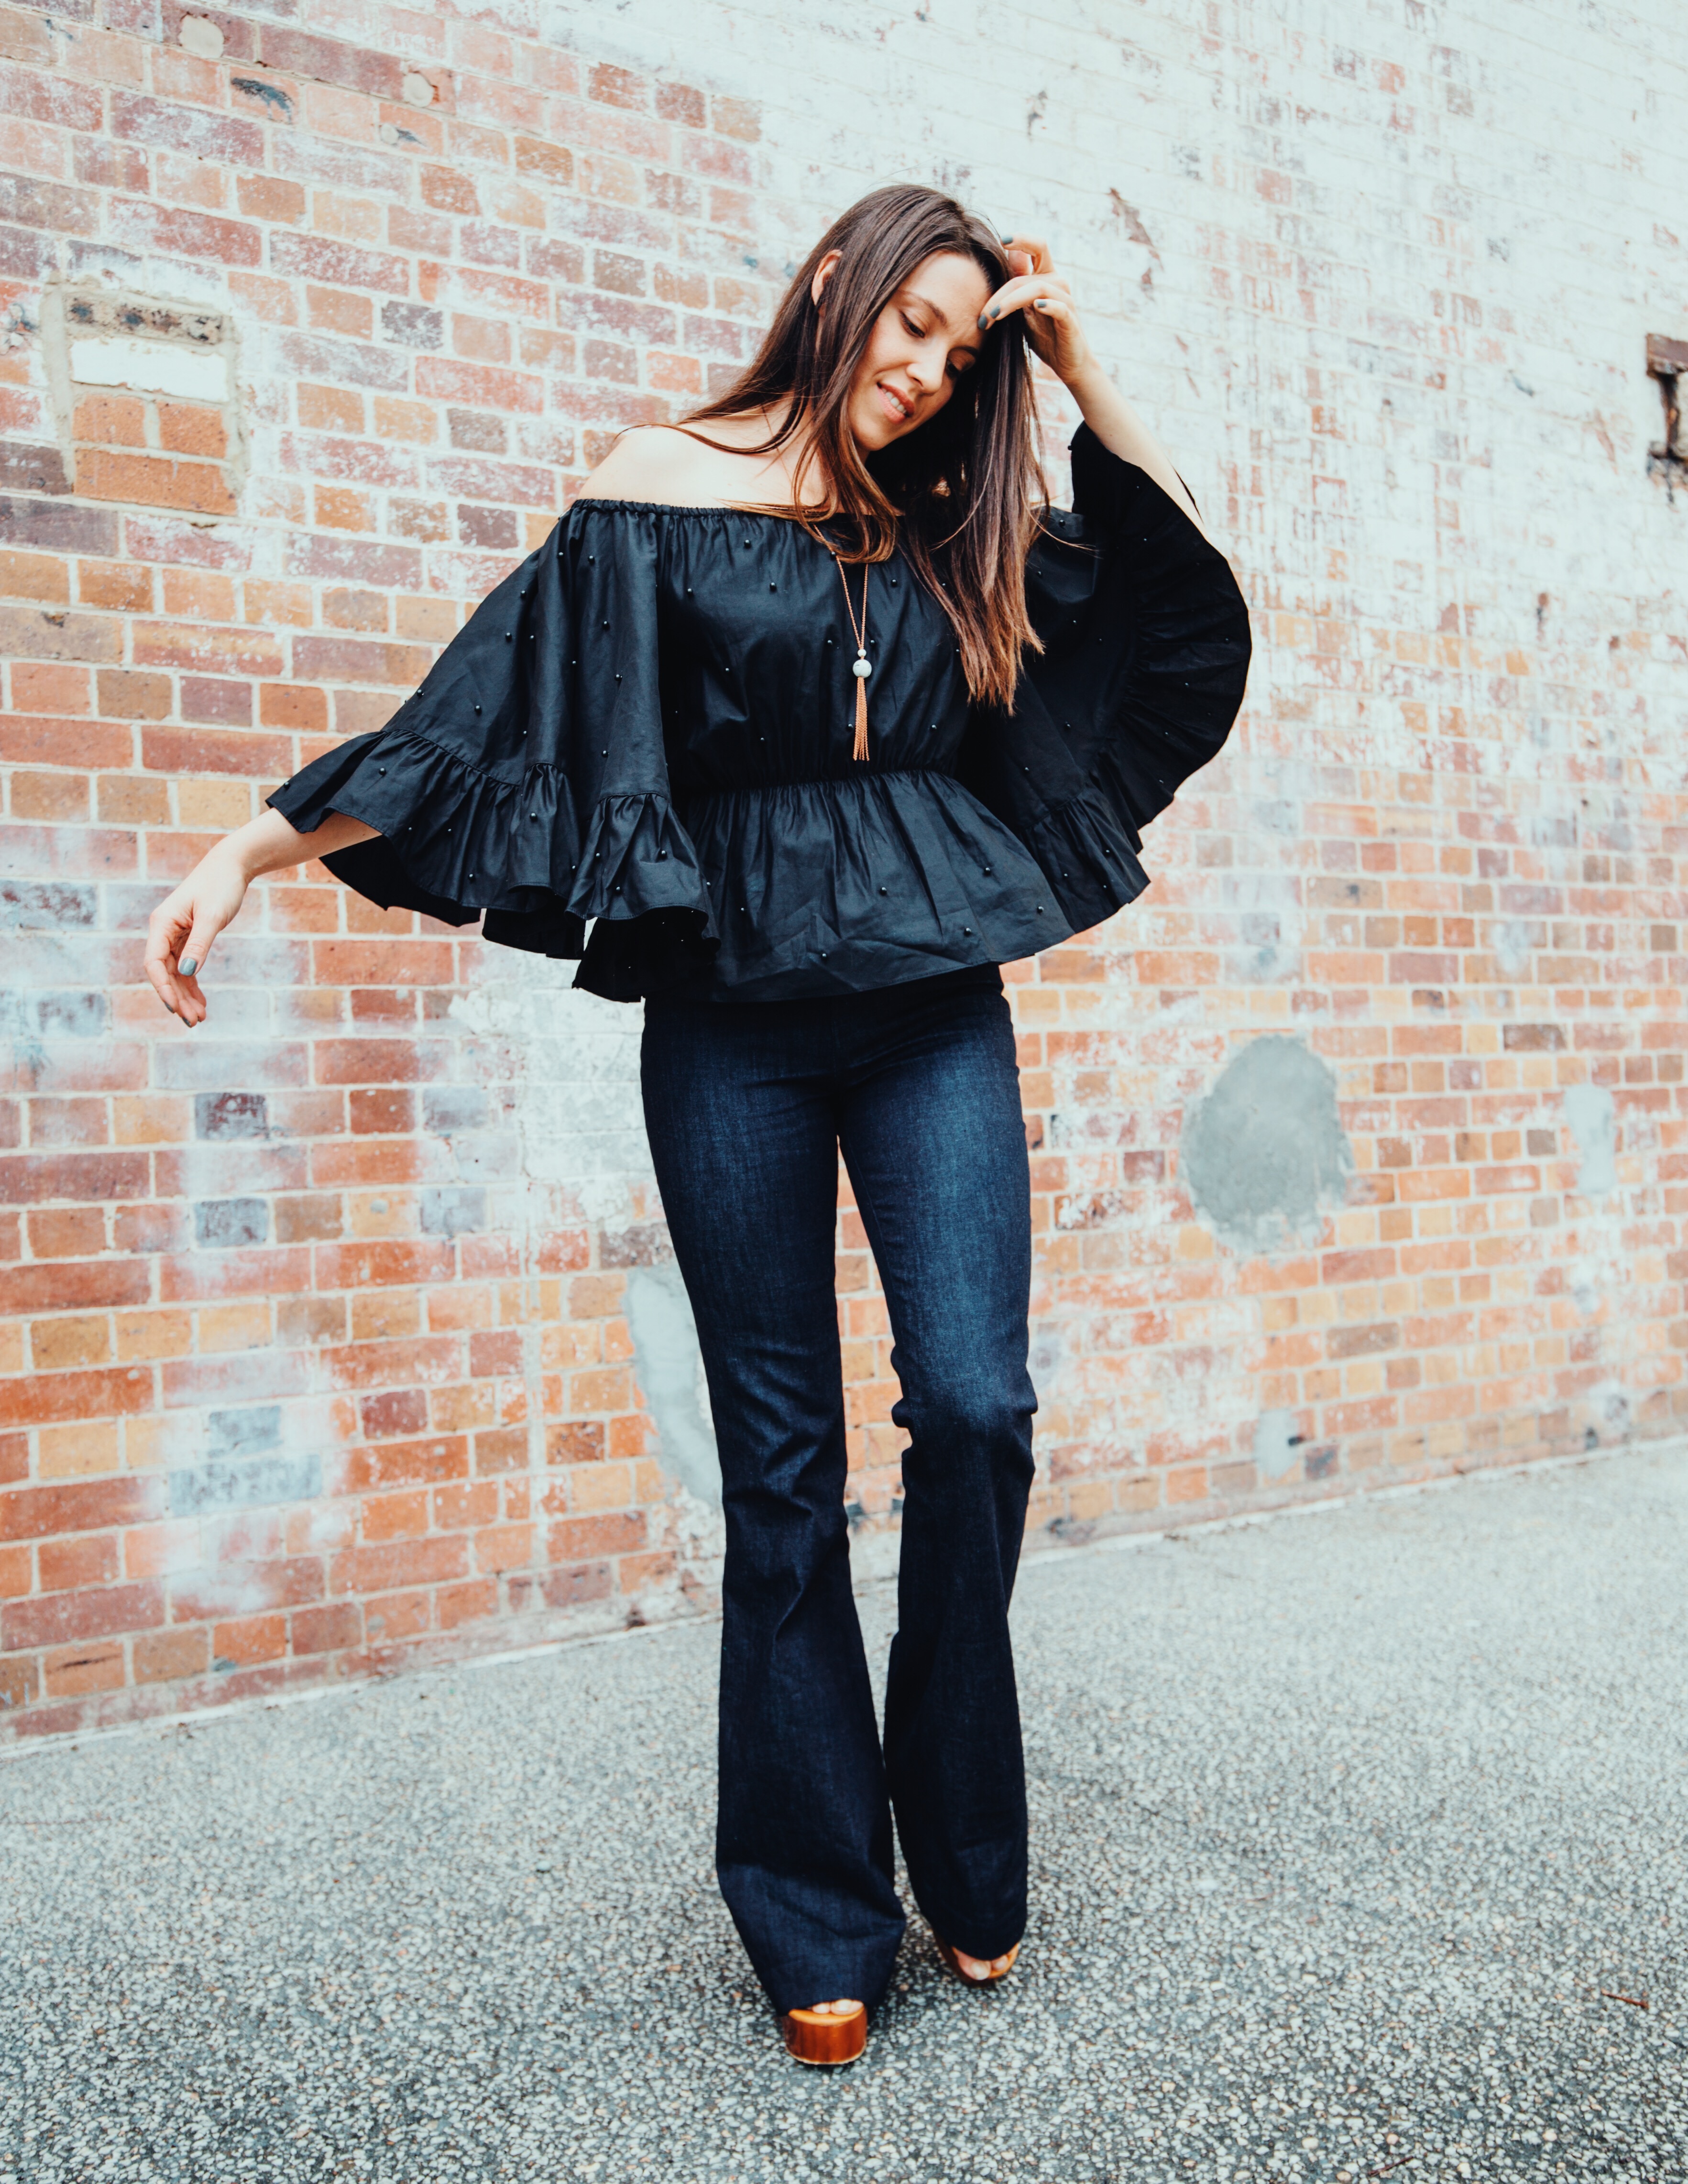
 Hullo! Today is the final stop on the Indiesew Spring Collection Tour and I am here representing #teambirkinflares! That’s right. Made some jeans (dusts knuckles on shoulder). And I fully credit Lauren and her jeans drafting prowess with the fact that these may be the best fitting pair of pants I’ve ever owned. The idea that I made them, is too ridiculous. It’s a dream. I’ve been coveting a pair of the high-waisted Birkin’s for myself after seeing everyone else’s (see Kelly’s and Oona’s and Sara’s and…) and it can only be described as divine timing that Indiesew’s Spring Collection Tour came when it did. I already had the pattern in my stash but without a deadline I’m sure I would have simultaneously avoided and pined for them all season. Sewing pants is traditionally, not my thing and jeans…JEANS
 are were THE PINNACLE! I mean, who makes their own jeans? Really.
 If you’re curious or tempted to sew jeans, it is really worth having a go. Actually, I don’t think this can be considered having a ‘go’; with Lauren’s impeccable and beginner friendly instructions, it’s impossible to come out the other side with anything but a pair of beautifully finished, store-bought-looking jeans. For me the biggest concern was fit. I so wanted to believe it was possible to make a pair of jeans with perfect-fit. It seemed like an absurd undertaking to sew a pair of jeans that could end up with a less than satisfactory fit. Still, it was a possibility. I had to TRUST.
 Specifically I was worried about sizing. Anyone who’s ever bought a pair of jeans that were a ‘great’ fit in store only to have them bag-out after a few wears, knows, it’s a grief that runs deep. This happened to me again and again until I figured out that a pair of jeans needs to be borderline too tight in the change-room, to be a perfect fit once they relax. This is a terrible idea if the jeans have no stretch. However, I was feeling confident that the denim I was using for my Birkin’s, the dreamy, US-milled, 11.5 ounce, Cone Mills denim (currently sold out but others available), was going to follow the rules. I measured a 28 across both waist and hips which is my normal RTW jeans size. But before cutting, I did some considerable Birkin Flare sizing research (stalking your blogs) to gauge whether to size down or not. A problem I often run into with pants is that being a little taller I need the ‘seat depth’ of the larger size but the hip width of a smaller size. So, I figured it was safer to go the 28 and take the sides in; an adjustment I was confident I could deal with.
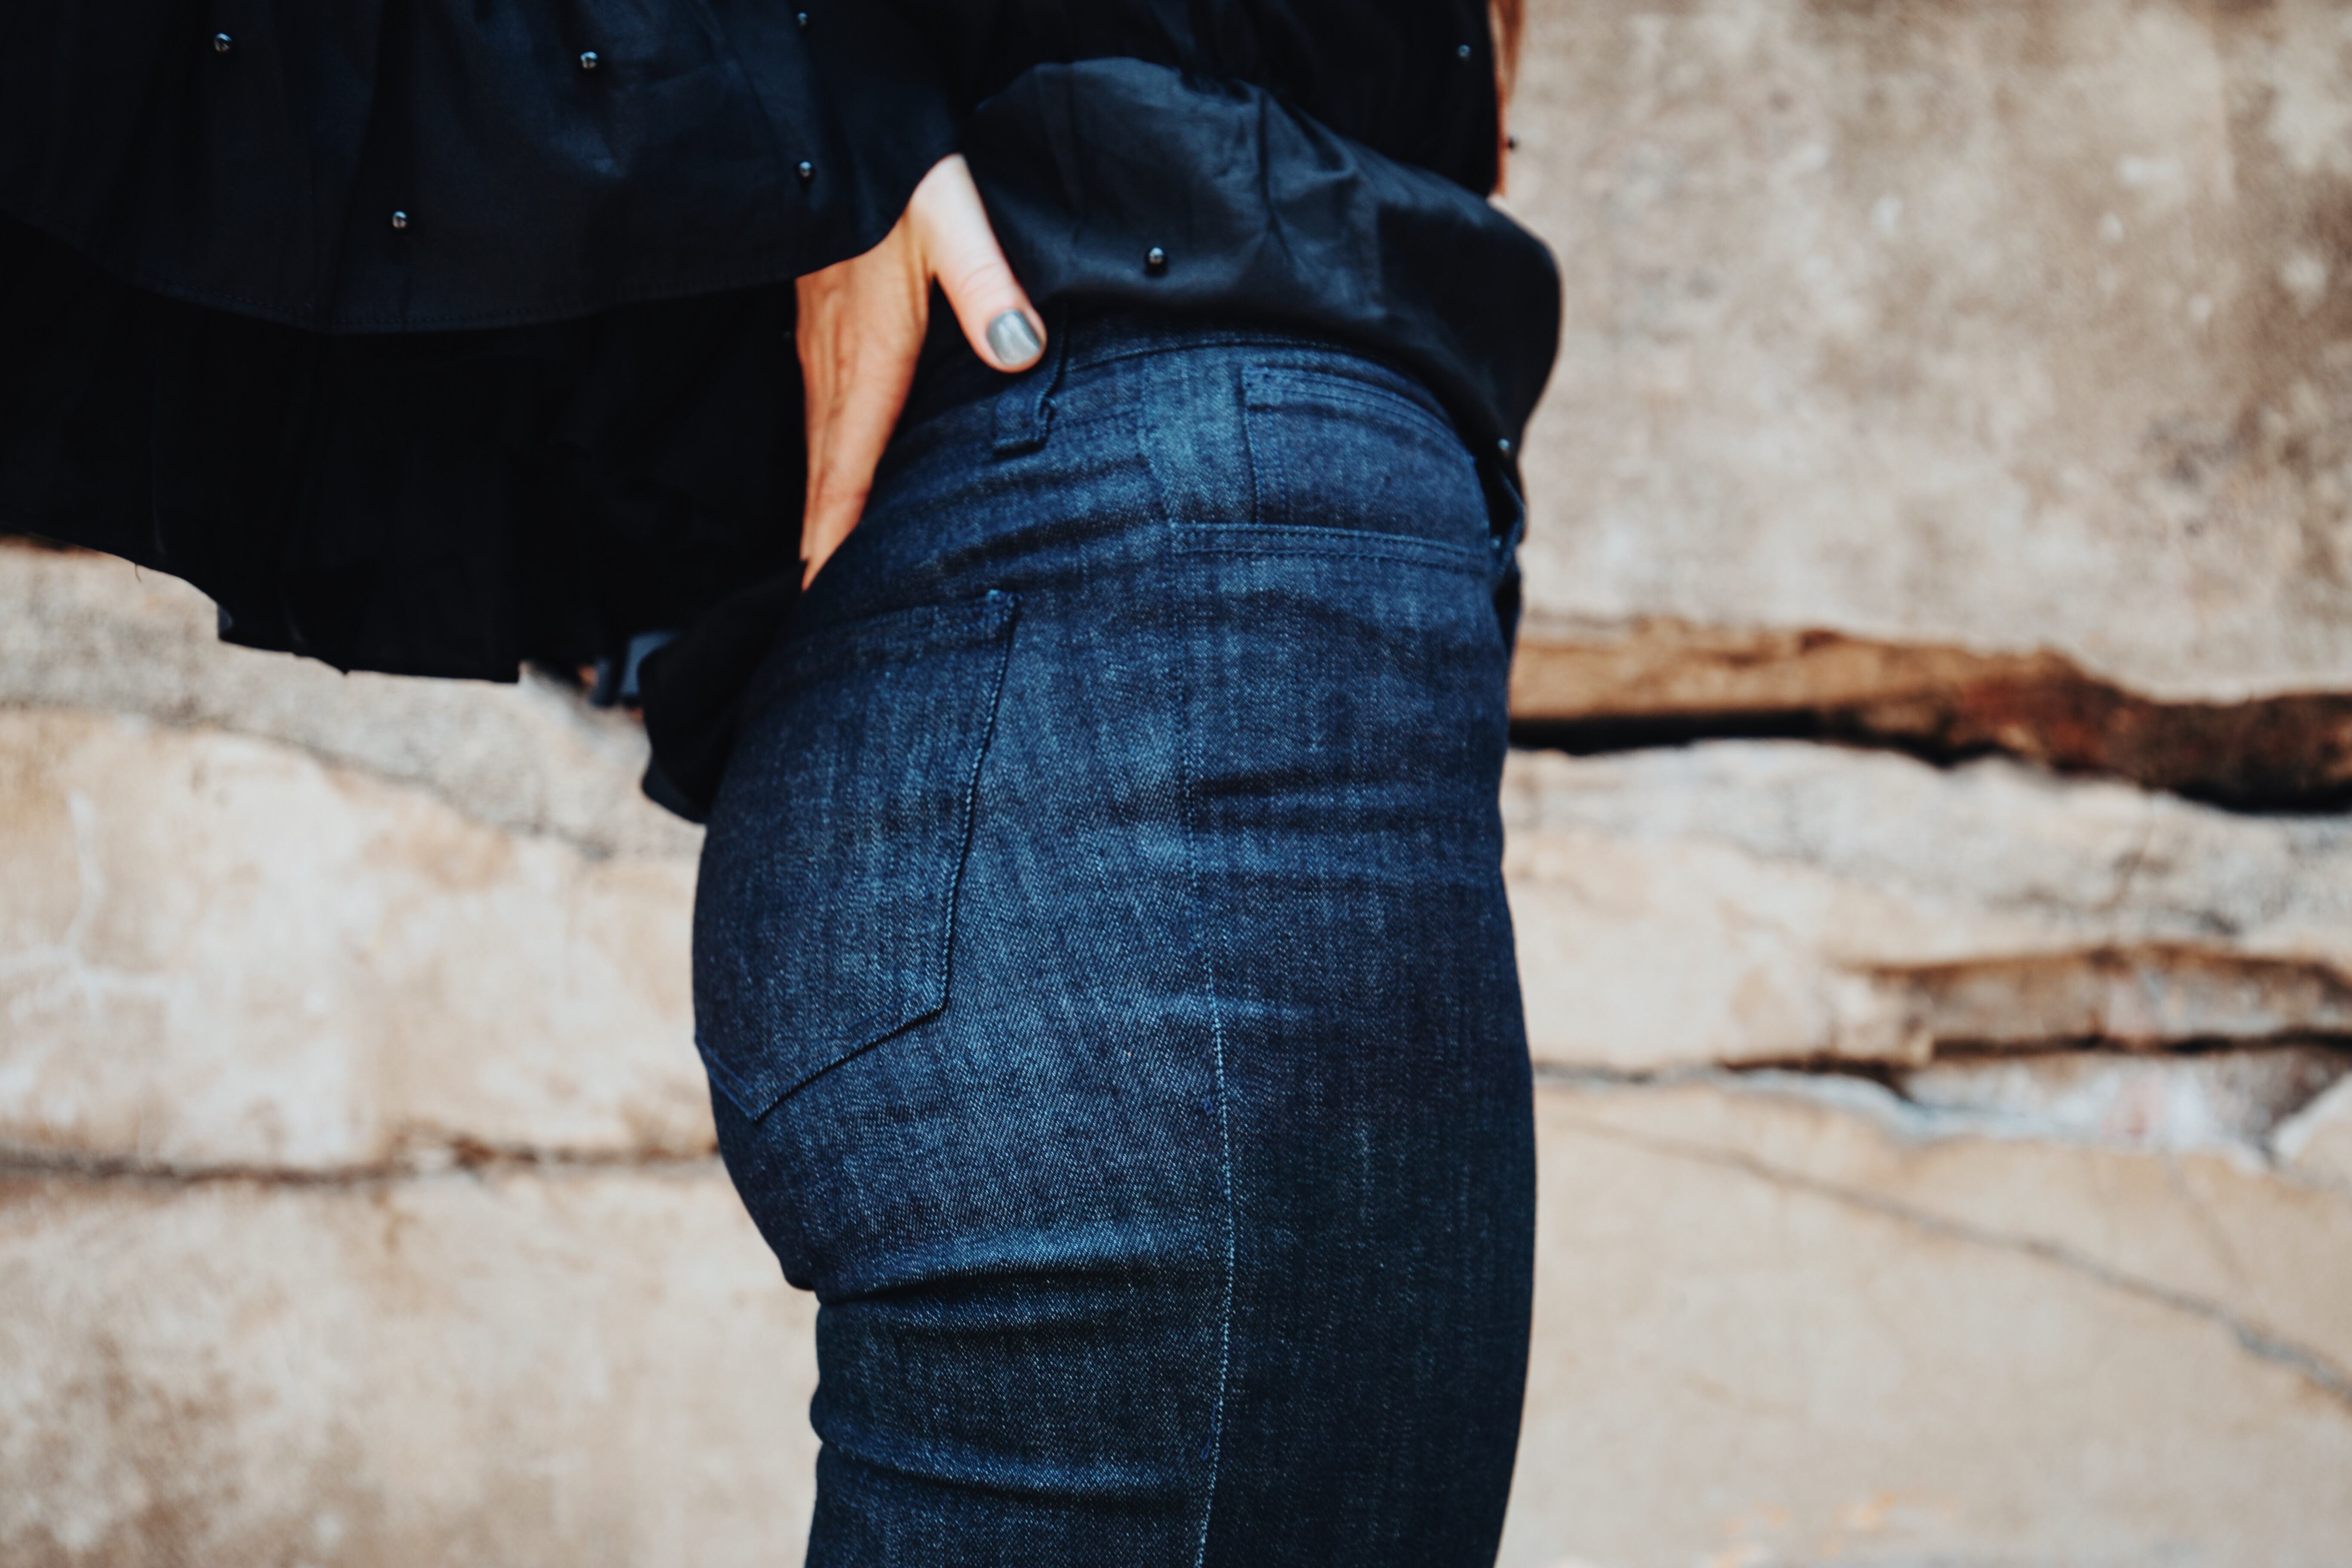
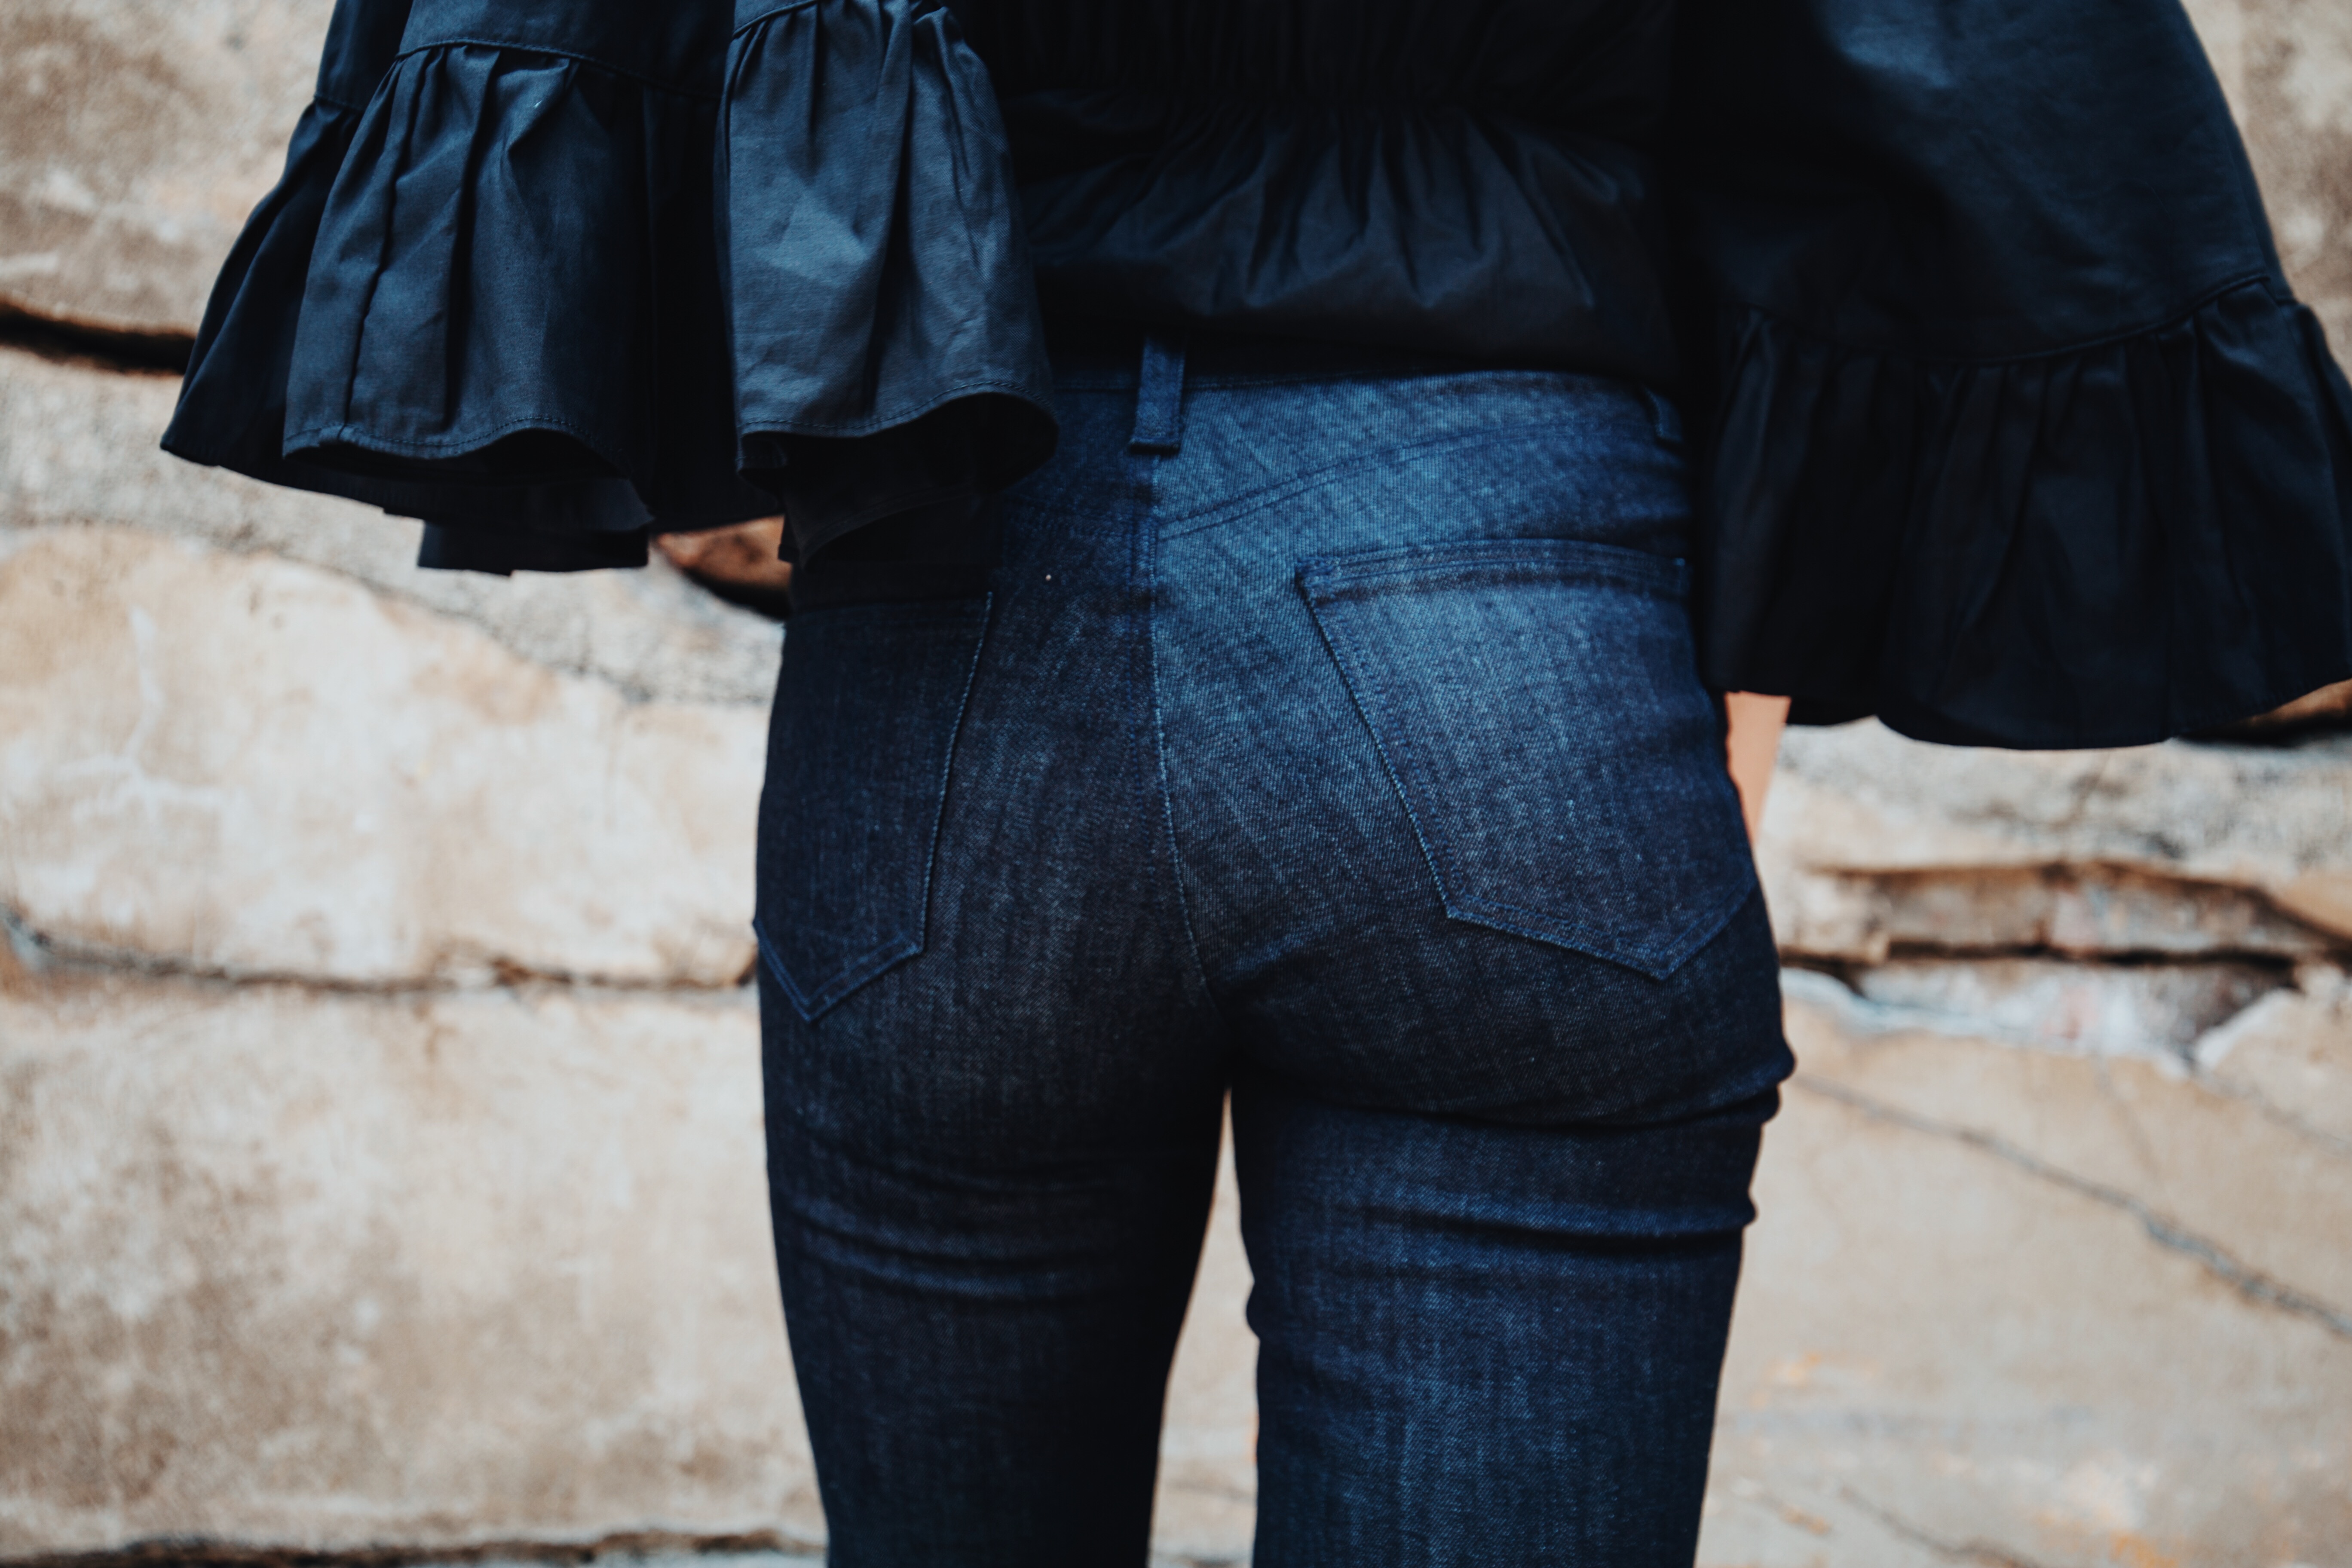 This is where the ingenious instructions made it even easier to get the fit right. By having you baste the side seams together, once all the main parts, back yoke, fly, front pockets, are complete, there’s no ‘I think they will still fit like this after I put the fly in’. It’s a guarantee! Instead of a 5/8″ seam I basted my side seams together with a 7/8″ seam. I’m guessing that taking this much off actually put them at the equivalent of a 27 which, combined with the seat depth of the 28, was just right. But having taken so much out of the sides, looking at the above photo I feel I could have moved the pockets closer to the centre back seam. When it came to attaching the waistband, I re-marked it with the size 27 markings and basted it first to make sure I could eat lunch. I can. I know ‘perfect’ is a dirty word that we sewists don’t flash around willy nilly but when the fit is wriggle-in, jump up and down, get-into-dem-jeans-dance p.e.r.f.e.c.t, you’re allowed to scream it from the mountain tops!
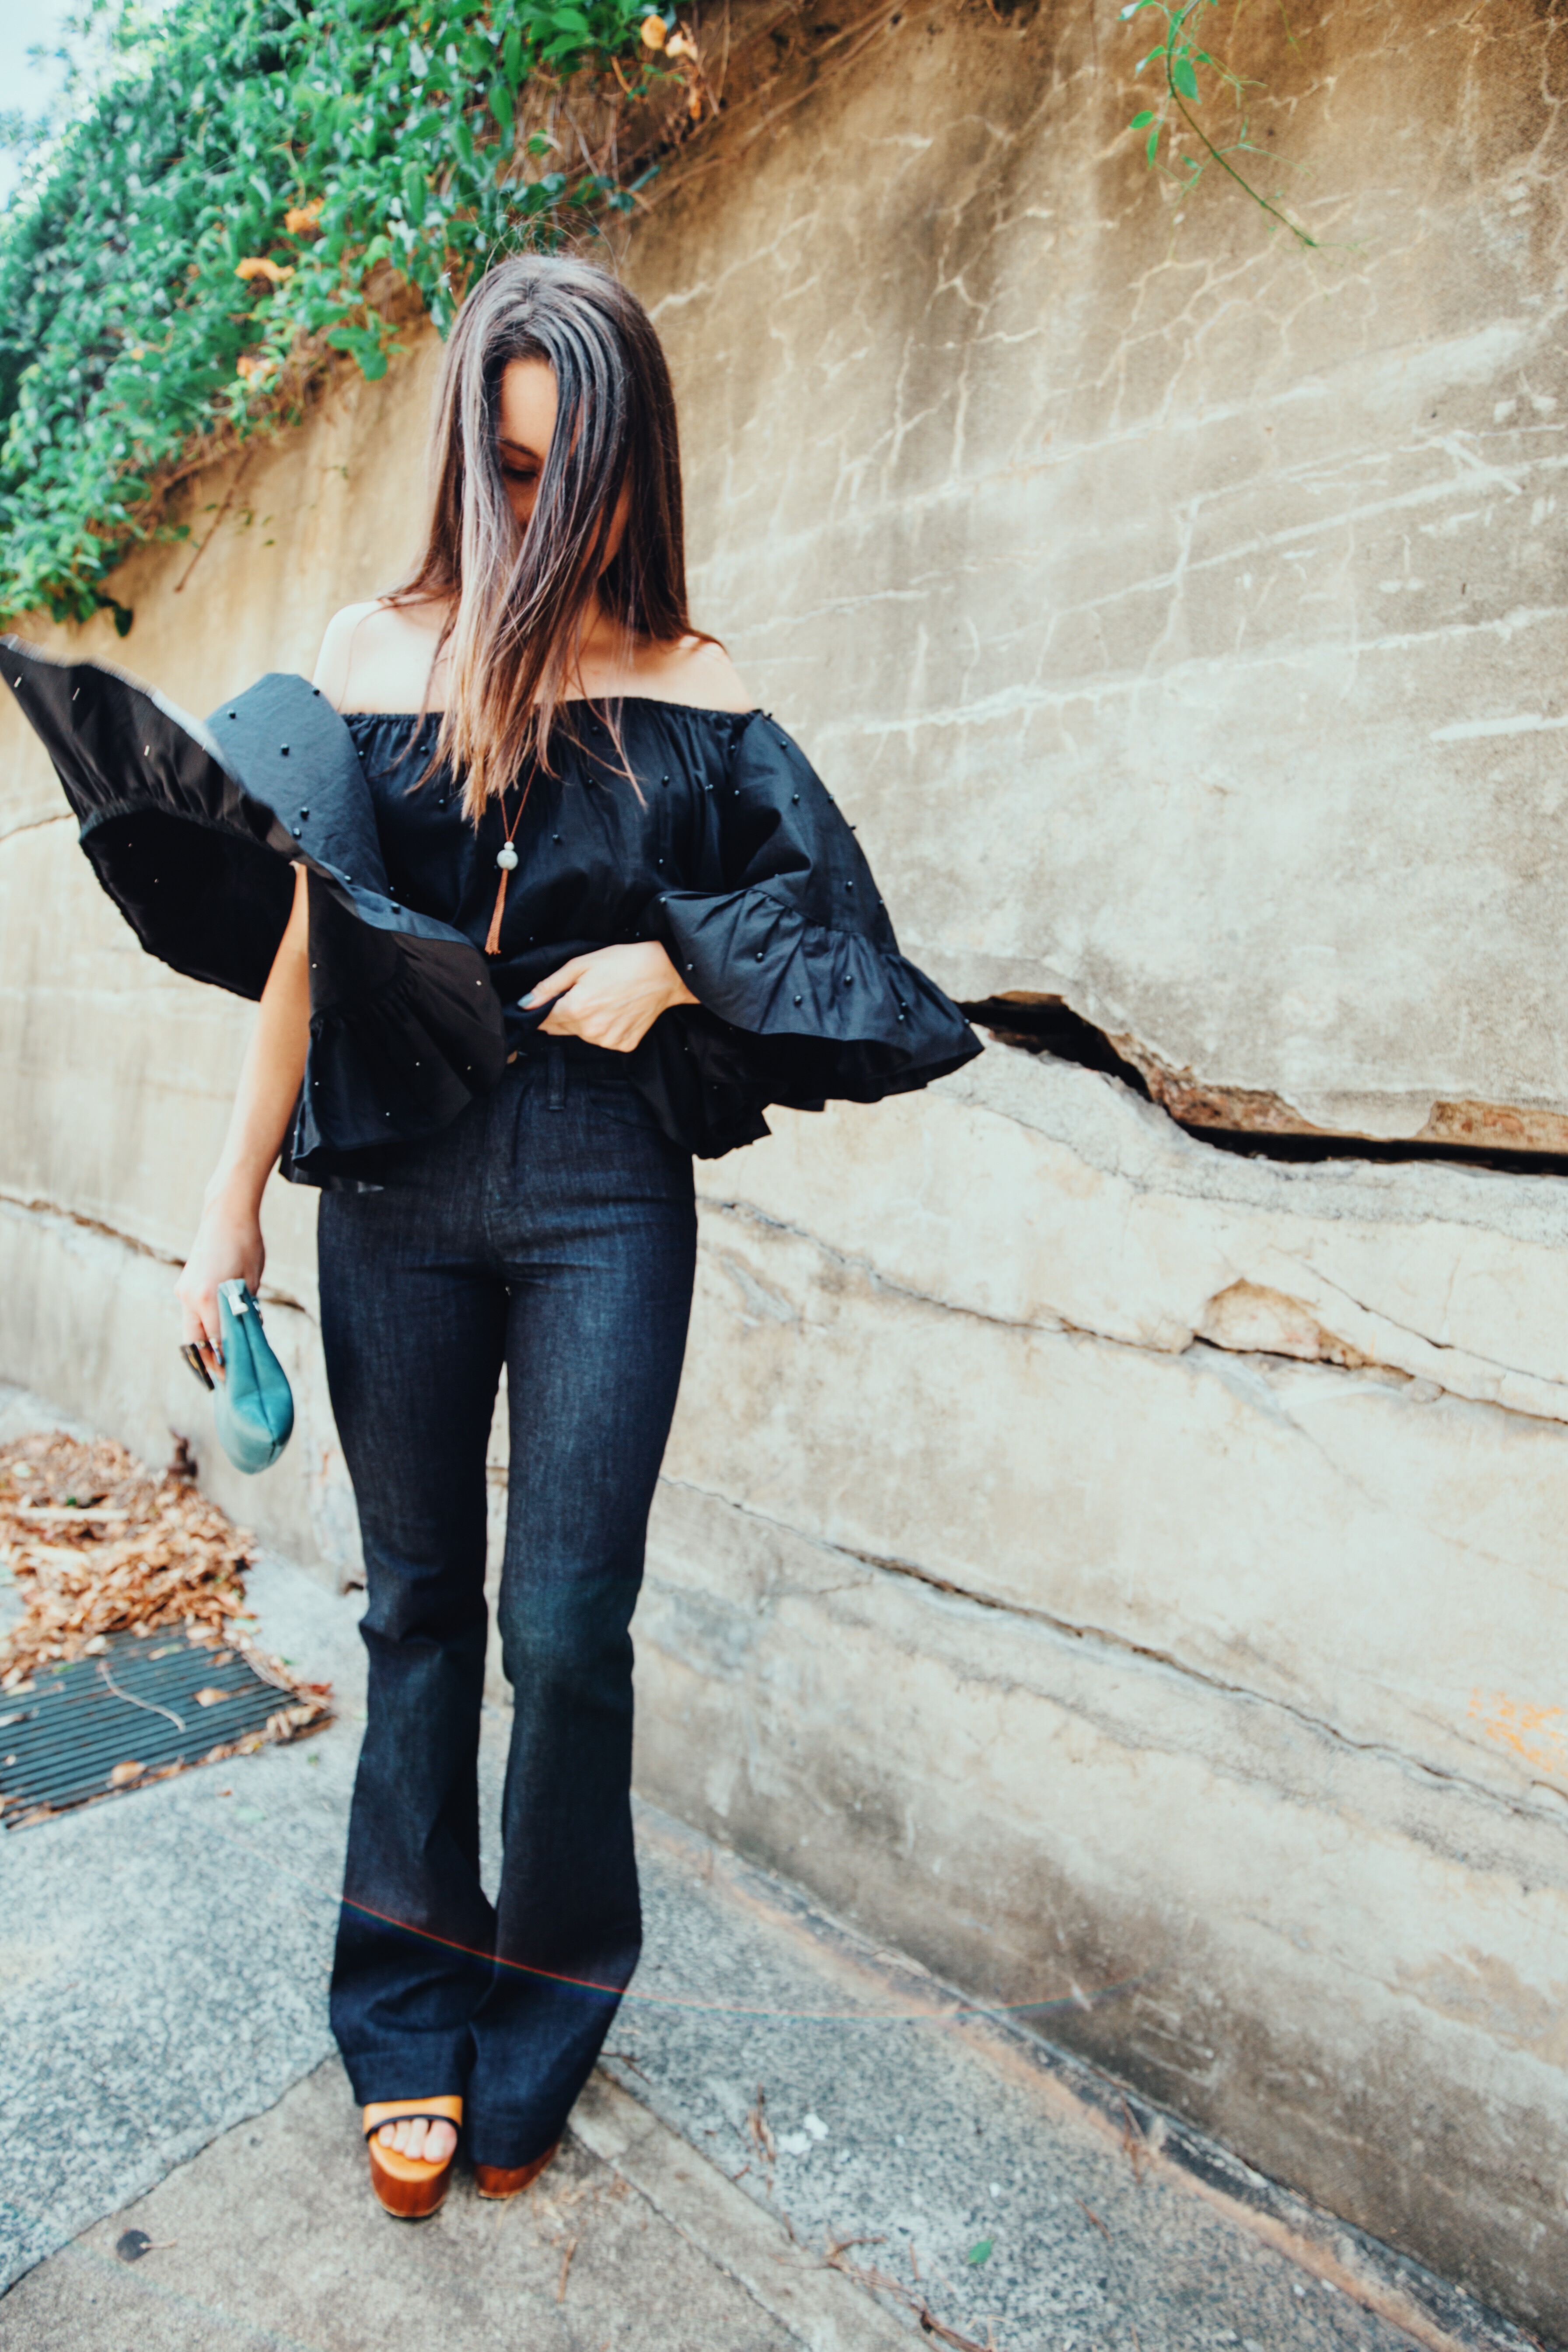
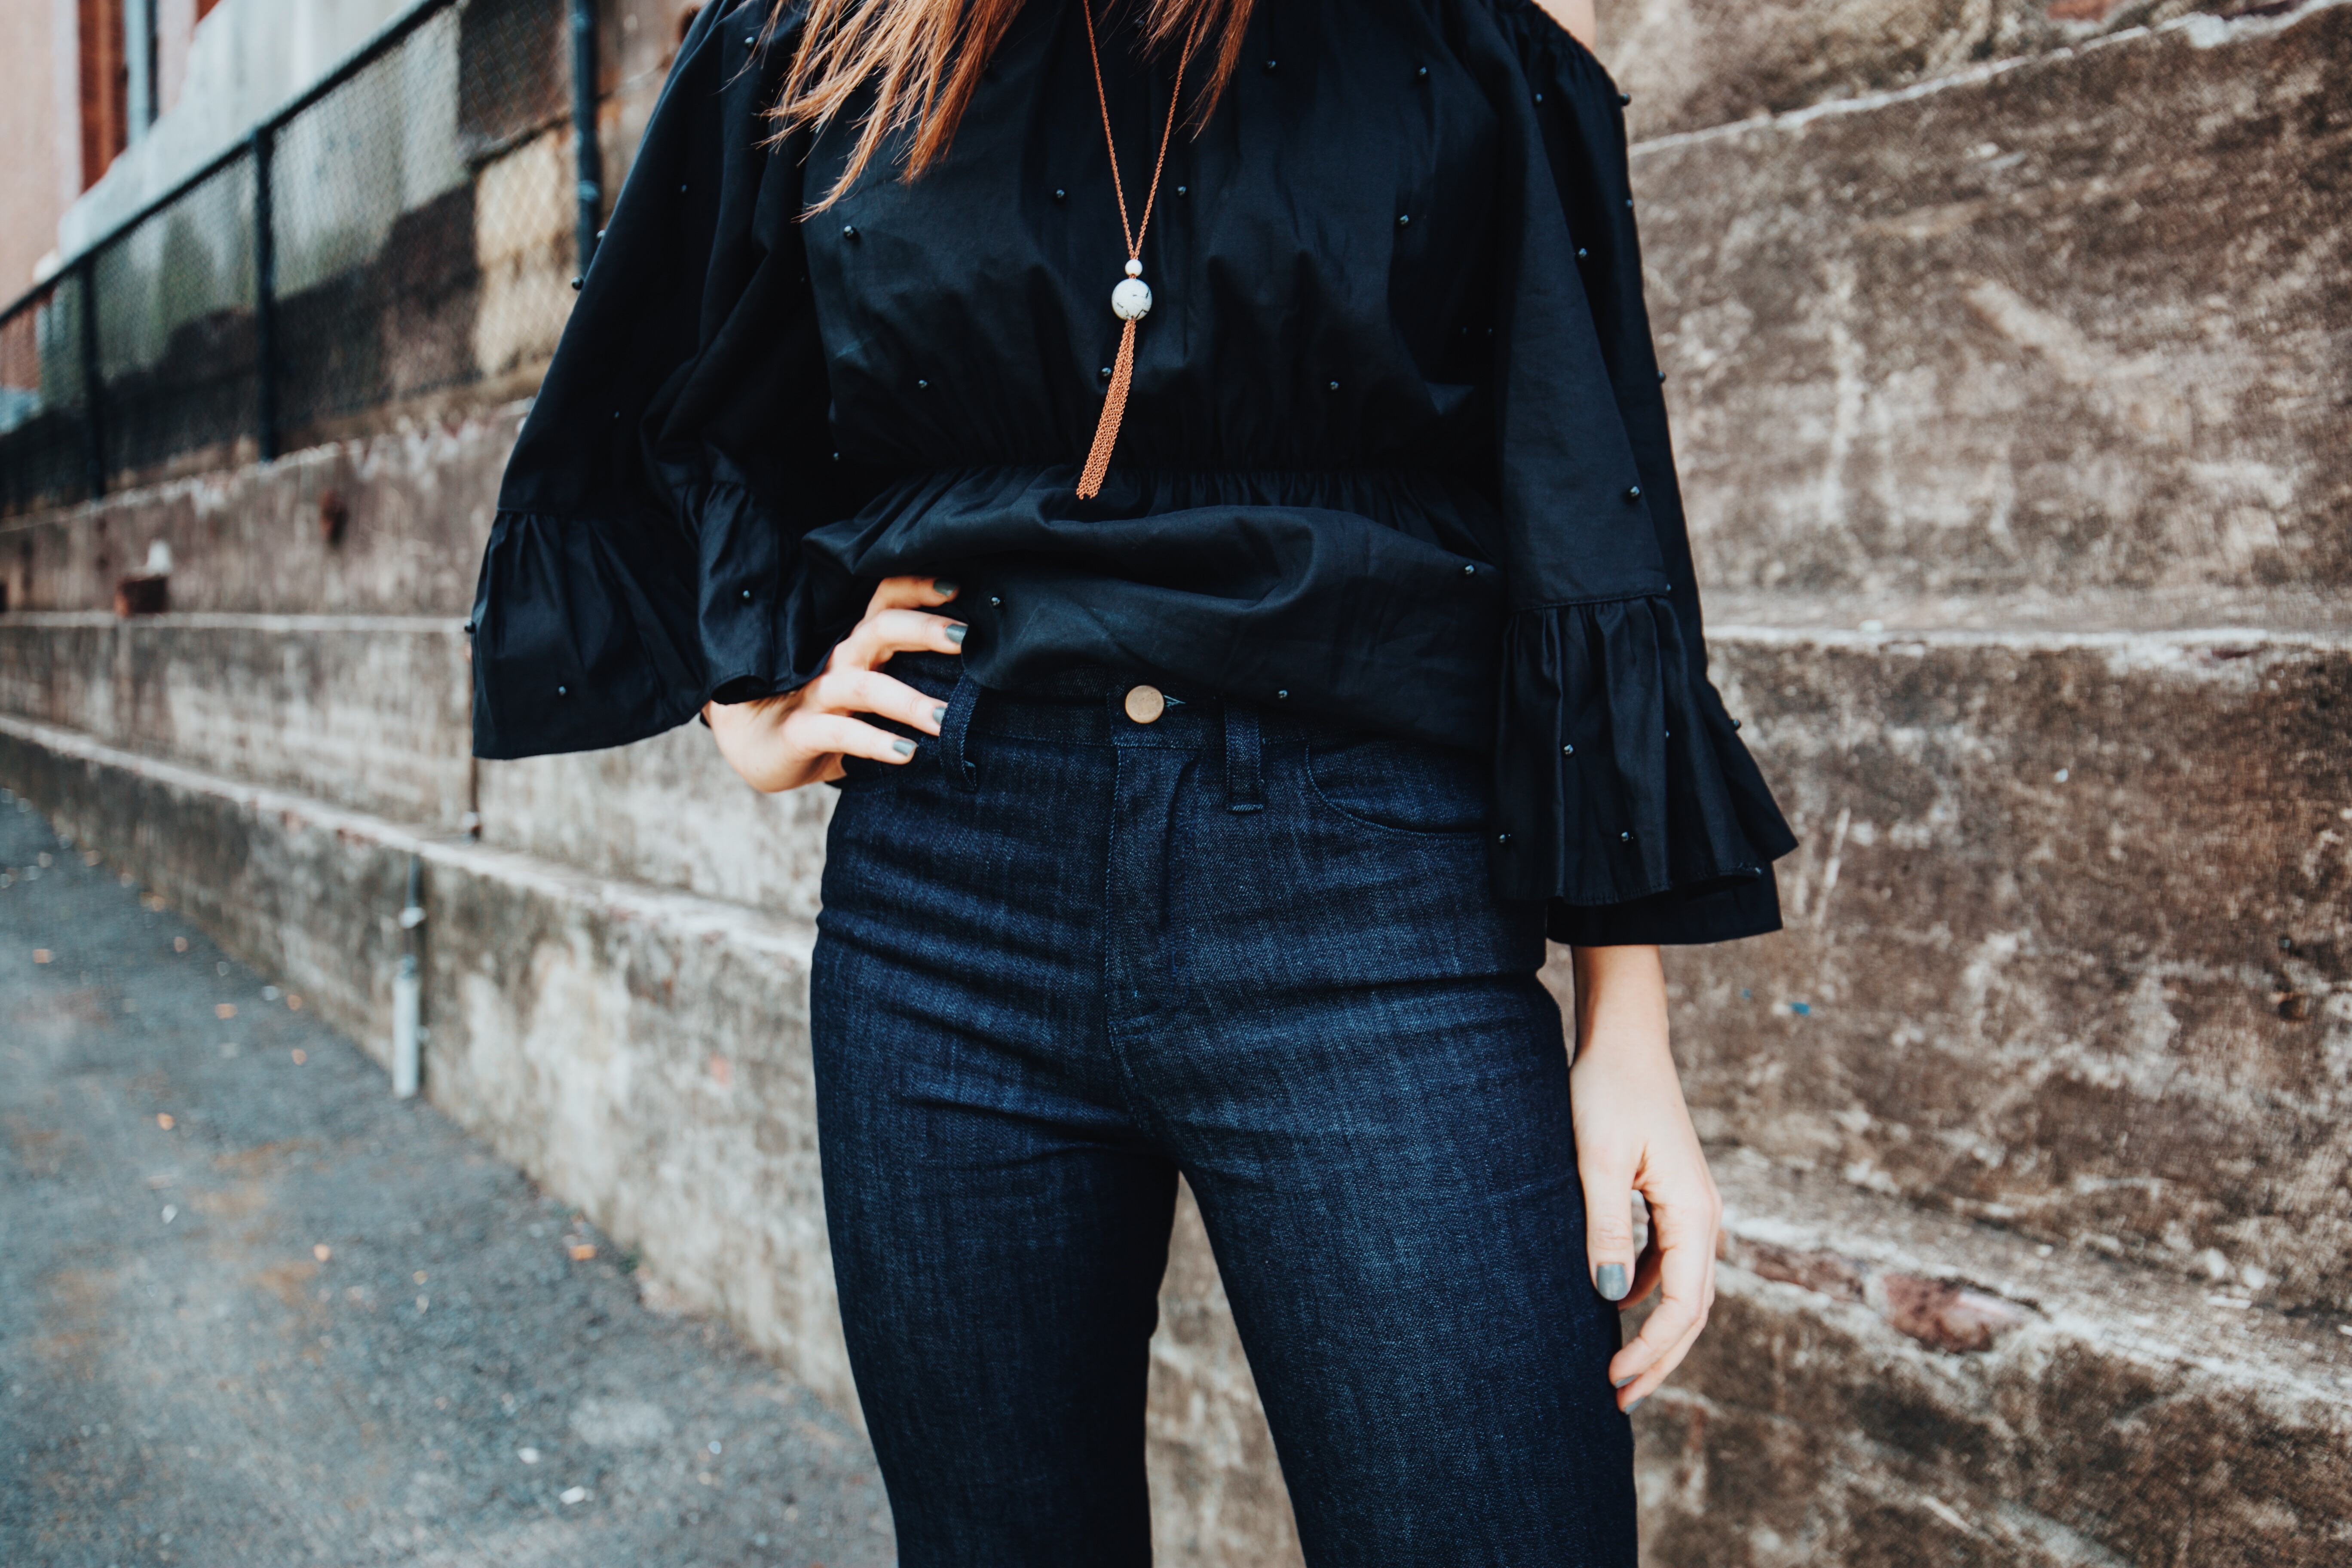
 One thing I really enjoy about the sewing process is making design decisions. Which colour buttons? Contrast hem? I love putting thought into this stuff! But it can be kind of paralysing. That’s when we pass responsibility over to Instagram. I was actually looking forward to sewing a “basic” for once because I thought it meant time-out from decision making. I mean, jeans are jeans. There’s just a button and some top-stitching, right? Err, no. It went more like this…silver or copper button? Rivets or no rivets? Neutral or gold top-stitching? Plain or embellished pockets? Wait, what sort of pockets, welts? It was popping a cork on a red I didn’t even know I had! I knew I wanted a dark blue denim and preferred neutral / invisible top stitching, like this pair. I went with plain pockets from the size below with a (conspiracy) theory that smaller pockets make your ass look smaller. I chose a muted brass button over copper because I didn’t want it to be a stand-out feature. I deepened the hem to 2.5″ because I thought it looked, um, rad. That’s what the kids were saying in the 70’s right? And I decided no rivets because they detracted from the minimalist, dress jean vibe I was going for.

 Usually an up-coming fly section is enough to induce mild fight or flight. But the instructions for inserting the fly here were uh-mazing. And yes you were all right, top stitching IS fun, even without an edge-stitch foot. Having the Baste + Gather Facebook group available is invaluable, especially when you panic over why your zip is 3″ longer than in the pictures (you shorten it later). There were only two sections in the entire thing I couldn’t figure out. One, was how to remove the extra teeth from the zipper using the pliers. I tried. My burly dad tried. In the end I just grabbed a quick-unpick and sliced off the extra teeth, solved! The other was transferring the fly top stitching guide lines to the fabric. I’m still not sure what method everyone else was using but I couldn’t see how I would get the chalk pen to go through my easy-trace onto the jeans below. So I traced over the lines in chalk pen, flipped it off and then rubbed off the markings onto the jean and went back over it. Genius! Or maybe we were supposed to do that.
 There were so many tips and tricks I learned along the way. Things I would never think of doing. Having now sewn the Birkins, these are a few that really made a difference to the sewing process and my enjoyment levels:
- Hammering the back of the belt loops flat before sewing made them really easy to sew to the jeans with bar tacks.
- Using a couple of layers of folded denim to level out the foot when sewing the belt loops to the jeans.
- If you don’t have fray-check you can carefully melt the ends of the belt loops with, um, fire.
- If your machine doesn’t love sewing the button hole with top-stitch thread, you can feed two spools of normal thread into the needle instead – this worked a treat on both the button hole and all the bar tacks for the belt loops.
- Double sided tape is a great alternative for sticking the back pockets in place, pre-sewing.
 Get your copy of the pattern here.