 The inspiration for this DIY’d outfit caaaame to me in a visionnnn (cue woo woo eyes). No. Wait. It was Gorman. It came to me in Gorman. I was wandering around, trying to figure out what to make with the two yards of METALLIC GOLDEN LINEN under my arm. Something that would slip casually and effortlessly into my hand-made wardrobe without so much as a ‘Sup guys?’. Wait, backstory: I had a scheduled free choice project upcoming with Britex Fabrics, saw ‘Brilliant Metallic Gold Stretch Cotton & Linen Blend‘ in their novelty section, thought ‘Oooo funsies’ and ordered it without another thought. So when the fabric arrived, exactly as described in all it’s metallic goldeness, I was a little confronted. Okay, I totally freaked. Me, a metallic virgin, cruising through life certain there were two types of people in this world: metallic wearers and non-metallic wearers. And here, I, of the non-metallic variety, with two yards and a time-frame.

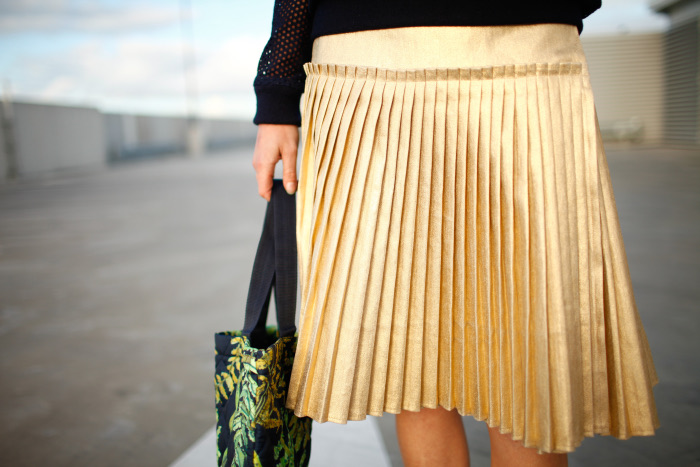
 I must stop right here and tell you this fabric is LUSH! Metallic and gold, yes but shiny and blinding, no, with the linen content giving it this beautiful grainy, matte, texture. No sunglasses necessary. It was more: what could I make that would do it justice and that I would wear, like, on my person? I saw visors and high waist summer shorts and cropped tees and two-piece sets, which were all not bad ideas. I almost cut out the Named Inari dress and realised I would wear a gold shift dress probably never. I petted the fabric, held it up to the mirror, sifted through Pinterest, thumbed the pattern stash; all the usual hot spots for divine inspiration but nothing, NOTHING! I thought I had made a huge mistake.
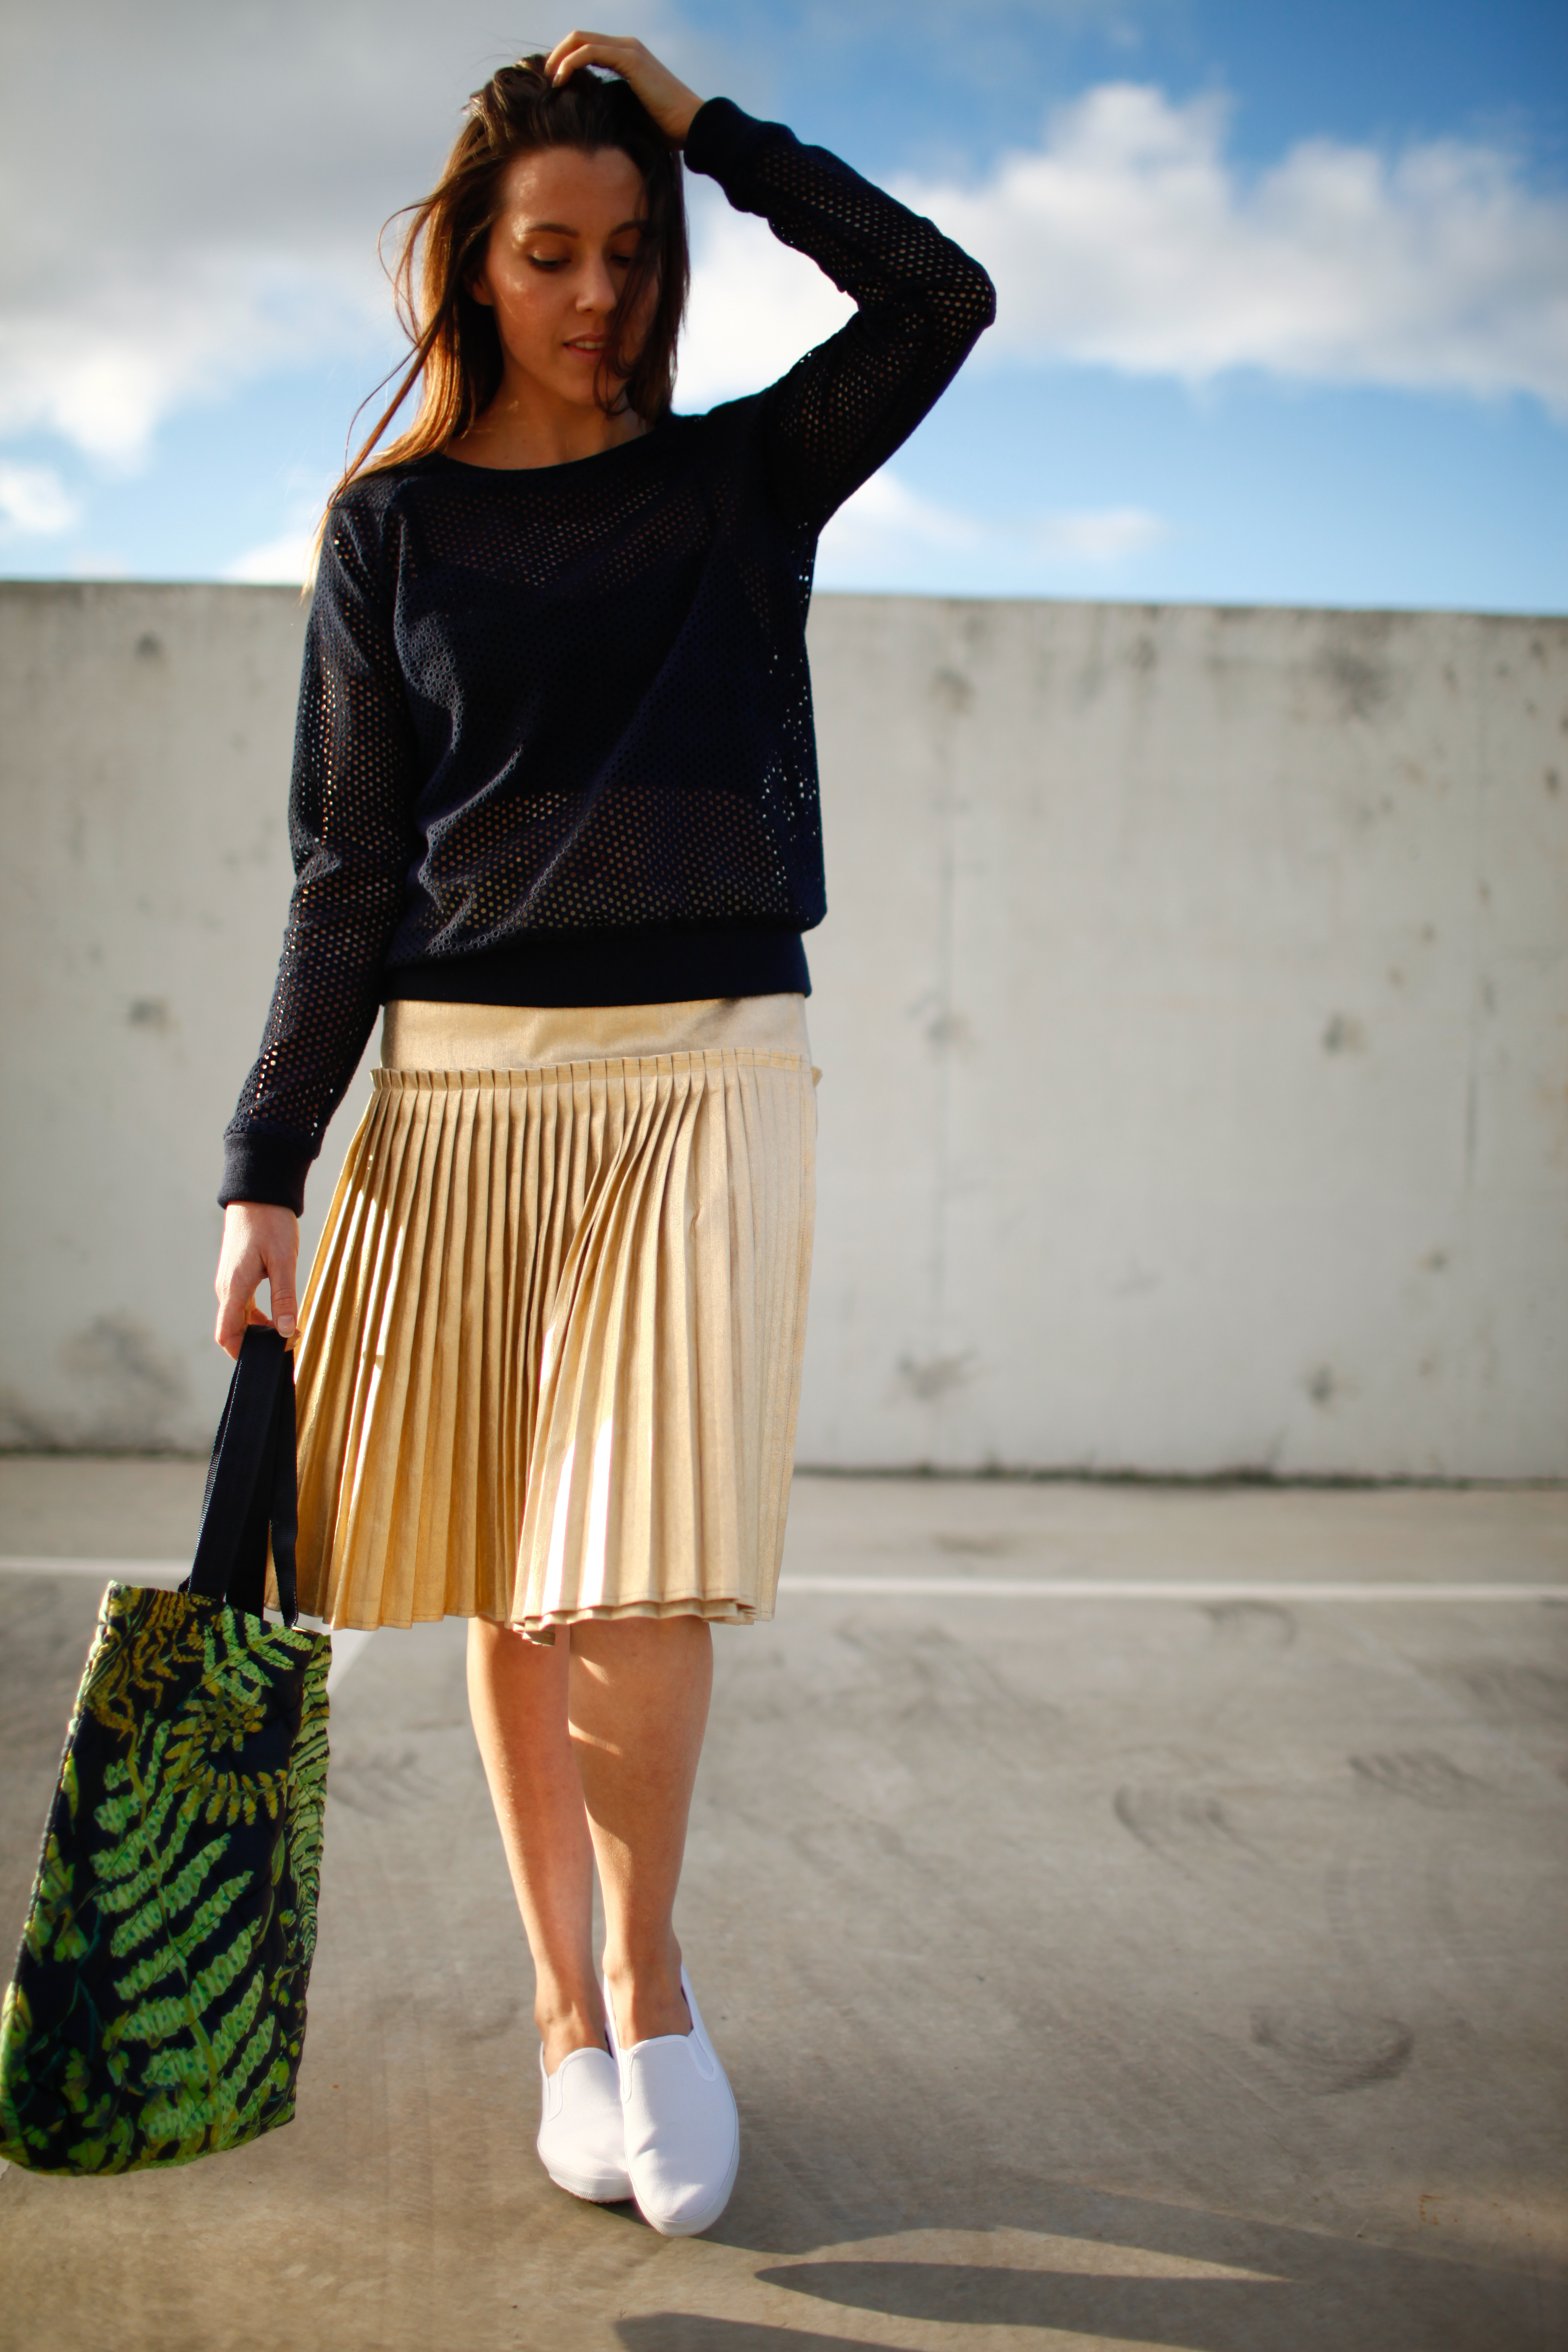
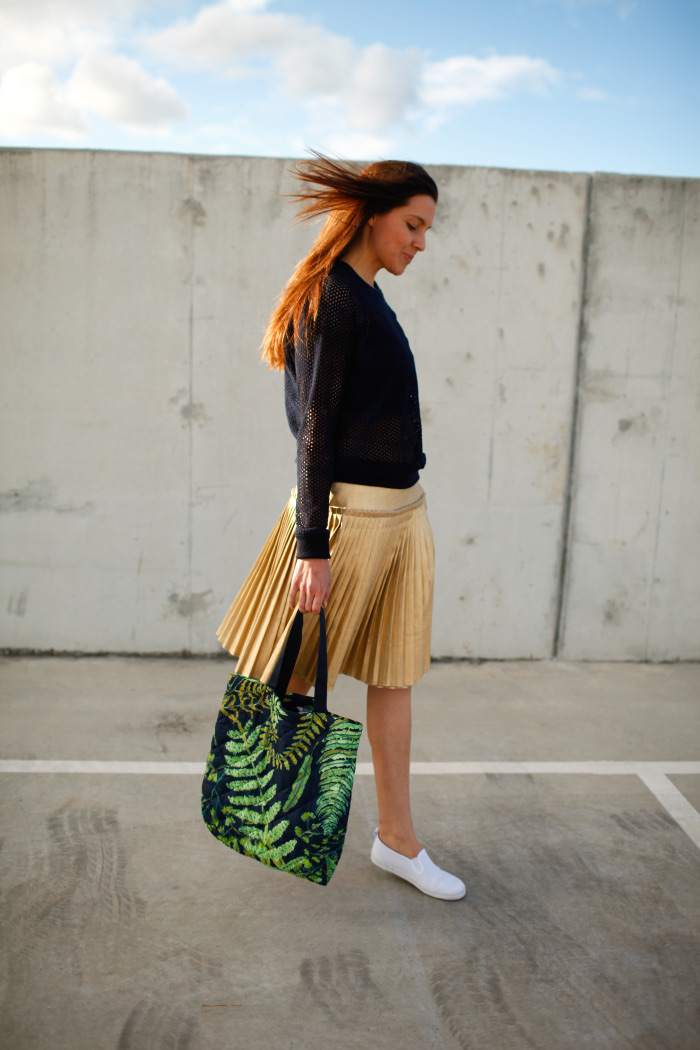
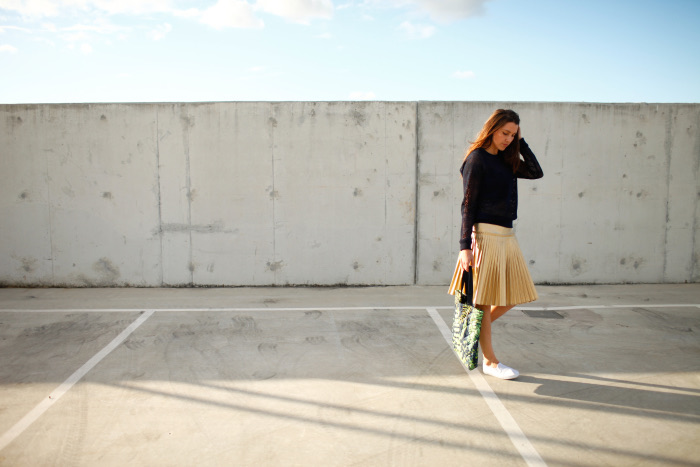
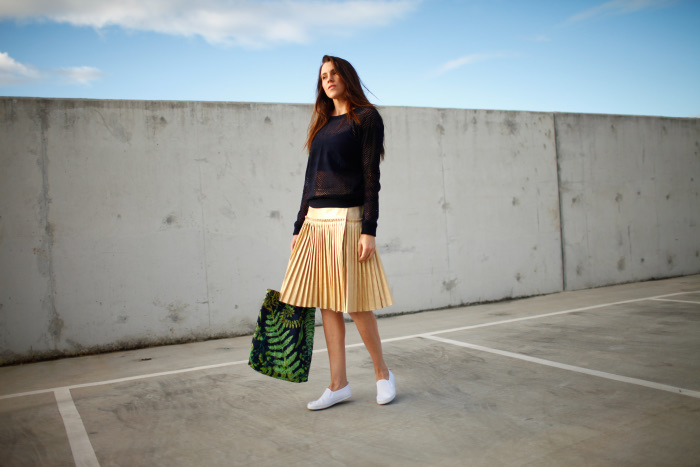
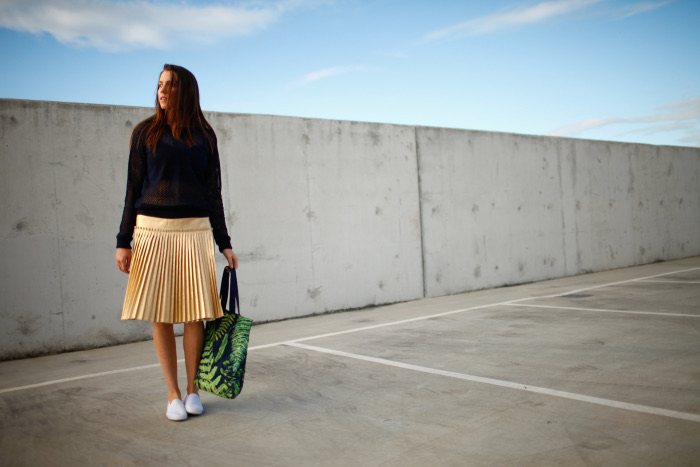 That is how I ended up in Gorman, one of my favourite Australian clothing brands and one of the few places I still buy RTW (when I’m not shopping for “inspiration”). If you’re not familiar, let me summarise: for colour, print and pattern lovers, Gorman is the mecca. Add to this killer silhouettes, interesting cuts and designs which are virtually ageless and you will understand their almost cult status. Gah, just see for yourself! I buy significantly less Gorman these days but my hand-made wardrobe is influenced by them more than ever. And it was looking around at their current collection Moth and Moon with all unlikely combinations of colours and prints they’d paired so beautifully with metallics that I realised I’d had it SO wrong! I had put metallics in the too garish, too blingy, too glitzy, too much something box. When what I’d needed to be asking all along was: ‘WHAT WOULD GORMAN DO?! The answer…some awesome sporty-luxe pleated skirt, probably.

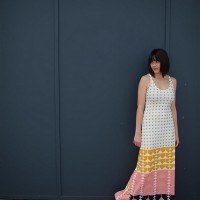
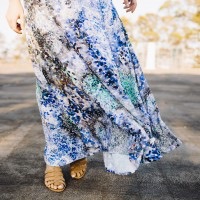
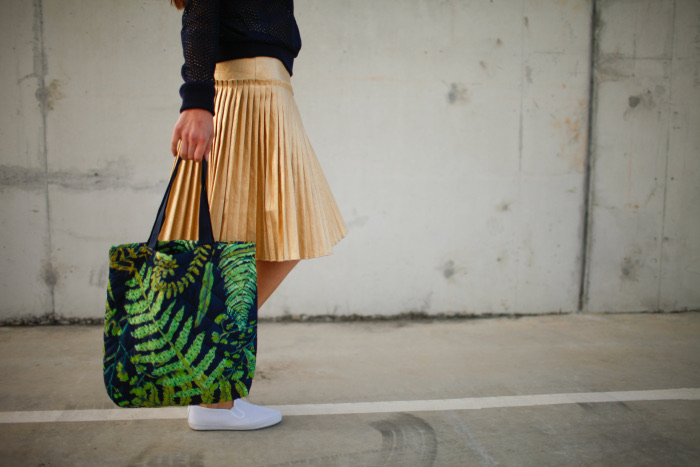
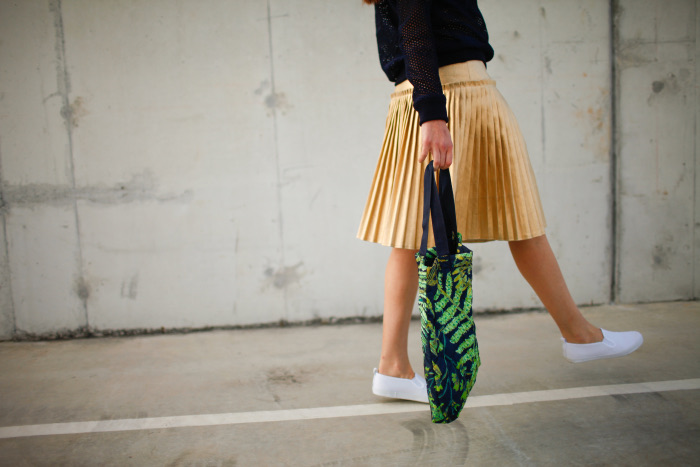 I found this pattern for a Pleated Wrap Skirt and it was exactly what I was imagining! I LOVE that it’s a wrap skirt. After putting zipper’s into everything, the idea of not sewing one and climbing into a piece of clothing in a new way is novel and fun! I was hoping someone might have posted a comprehensive review on Burdastyle with detailed illustrations of each step, but alas, no. It is truly an amazing skirt and totally worth the sew but you need to be prepared to do your own thing with the instructions; I abandoned them after paragraph two because they made-a-no-sensa to me. Oh and there’s the mystery of the phantom 4th pattern piece. The pleated section is supposed to be made up of four lengths of fabric, three long + one shorter one, stitched together. It never became obvious what this shorter length was for. I didn’t have enough fabric to cut it out and when I attached the pleats to the yoke they fitted perfectly, having used only the three long lengths…
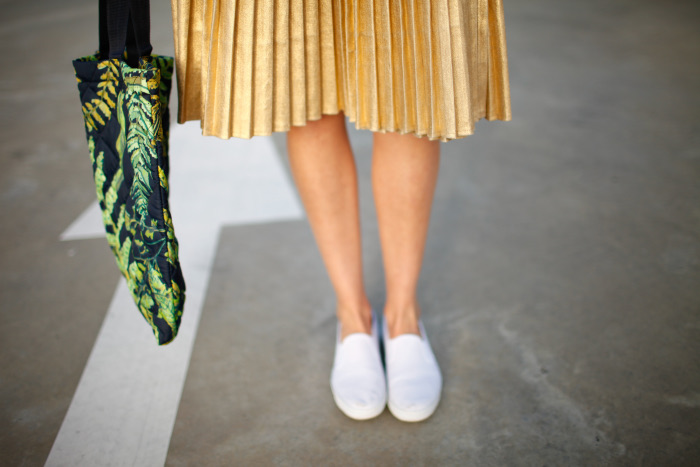
 Ahhh the pleating. Ohhh the pleating. My gawd. The PLEATING. Four point two meters in total. I’ve never pleated anything before in my life. Which was probably a good thing, going in blind. Granted, the instructions did say ‘create pleats with commercial pleating machine’ which I thought was hilarious (sure, just let me get one out of my pocket) until I later found out that there are real places that do this, should you want to avoid hand-pleating yourself. Then there was the question of: does this fabric even hold a pleat? Does it ever! This fabric loves any kind of pressing pleated action. It holds a crease so well you really want to transfer it to a roll / tube after it’s been folded up in the mail. I can only guess it’s because, with the iron cranked to the max setting, you’re virtually melting the 2% lycra content in the fabric into a new shape, forever. It’s magical. My pleating plan was to draw up 1/2 ” pleats on the back side (the fabric melts from the front side, der) and break the pleating job down into sections and hours. My forearms cried. I wanted to quit. But the vision! THE VISION!
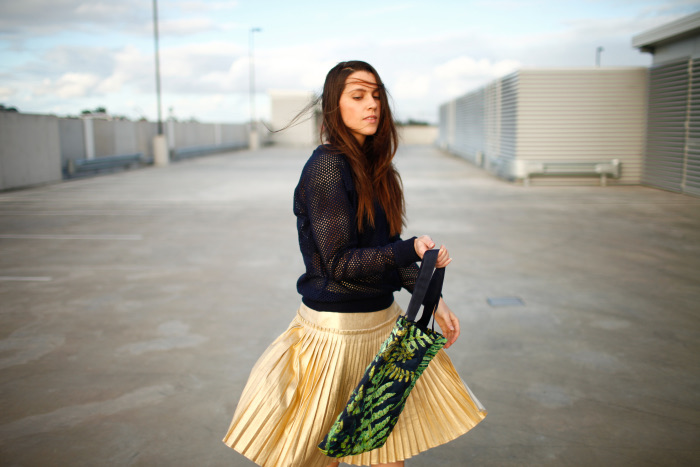

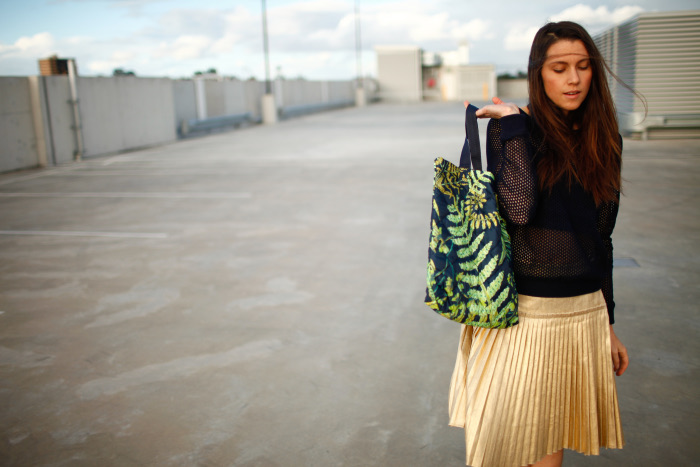 Somewhere during Pleatgeddon I needed a distraction in the form of a woven Linden Sweatshirt. If you’ve ever sewn a Linden, you will know that it’s like coming home. For my first Linden ever (to be blogged soon) I made a 6. In a knit, the fit was perfect. For this woven version, I sized up to an 8. The fabric is a cotton eyelet from The Fabric Store, which I dyed navy. The cuffs, hem band and neck band are ribbing, a delicious navy merino from here, which made the whole sewing process the same as for a knit version. I French seamed the insides, since you can see through from the outside. My only mod, which I’ve done for both Linden’s now, is to shorten the length of the hem-band by 2-3″ so it fits closer to the hips and then hangs over the top. To me, this is how a classic sweatshirt sits.
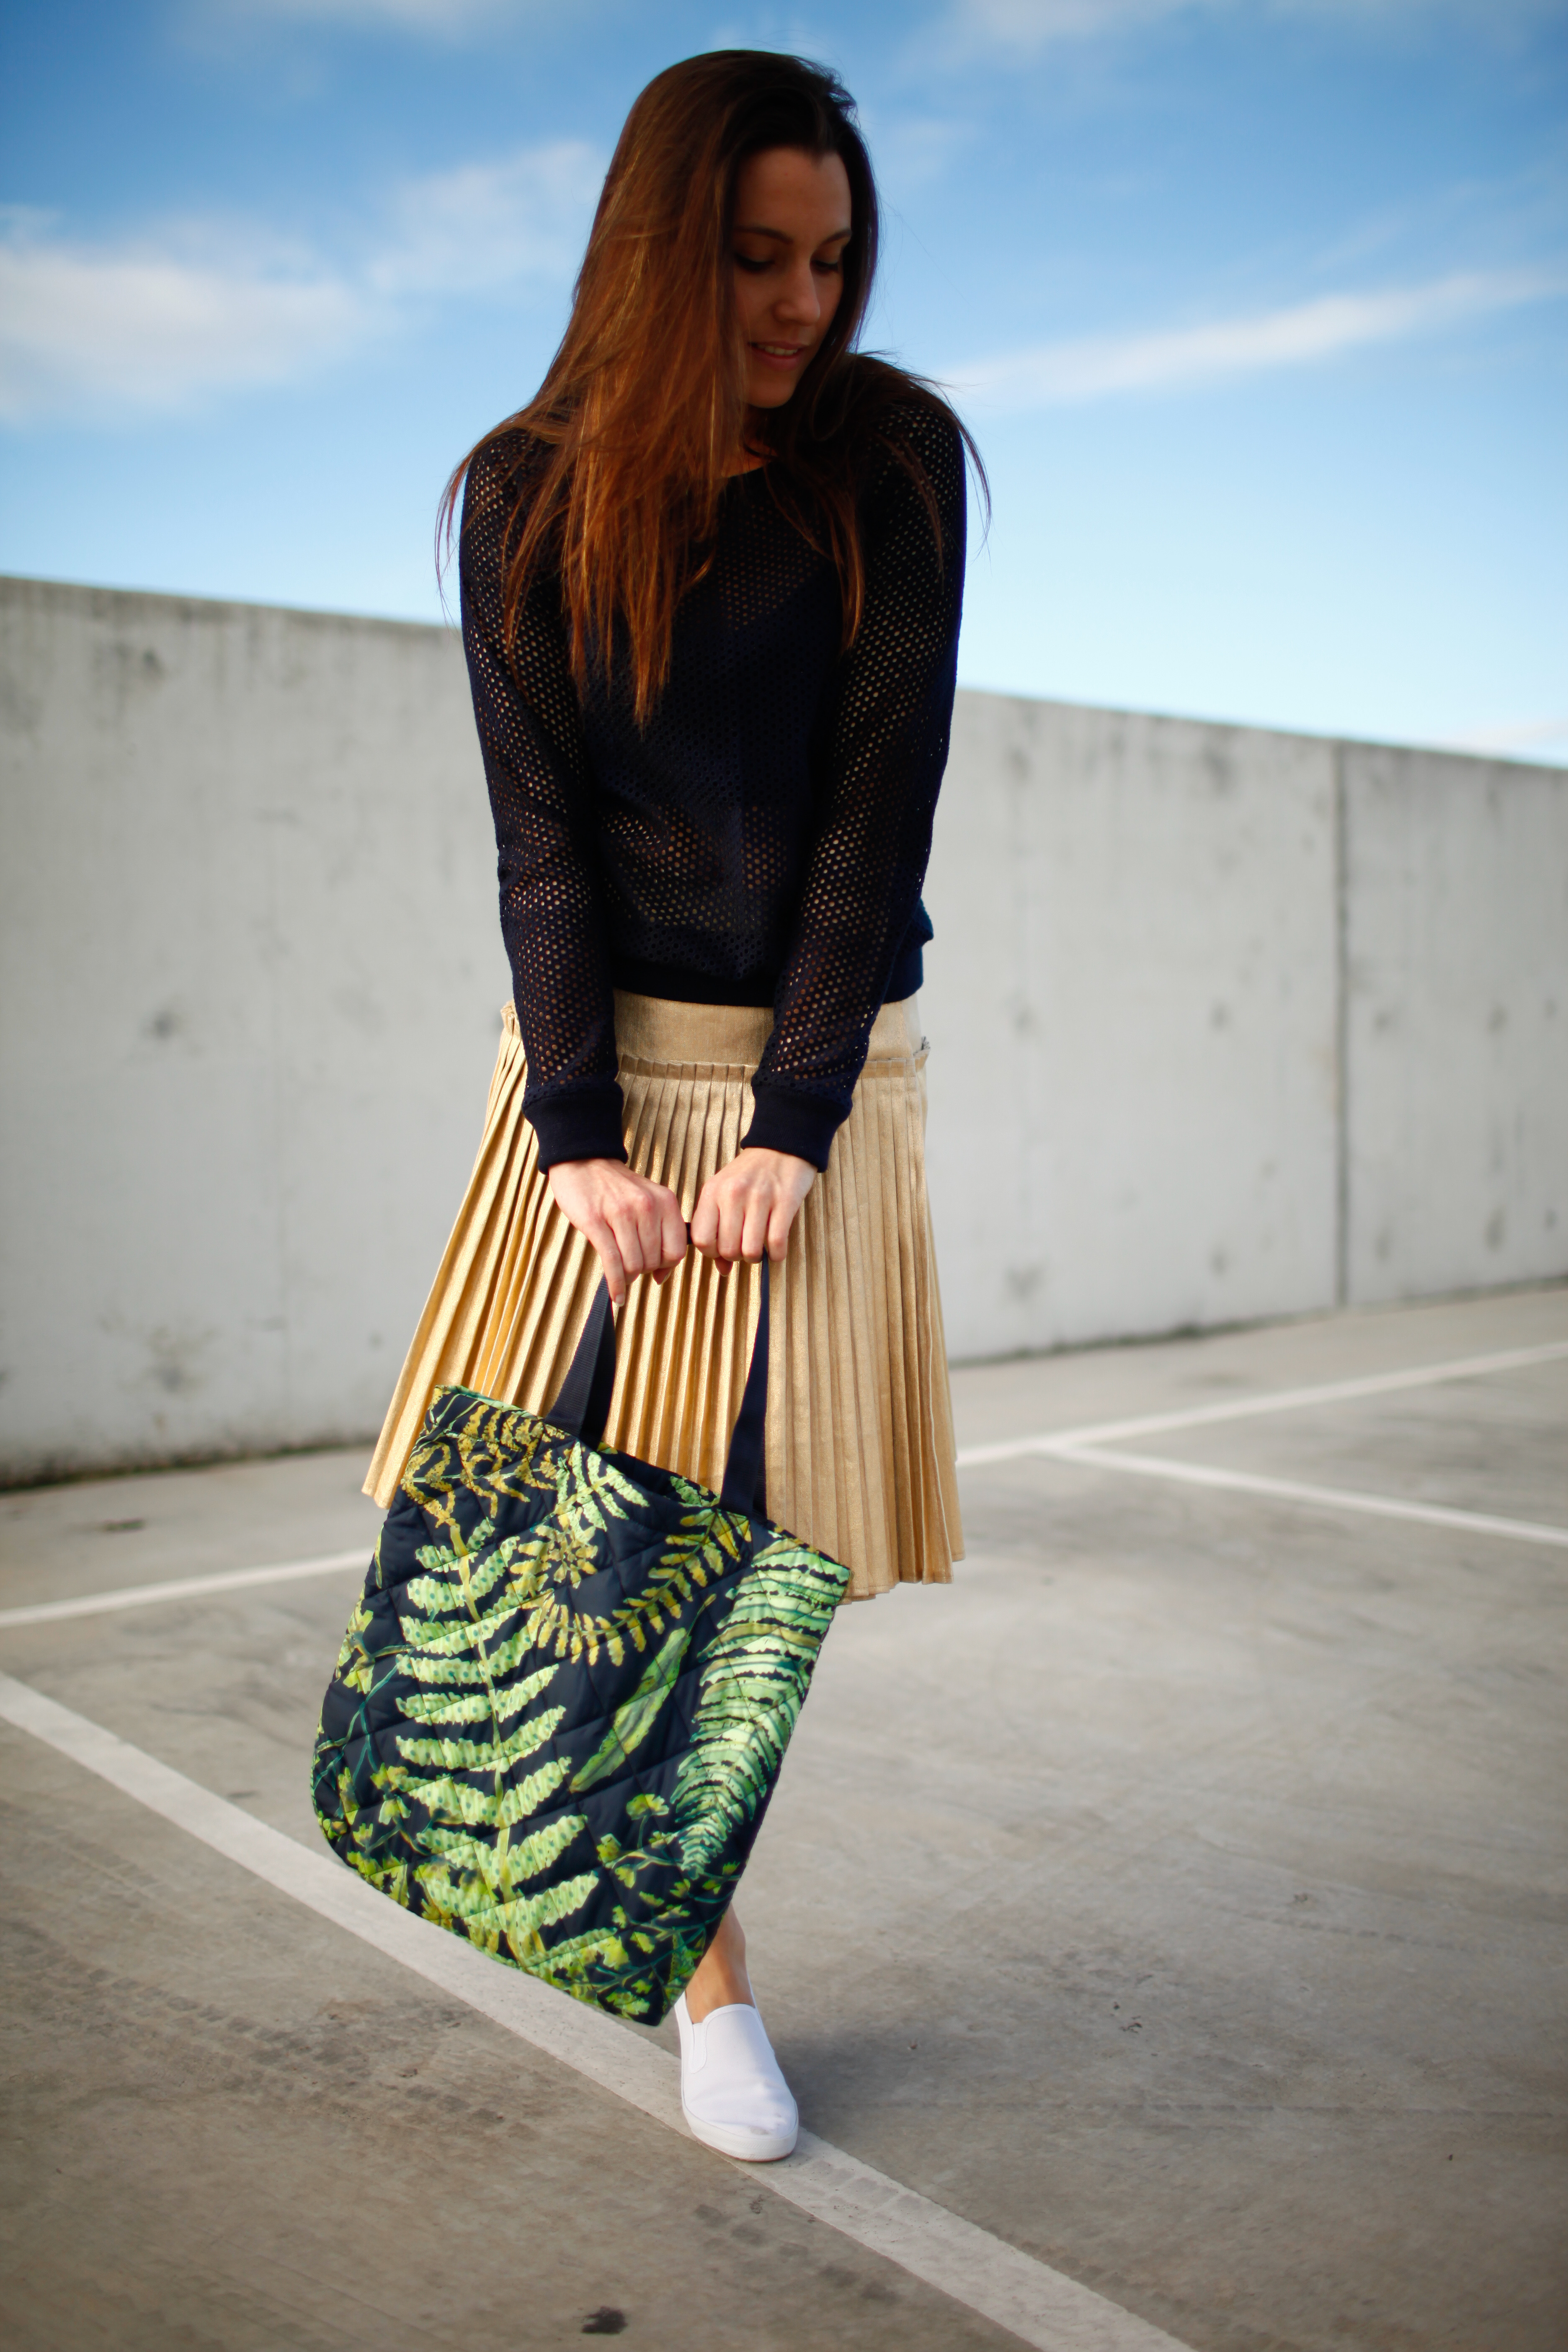
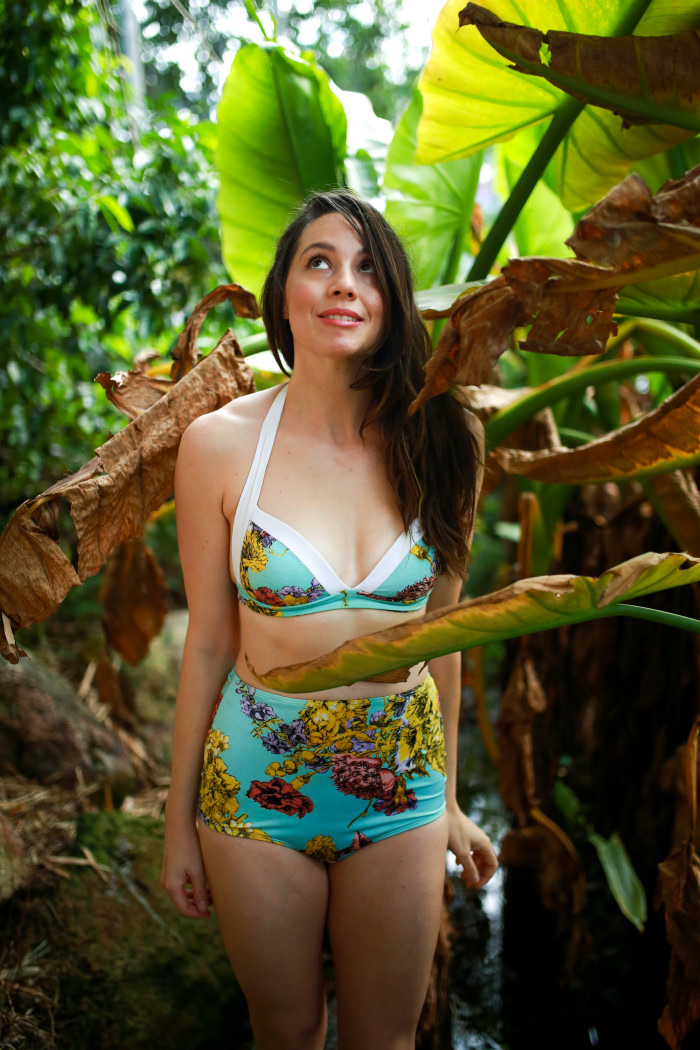
 As always I feel like I should offer some kind of explanation as to where (TF) I’ve been hiding out but it would be a heavily fabricated tale involving schedules, motherhood, auto-immune rashes, absent camera lenses and yeah I’d rather slap myself with a dead fish than hear it too. So here’s a DIY bikini! I have to say, it is one of my most favourite, un-hand-made looking hand-makes ever. Maybe even THE favourite. And so you’re not under any illusions, it was followed up by one of the worst sewing fails ever (two words: dude crotch). Why am I sewing swimwear in the middle of Australian winter, literally after finishing a cosy Linden Sweatshirt, you ask? An event that’s
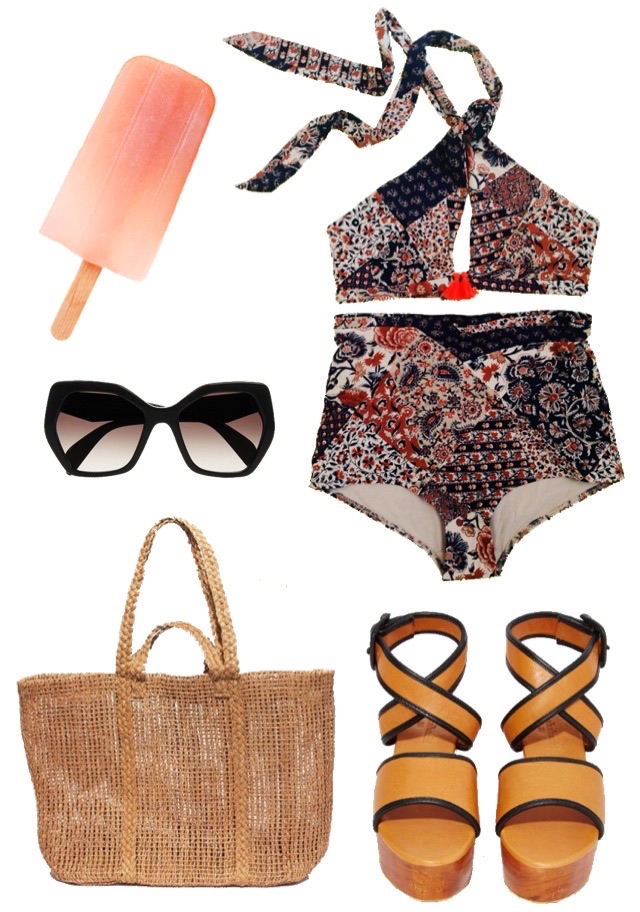
 Let’s talk about the patterns first. I have so much love for both of these. For the top I used the
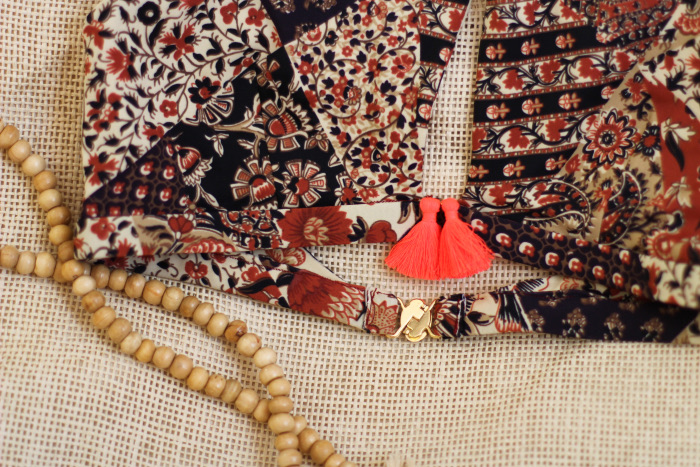
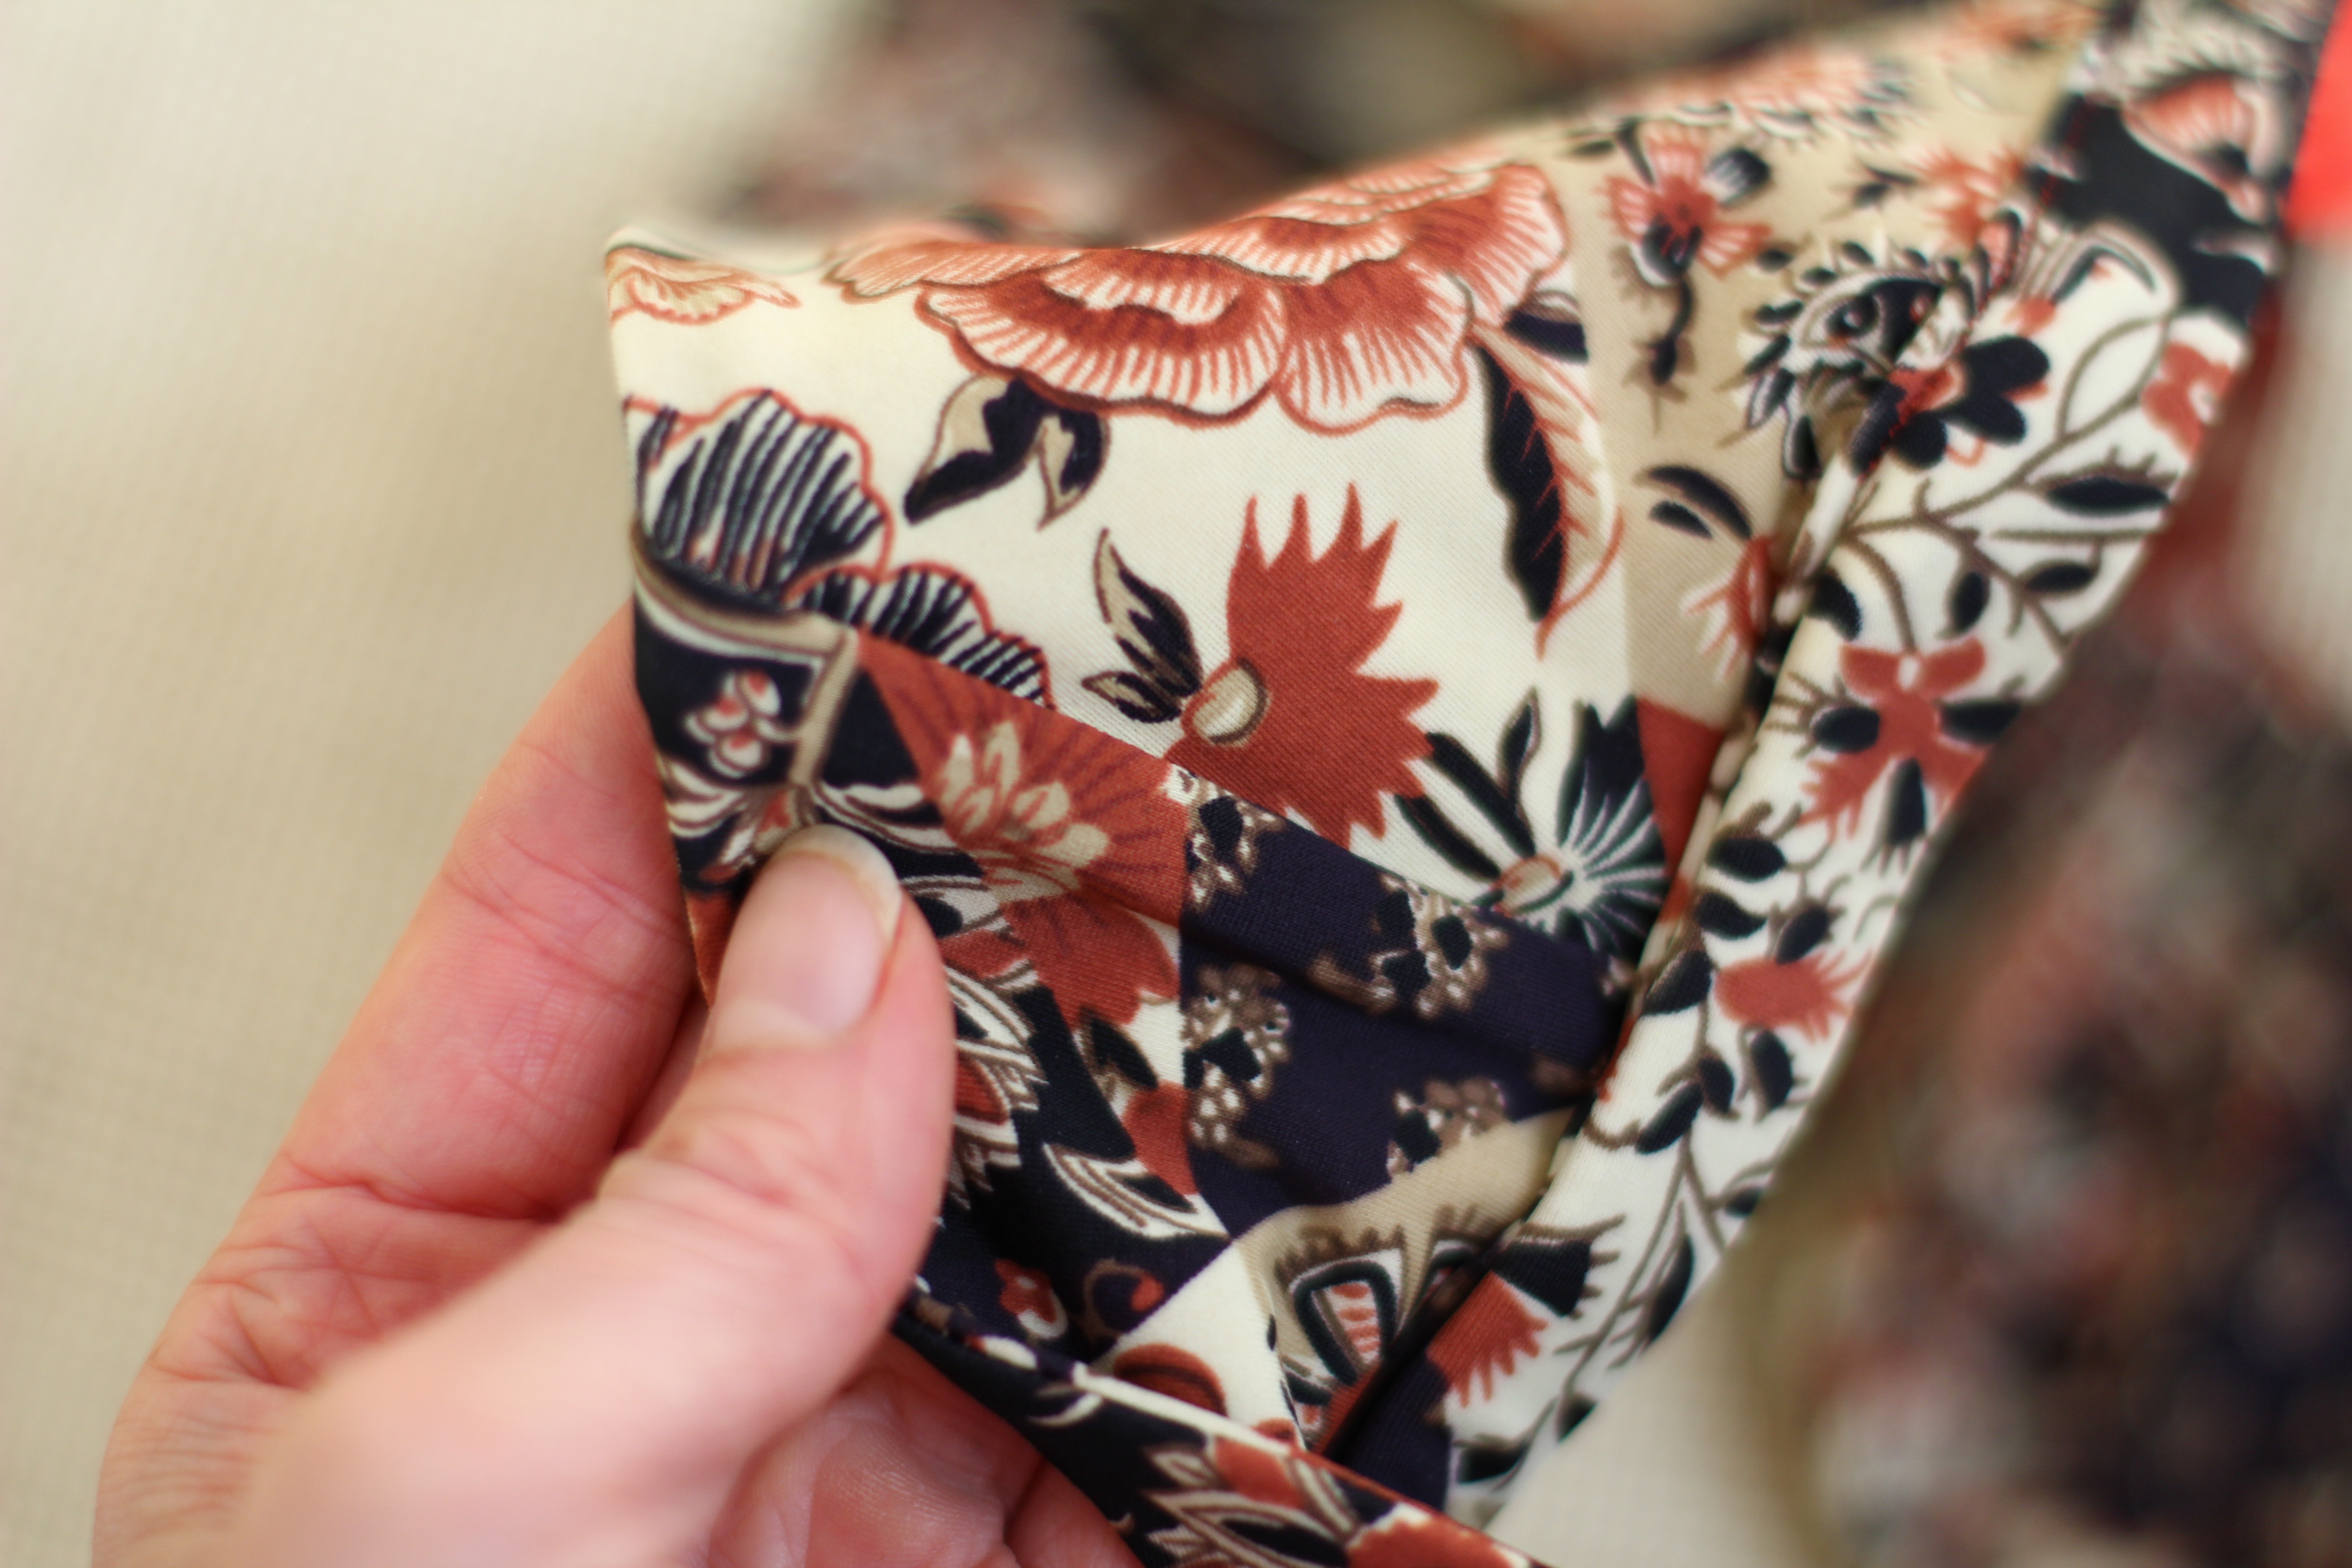 It’s also obvious how much thought has gone into the details and finishes. Being fully lined, the overall result is so clean and so pro. Only one section of visible top stitching, on the under bust band, but if you’re having a purest moment, like I was, you can move this stitching slightly over and ‘stitch in the ditch’. I will admit, when I first saw this pattern, I wasn’t so sure I’d even be able to wear it. Not so much bust size, which is something to factor in, but more so if you desire support via bust ‘shaping’. What is not obvious from the pattern photos or the description is that there are secret sections of swimwear elastic sewn into and around the bust which are absolutely necessary and also do a damn fine job of gently ushering your girls where they need to be. Something to take note of, which isn’t mentioned in the pattern, is you will see both your lining and main fabric in the twisted section. I initially cut out swimwear lining before realising this and had to go back and cut new lining pieces out of the main fabric. Only I didn’t have enough so one strap is made out of two pieces joined together.
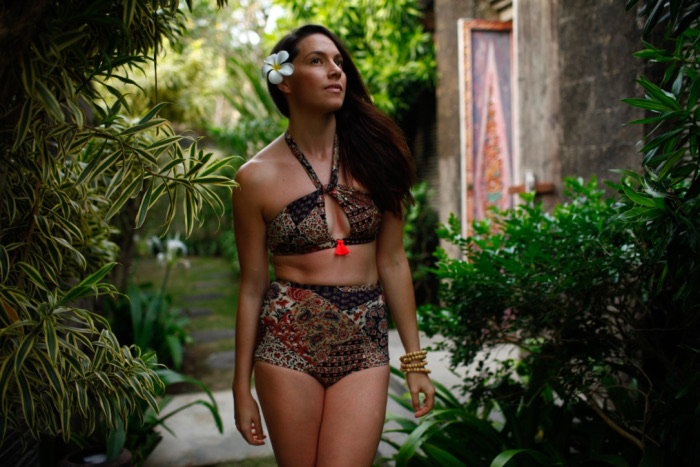
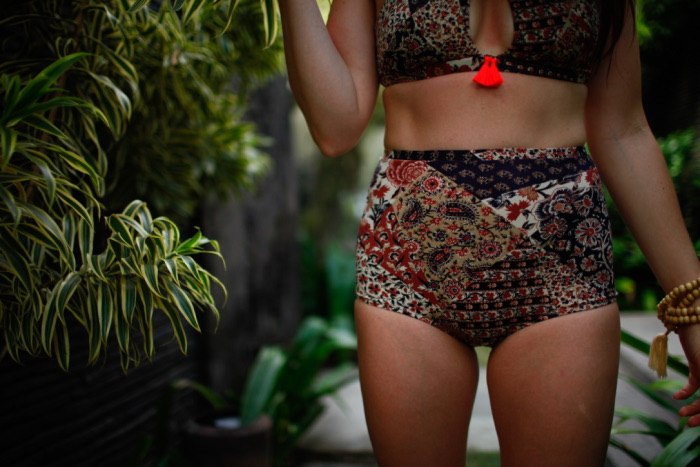
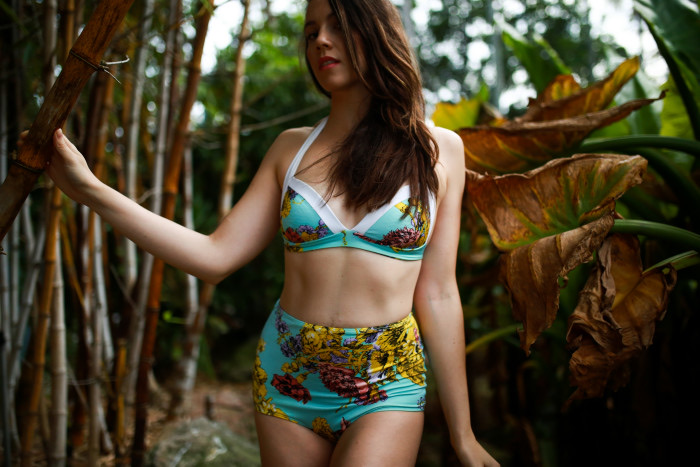
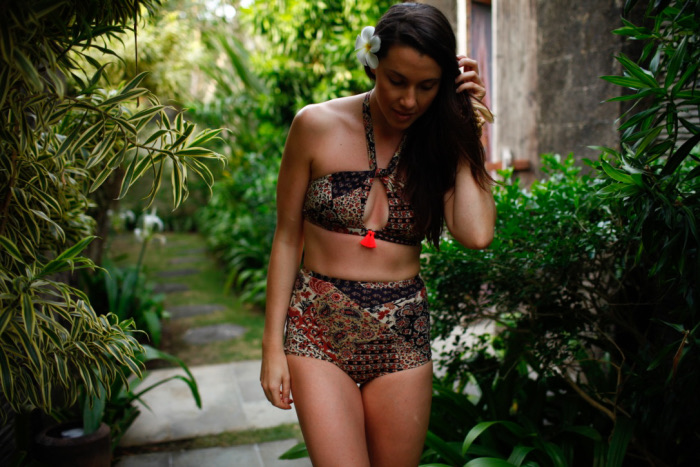 The bottoms were always going to be high waisted! I probably could have copied them from
  A waistband makes a nice feature and also means they’re less likely to ride down than when sewn with just a thin line of swimsuit elastic, when water-logged. Something I found out with
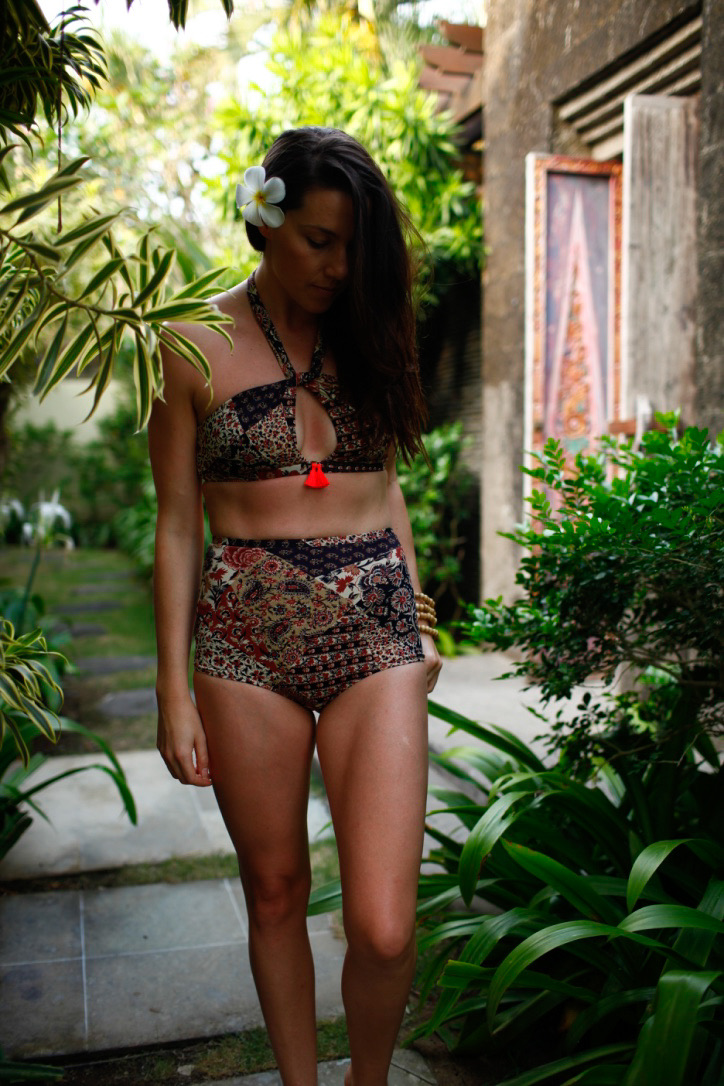

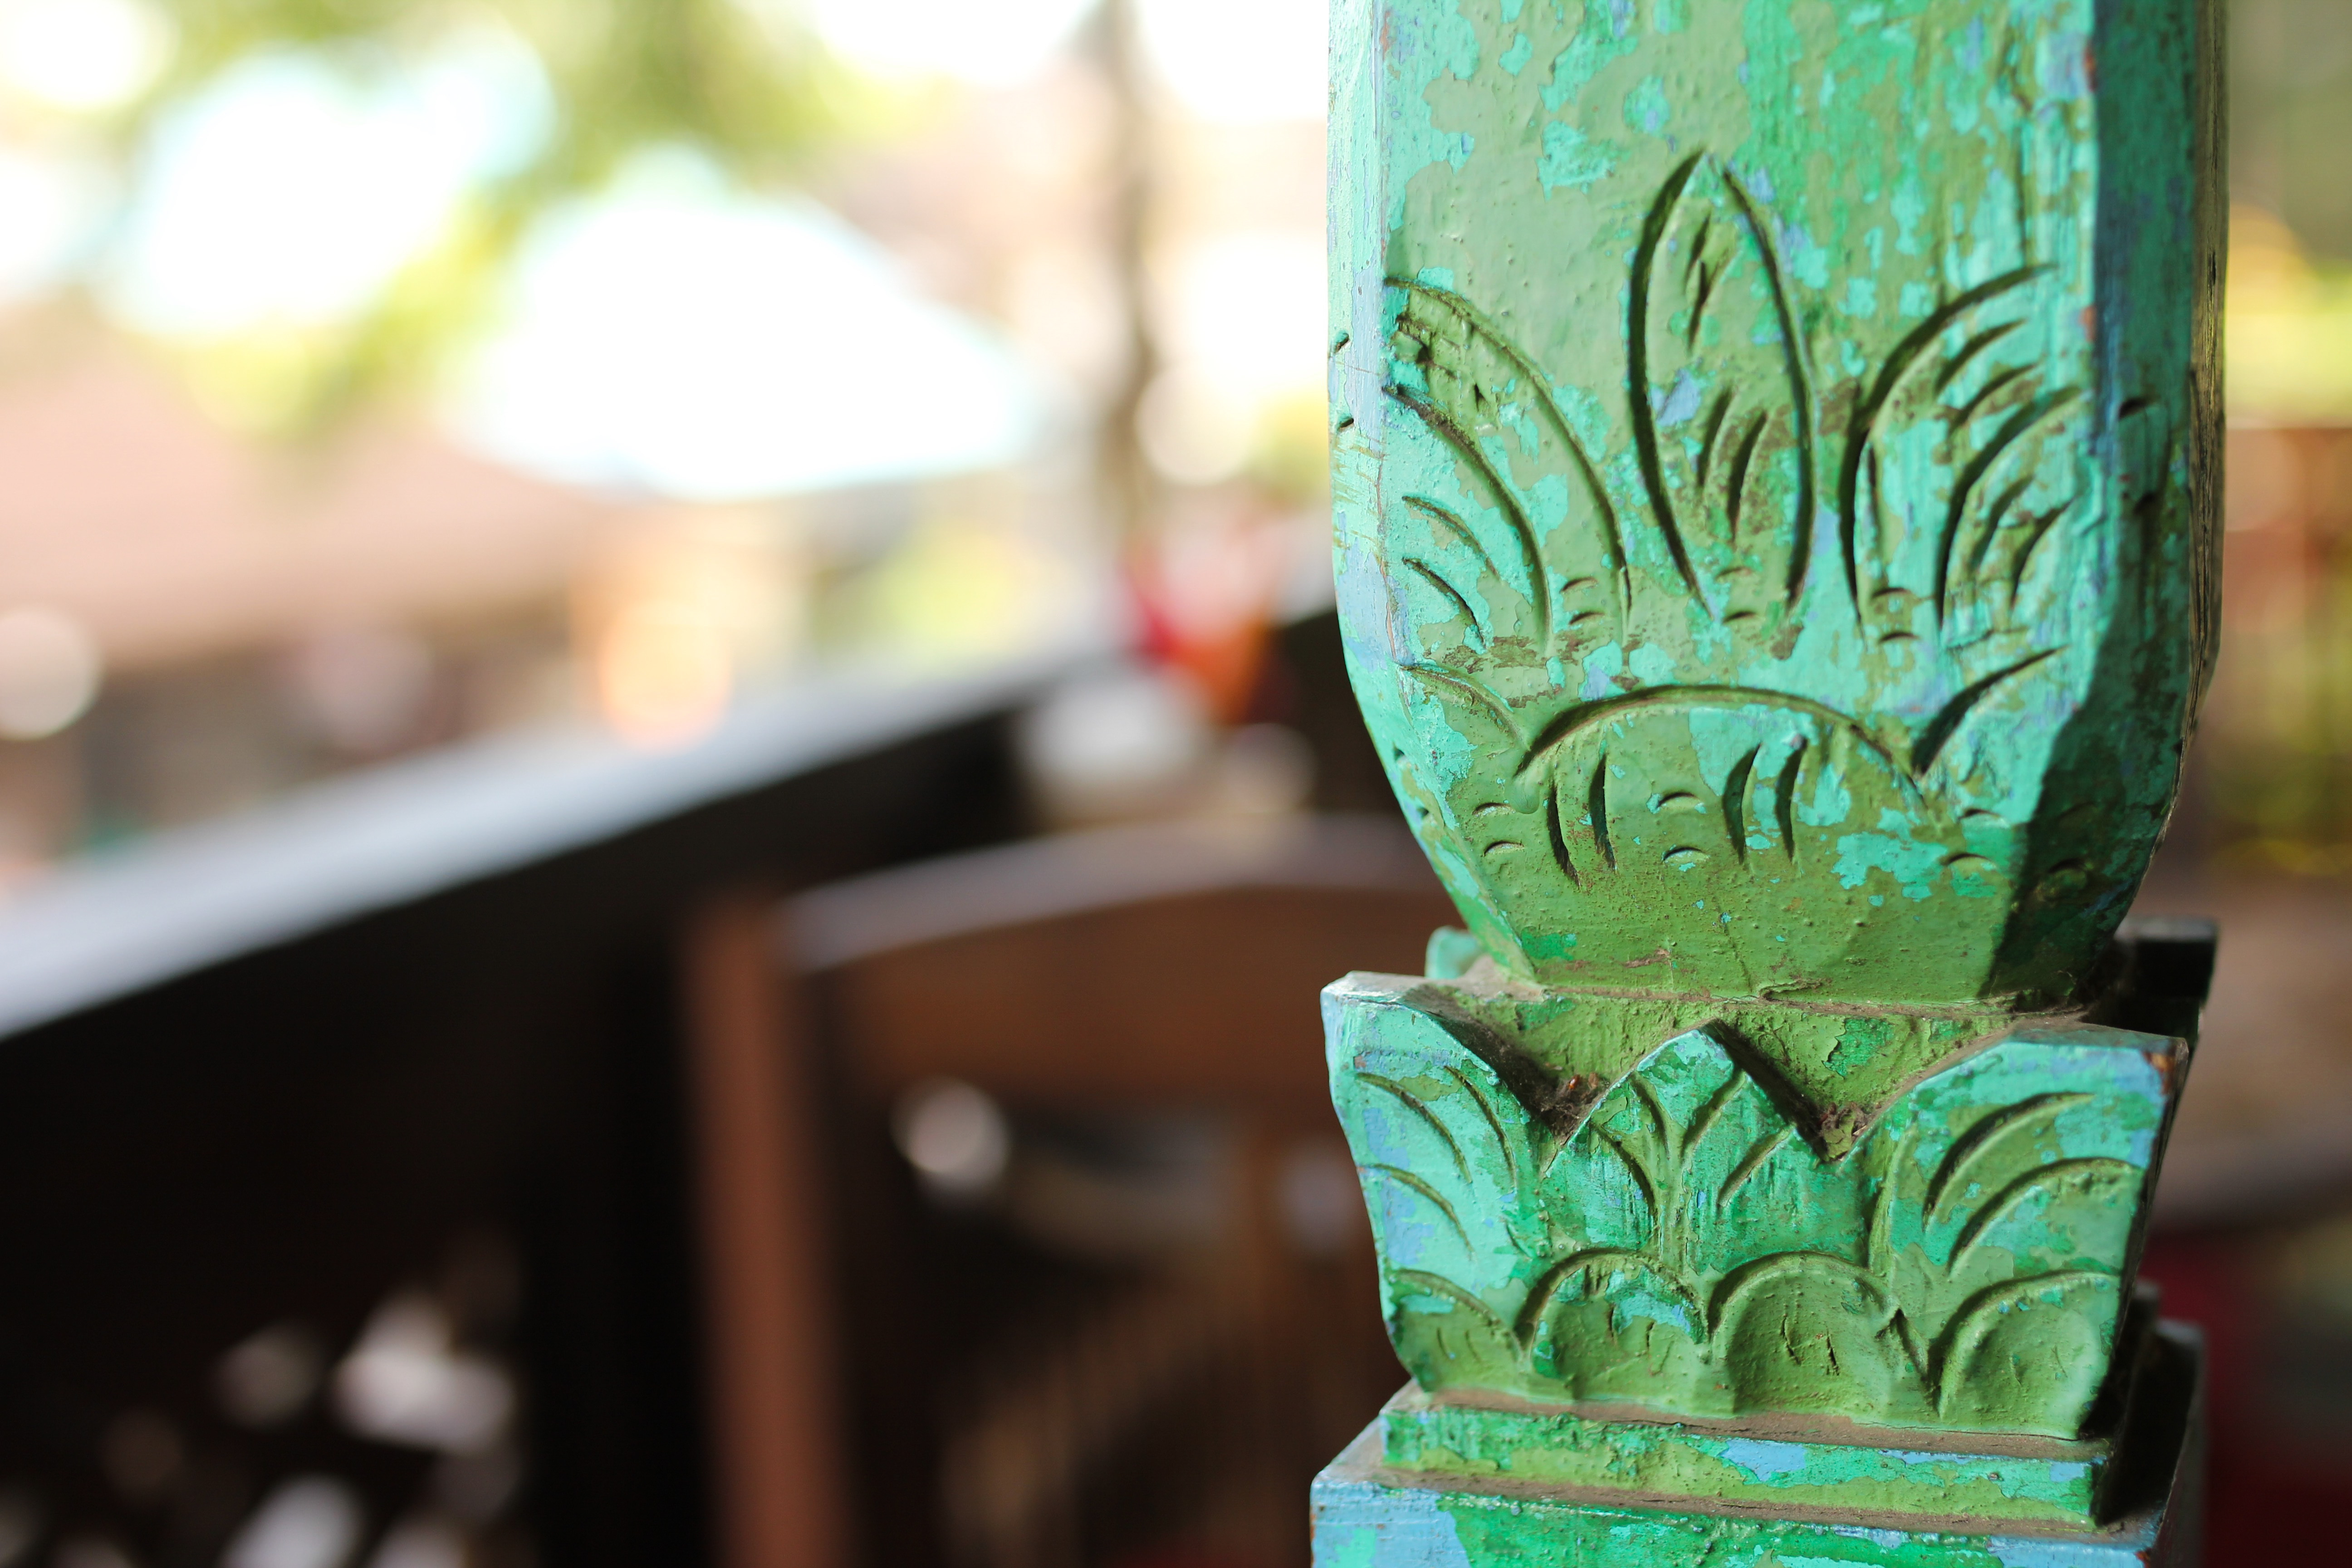
 Not even! We took day trips to nearby Ubud which had a very Byron Bay feel (and lots of penis keyrings, see below) and Seminyak, for some shopping and eats. Came back with shoes and a RTW playsuit, of all things. The last two days were spent at the amazing Ayana Resort at Jimbaran. Of course being travel, there were moments of overwhelm. Like the time I got served up a crab appetiser literally seconds after miming No Seafood, NO SEAFOOD. Overall, an exquisite adventure…


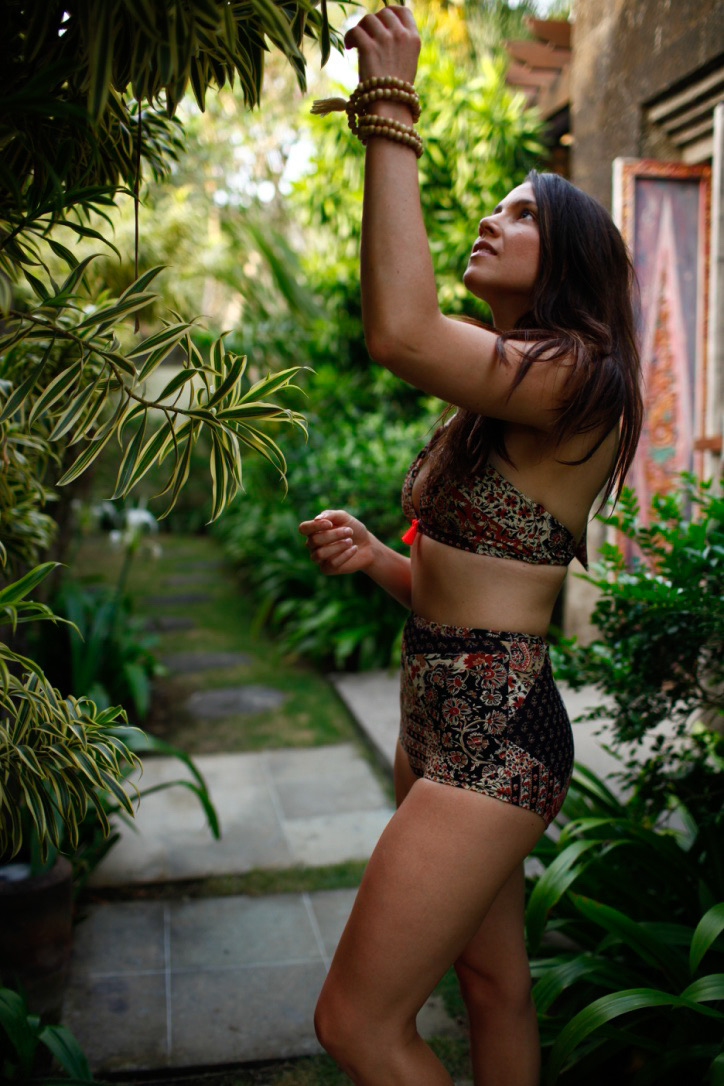
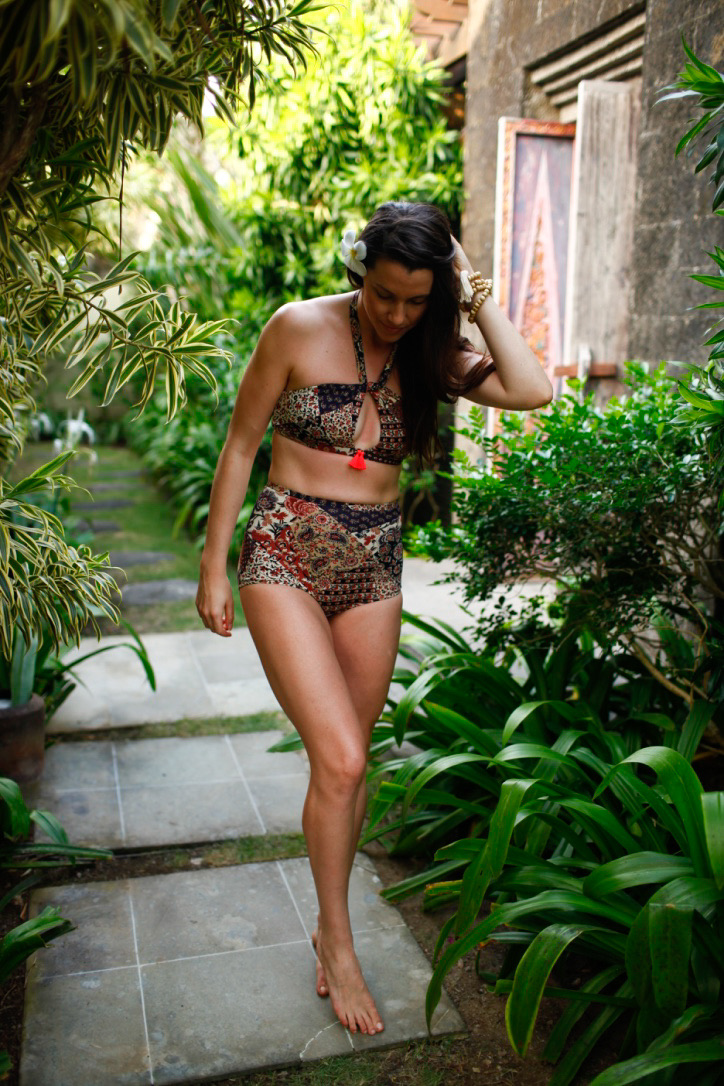
 So I just popped off to Bali for the weekend, to shoot my latest hand-make because that’s the kind of life I lead didn’t you know? Ugh…I wish! I guess one of the ‘perks’ of being physically grounded, at least for now, is I have to live out my travel dreams through my hand-made wardrobe. Which means getting creative with photography locations. So, no, I am not in the steamy jungles of Bali, or Ecuador, or Madagascar but I did have to brave a whole host of wildlife, including Khaki-Breasted Groundsmen (they were on the lookout for the ‘Boobie’ Warbler, I believe), at this very public city garden / pool scape. It looks like I’m having a great time, doesn’t it? Hanging out, here, in nature, with the frogs croaking and the mosquitoes singing. I love nature, really I do…DA FUQ just touched my FOOT?!!! The things I do for you, honestly.
 As anyone who’s DIY inclined would know, the day before New Year’s Eve really is the perfect time to think about sewing a bad-ass printed jumpsuit for the occasion. Until you realise that actually, as your first NYE in 5 years (longer?) sans kiddies, you over-looked the whole NYE plans part. And then you’re horribly depressed and the only thing that would possibly make up for a fizzled NYE would be to welcome New Years Day via stand-up paddle board, in some killer hand-made bikini, whilst you sail past the hung-over souls, wiping sand from their eyeballs; a picture of vitality and hand-made awesomeness. The. Only. Way. So, I abandoned the jumpsuit, got cracking on this bikini and along with another NYE plan-less friend, rose early and had a perfectly serendipitous day of paddle-boarding, beautiful weather, delicious food and substantial feelings of smugness!
 That was January and I’ve been dying to share this bikini with you ever since! Though, a warning, this post should probably be treated as inspiration only. On every other level it’s uh, not very helpful. Really, you’ll see. I’ve been pining hard for a high waisted bikini since forever ever (see evidence
 There are a few options out there for bikini sewing patterns, but not too many. I think swimwear patterns are still a relatively un-tapped niche, heads up pattern designers. There’s the much loved
 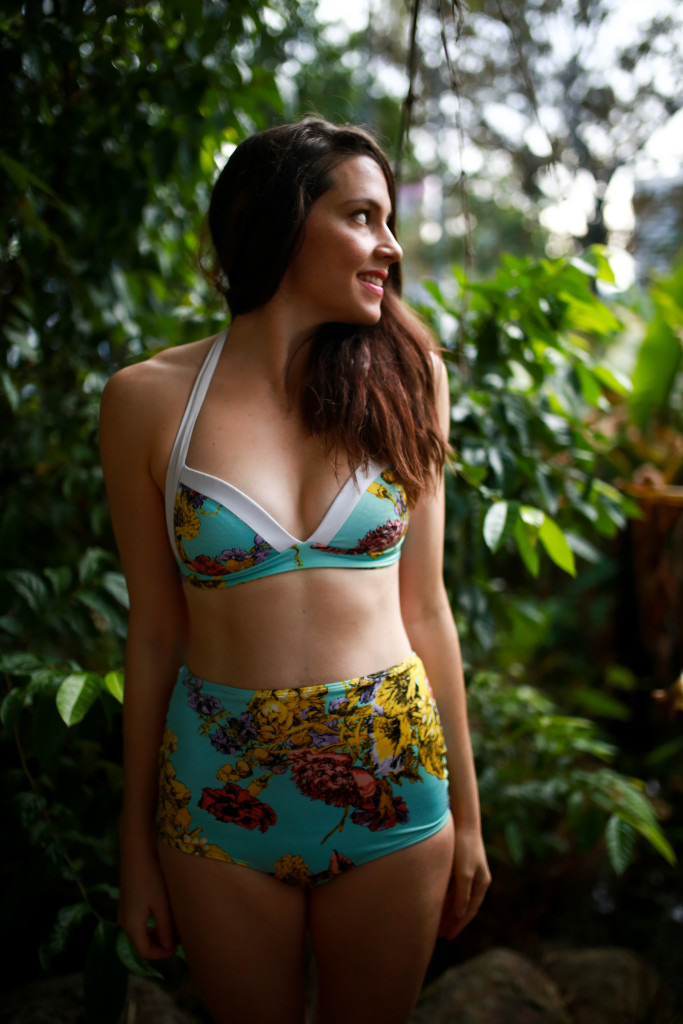 For me, and I’m pretty sure most women, regardless of cup size, support is paramount in a bikini top. I decided to experiment by taking one of my old RTW bikini tops which I know has an exceptional fit and gutting it. I pulled the entire thing apart, including the foam moulding in the cups,subbed in a new fabric, this dreamy swimwear lycra by Zimmerman from
 For the bottoms, I went the same route, cut up a RTW piece, traced the pieces, extended the waist to be a high waist, added a lining, added elastic for the legs and waist and cover-stitched it all in place. See…unhelpful! But okay, should you want to make something similar, there are options. Again, there’s the
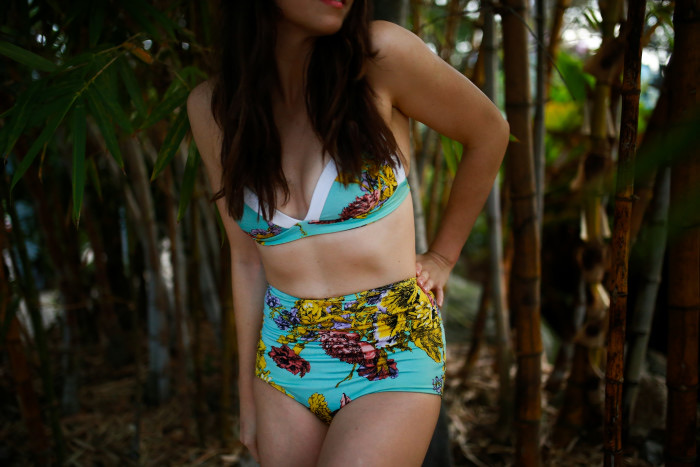
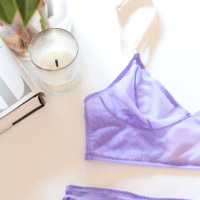
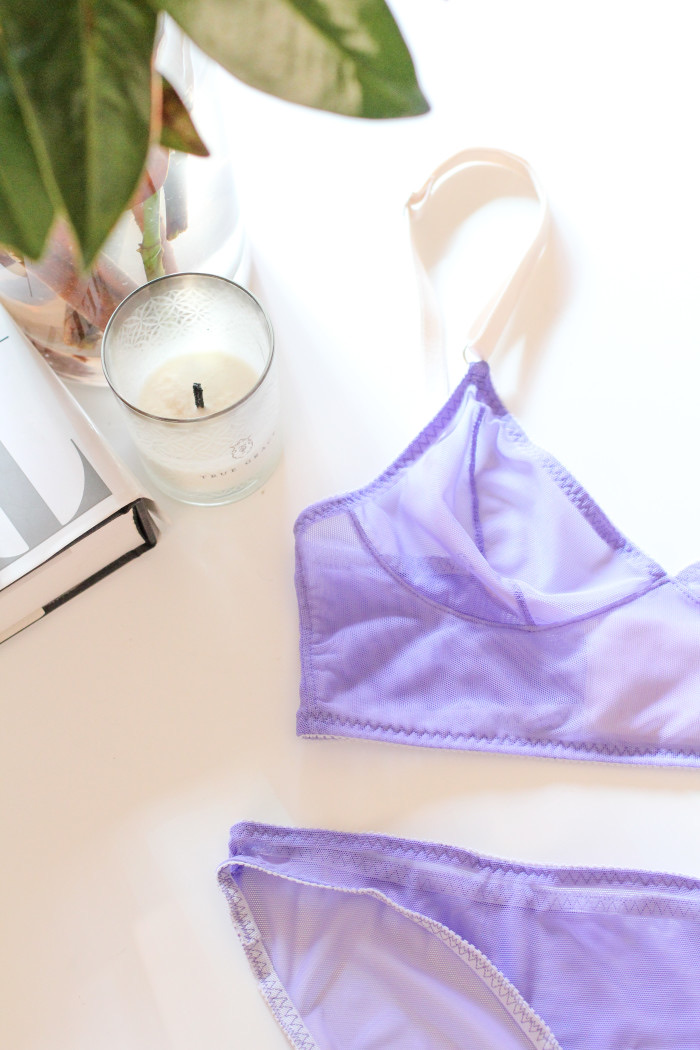 I made a bra, I made a bra, I made a bra today hey HEY! This is sewing thrills right here. I think I mentioned in a post a while back that for me, lingerie, jeans and swimwear are those final frontier sewing items. The ones you put up high on a the maybe-one-day shelf. Then even when you are ready, there’s the whole issue of finding patterns for the above items that well, you actually want to make. No pattern snobbery here (if you would kindly put down that rotary cutter) but let’s be honest, Indie pattern designers are making it verrrry easy to start checking off those big ticket items by bringing out all these damn good looking patterns. Like this one, the
 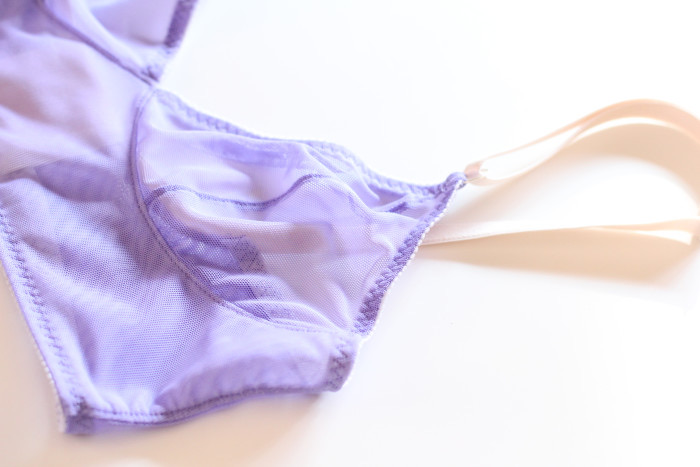 Pre-
Pre-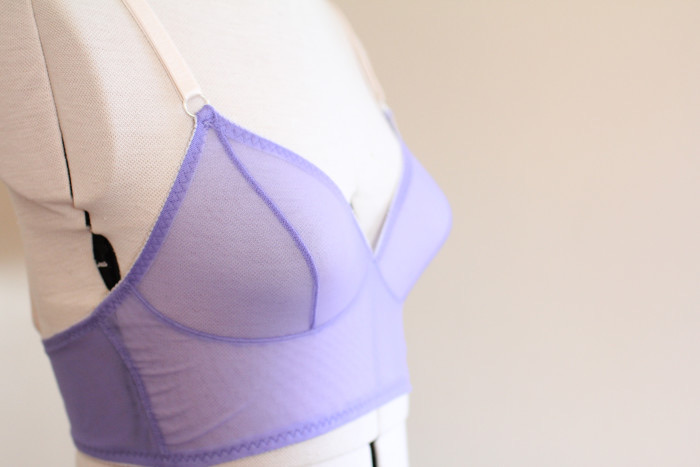 To find the bra-band size I measured my rib cage as a 34. Then I read somewhere that you should exhale and measure and this will give you a better fitting bra (you want the bra band to be firm to provide stability in place of under-wire). Which was more a 32. To establish your cup size you measure your full bust, then you measure your high bust and by a clever little calculation, the difference will allocate you a cup size. This system works perfectly well as long as you don’t have highly advanced pectorial muscles from ex-crossfitting, child-slinging, shoulder-hunching days. In other words, above my bust I am broad and so there was hardly any differenc, approx 1″, between my high bust measurement and my bust measurement, which put me at an A cup. In standard bra sizing, I am generally a 32 C ish. So I went with that. And it fits. A little snug in both the cup and the band, so I’m going to experiment with a 34 C next, but still very wearable.
 I LOVE the style of the
 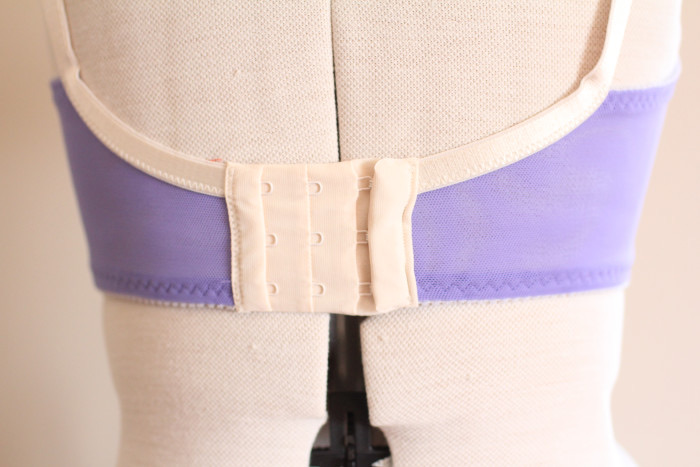 Do you ever get amusing reactions when people find out that you sew? Typically I find it has three stages: 1. Surprise and Confusion (Really? You actually sew? Like, sewing sewing?). Followed closely by 2. Justification (Ohhh, you must save lots of money making your own clothes). And it inevitably ends with 3. Lessons in History (but I thought sewing, you know, died out…). And then you’re either cool or weird or…wait, that’s 4. Compartmentalising. But then you go on-line and there’s this whole other universe where sewing is not dying but alive and thriving and having a re-birth! This is really a special time to be sewing / learning to sew. We have so much choice now when it comes to good looking, ‘relevant’ patterns, thanks to all the Indie companies. And if that weren’t enough reason to love them, you get the feeling the designers behind them actually care about whether you to make it to the final step or not. Where all this is going is, between Amy’s instructions included with the pattern and her
 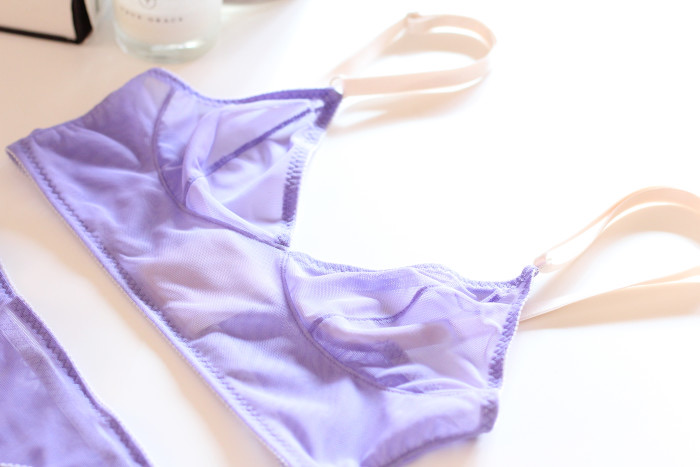 For my first attempt at DIY lingerie I decided to bi-pass the hard work of sourcing all the hardware and ordered a ready-to-go
 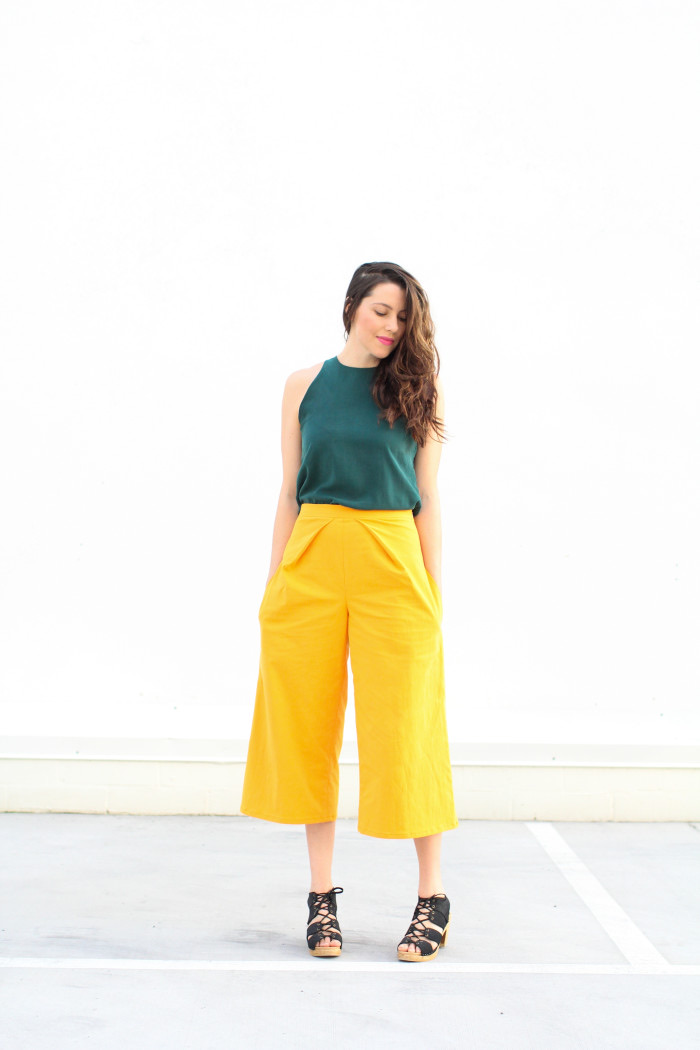 Well, hello there. Representing Australia in Green and Gold….I kid! I didn’t mean to look so, um representative. I was going for colour-block loveliness not Aussie Olympicness! Anyway, I’m pretty excited to share this make with you today. A pair of culottes is what. Confused? Has fashion regressed? Well, yes and no. Culottes are back, that’s one thing. Thankfully there’s been some advances since last time culottes were officially ‘in’ and they’re looking less like
  I’ve wanted in on this culotte revival since
 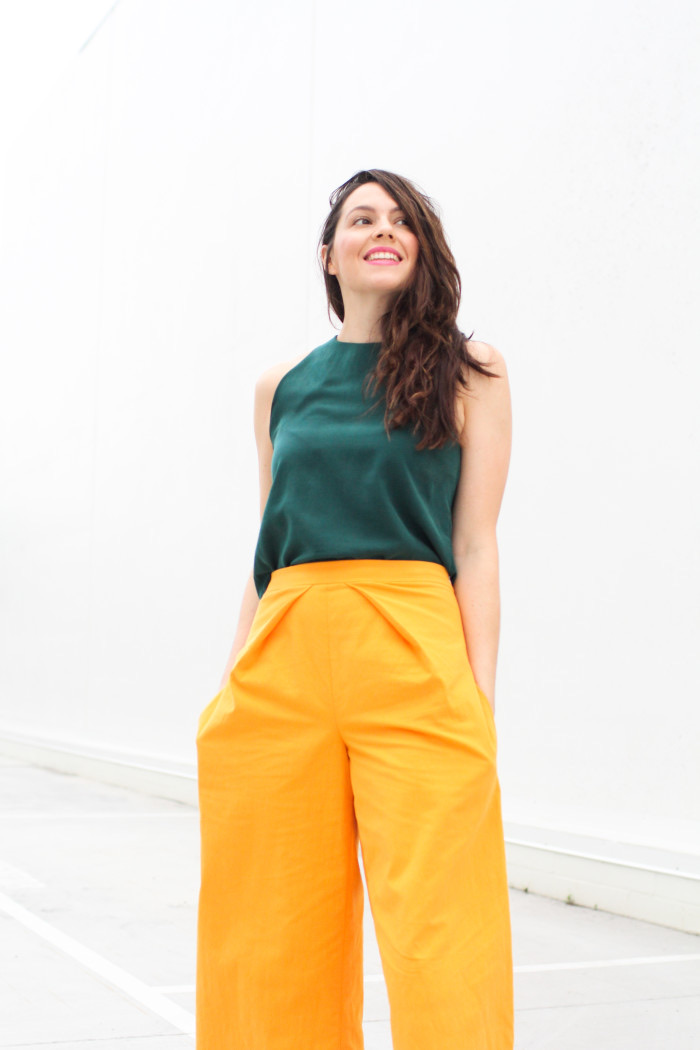 Do you find there certain elements you are drawn to planning your hand-made wardrobe? I always feel I’m drawn to interesting silhouettes. And the shape of culottes makes them super fun to play with proportions. You can pair them with a
 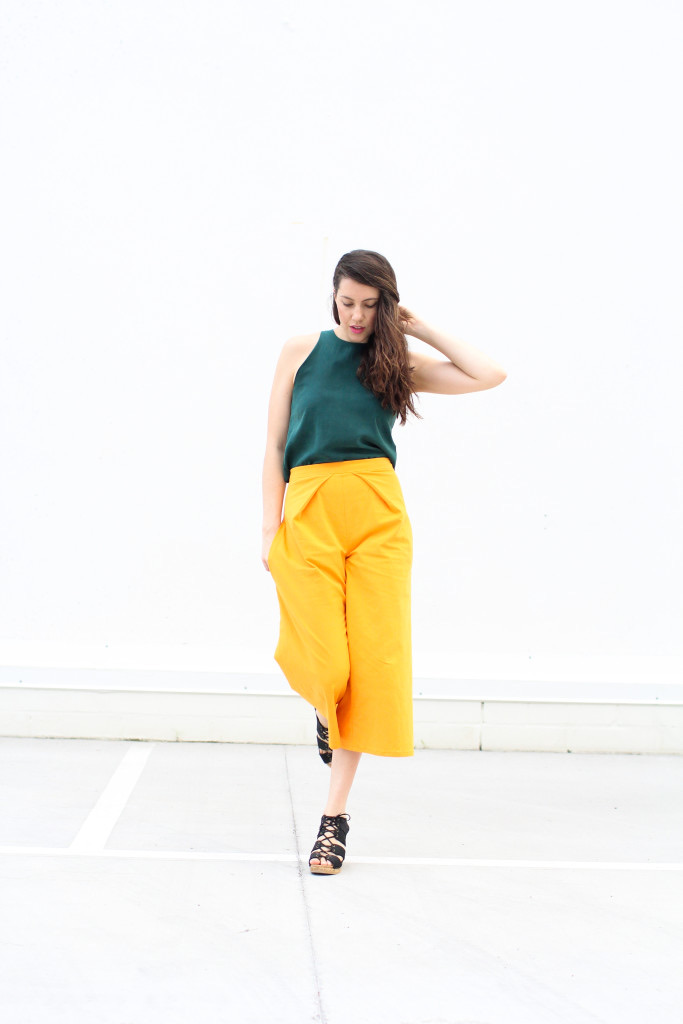 So what are are options for DIY-ing yourself a pair of culottes. I love it when pattern companies take cues from what’s going on in the outside world because there are actually a whole bunch of good looking ready-made culotte patterns at our disposal. There’s culottes by
  From what I can remember of the instructions (I made these in January) they were great, no dramas! The method of inserting welt pockets was different from what I’ve done before but they actually turned out more precise and neater than any previous welt pockets. I’ll be going back to refer to it. If you’re wondering about sizing, I went by the measurements and made a size 6. There’s some very handy ‘finished garment measurements’ to go by for the waist and hip. I wish more patterns supplied this info; it takes some of the guess work out of getting a good fit. To ‘culottify’ the
 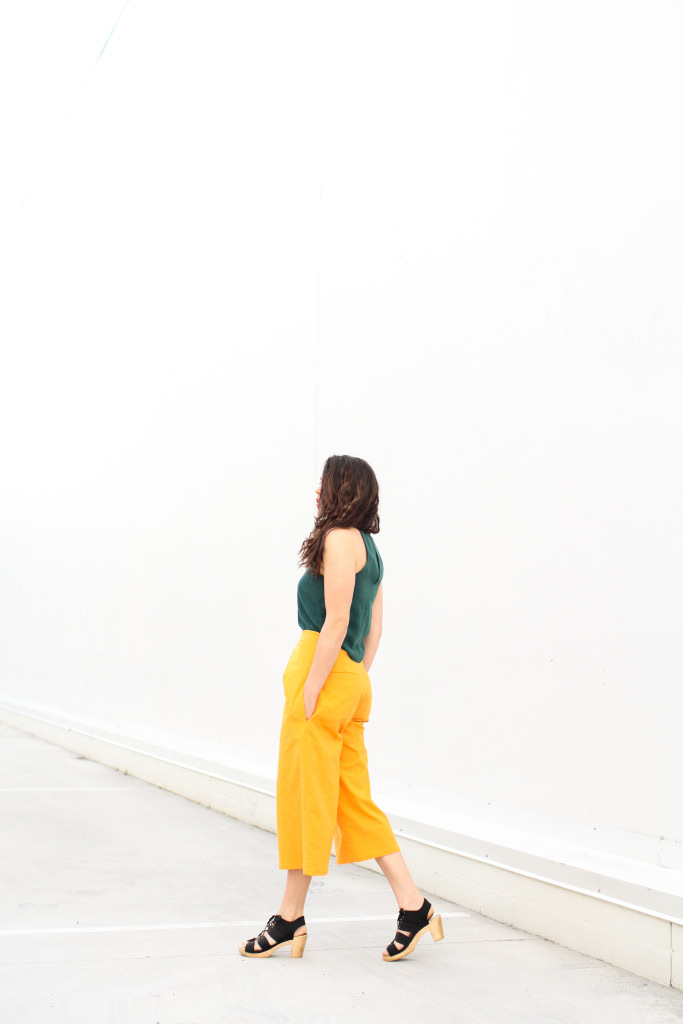 Being in the middle of a major
 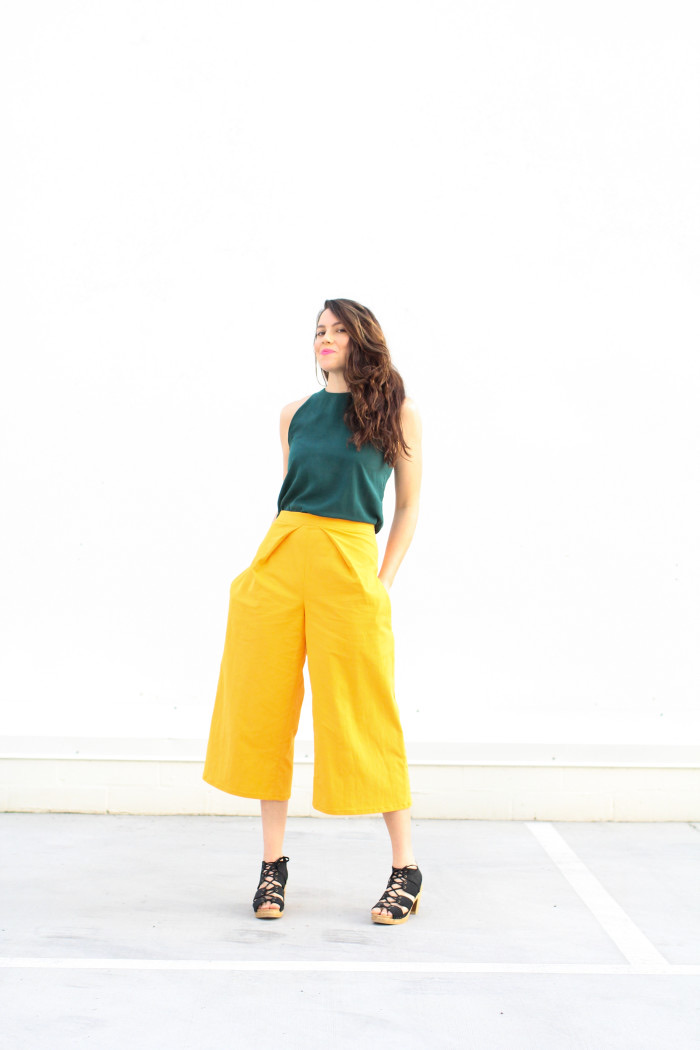 Still, I’m not done with culottes yet! I’ve just started thinking about


 Bloglovin
 Feedburner
 Feedly
 Kollabora
 In Your Inbox