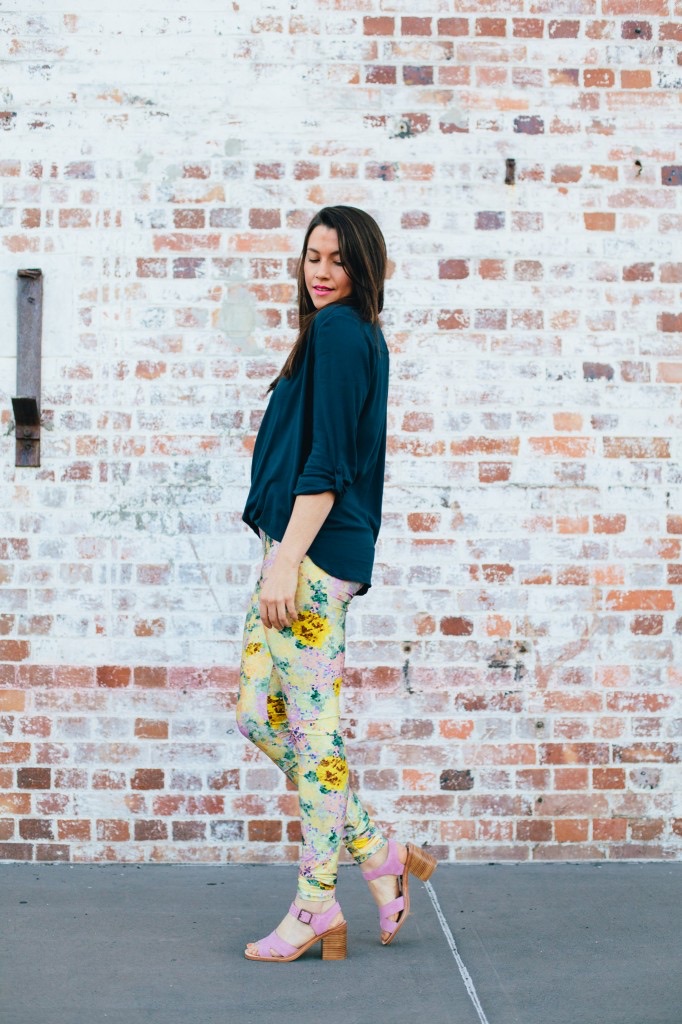
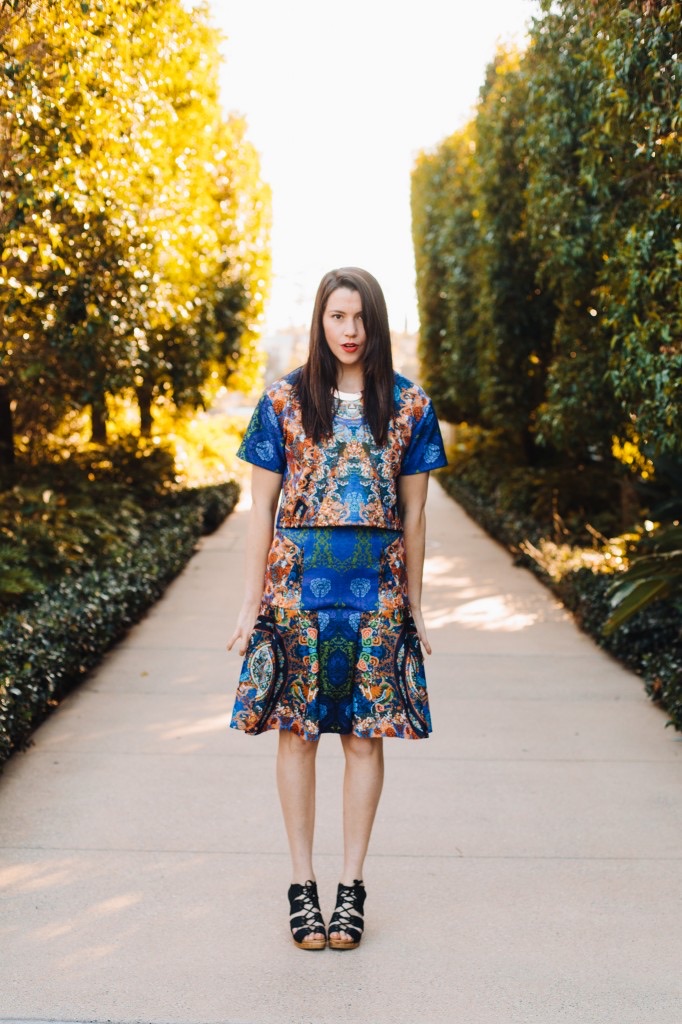
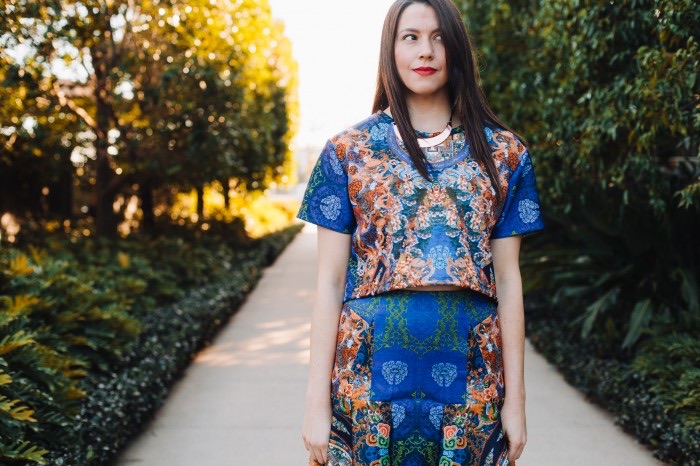
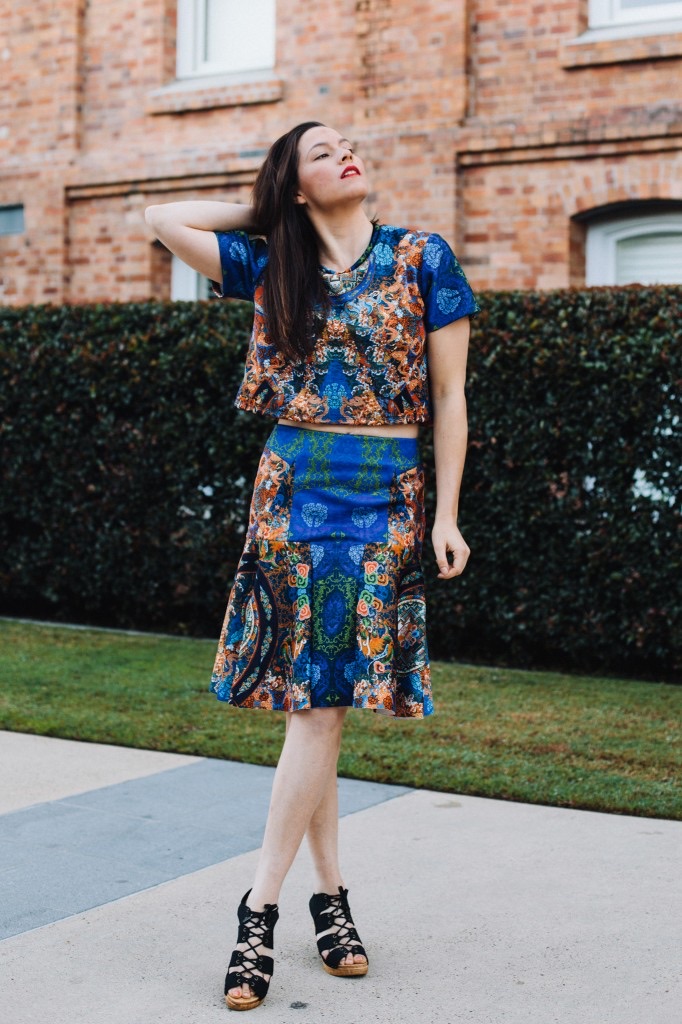
 There’s nothing, I’ve decided, quite so annoying as being restricted in some way by the clothes you are wearing. Whether they be too tight, too short, too good or too silky, it’s all bad. Now, if you’ve been here for the ride thus far you may have noticed I have a small penchant for silky things, specifically, silks. But here’s the thing…many of my most favourite silk items hang, rarely worn, in near-mint condition in my closet. Which is a bit sad considering how much time and love got poured into them. I would like to wear them on a daily basis if it weren’t for fear of small people grime and the fact that I could still probably do with a bib when eating sometimes. When I petitioned (mostly against myself) to sew more ‘fiercely attractive mum-friendly clothes‘ this year, I didn’t know what that would look like. But I knew what was needed were things I could throw on, go about the day’s mostly un-glamorous activities, all the while looking put together, or at least like I’d changed out of pyjamas. Finally, with this legging and blouse combo, I feel I have arrived! At a craggy isthmus somewhere between BabeTown and MumTown.
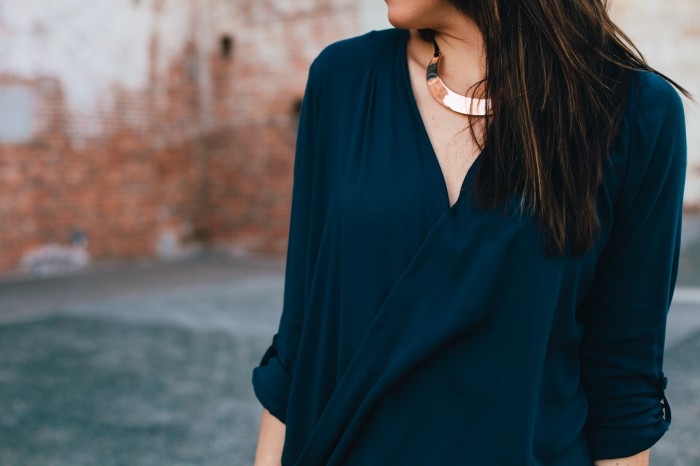 In hopes of reigning in the silk-monger within, I’ve been looking out for some happy replacement for silk; something drapey and nice against the skin, without the omg-dishwater-on-my (insert most-beloved item) factor. Step in Viscose, Rayon and whatever else is in this glorious man made fibre! I saw it, petted it, decided it was the softest, most buttery SOLID I ever laid eyes on and stowed it away for a worthy project…something like the wrap-style Dotty Blouse by Style Arc. You may have seen this deep cross-over silhouette doing the rounds, see here and here. I saw it, loved it and before I knew what was happening, the pattern was making it’s way to my house. McCalls have put out a similar blouse and Burdastyle released this cute variation but it was the line drawing of the Dotty that sold me.
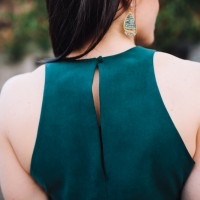
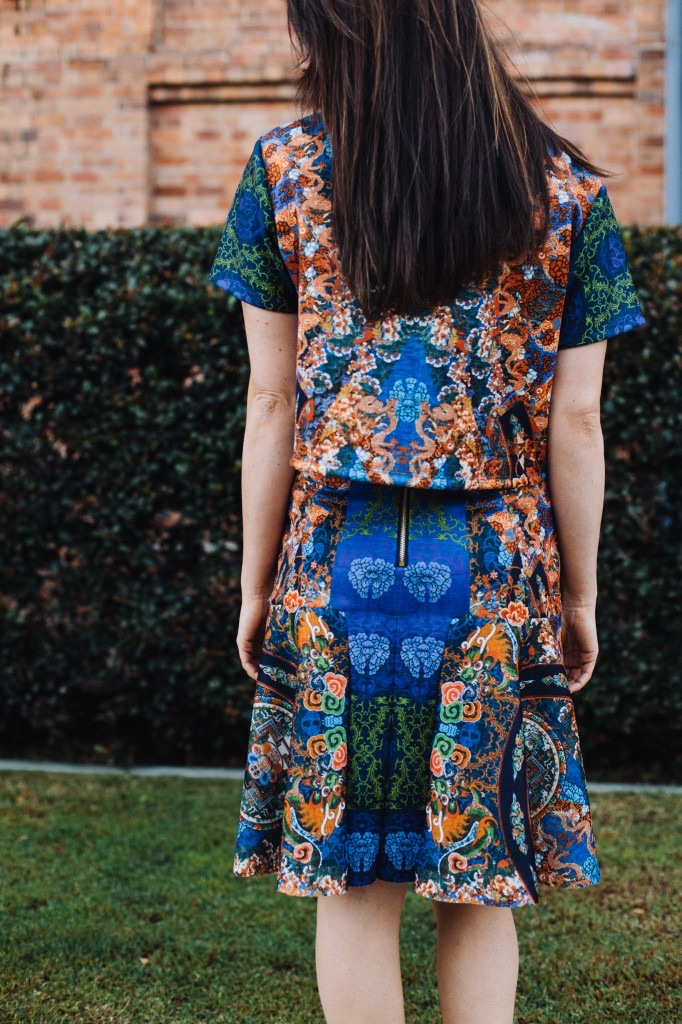
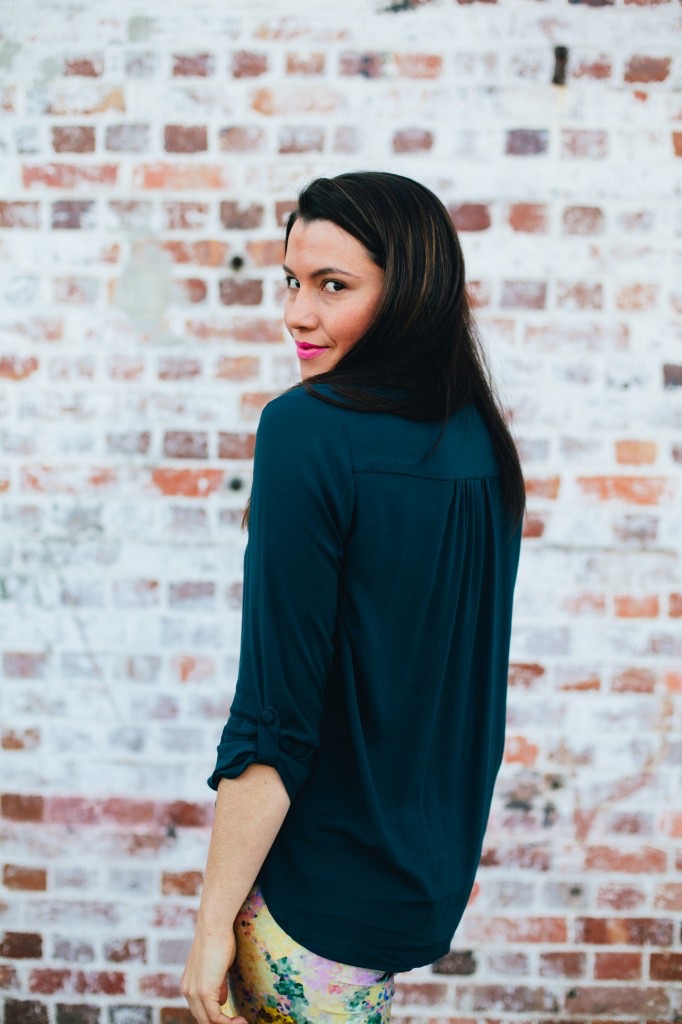 So much to love here! A double yoke, gathered back, good butt coverage and a cleverly designed front with the wrap section cut as one whole piece. The instructions imply you can sew a double yoke in your sleep and with my experience of double yokes being mostly of the breakfast variety, I decided to seek help. I followed this tutorial on the Style Arc site, up to the point where it became obvious that attaching a double yoke in a normal scenario, where the shirt front has two pieces (like a normal button up) is one thing. Attaching a yoke for a shirt where the front is made of one long joined piece of fabric, is something else all together. Also, the tutorial makes sense for a shirt that would eventually have a collar attached, in which case it is no problema to leave the neckline raw. But for the collar-less Dotty blouse, I realised that the neckline would have to be sewn shut at some stage in the yoke attaching otherwise it be left raw foreverrrr! To be honest I don’t really remember how it did it and wish I took better notes on the process but just know, it’s possible. Your double yoke will be okay. It will, however, take some manoeuvering that I cannot explain without wild hand gestures.
 This is actually my second version of the Dotty Blouse. I thought I should probably muslin it (see! I can be a responsible) before cutting into this fabric. The pattern recommends silk, crepe or a jersey knit. After muslin-ing it in a feather-weight cotton voile, I learned that lightweight and good drape are not one and the same. The recommendation for jersey knit should have been the give away that whatever fabric you choose, it has to hang-well (not the same as well-hung). In fact I don’t think it mentions light-weight anywhere. No it does not. I made that up. But having now sewn the Dotty up in something lightweight with no drape and something with lots of drape, the drapier fabric produced a front section that cascades instead of puffs out and an all round nicer looking top.
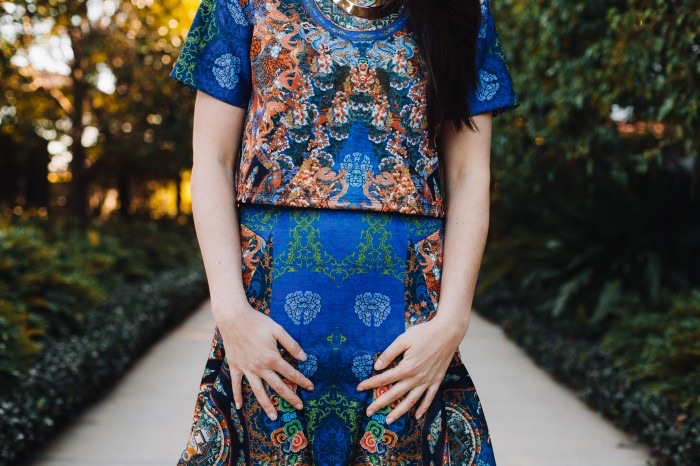
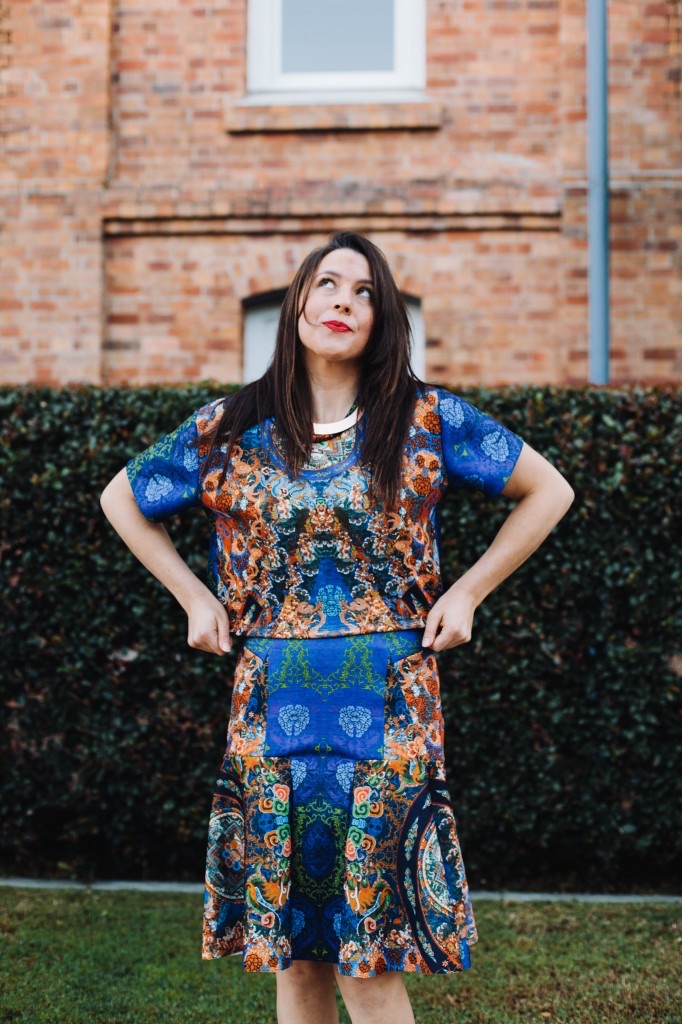
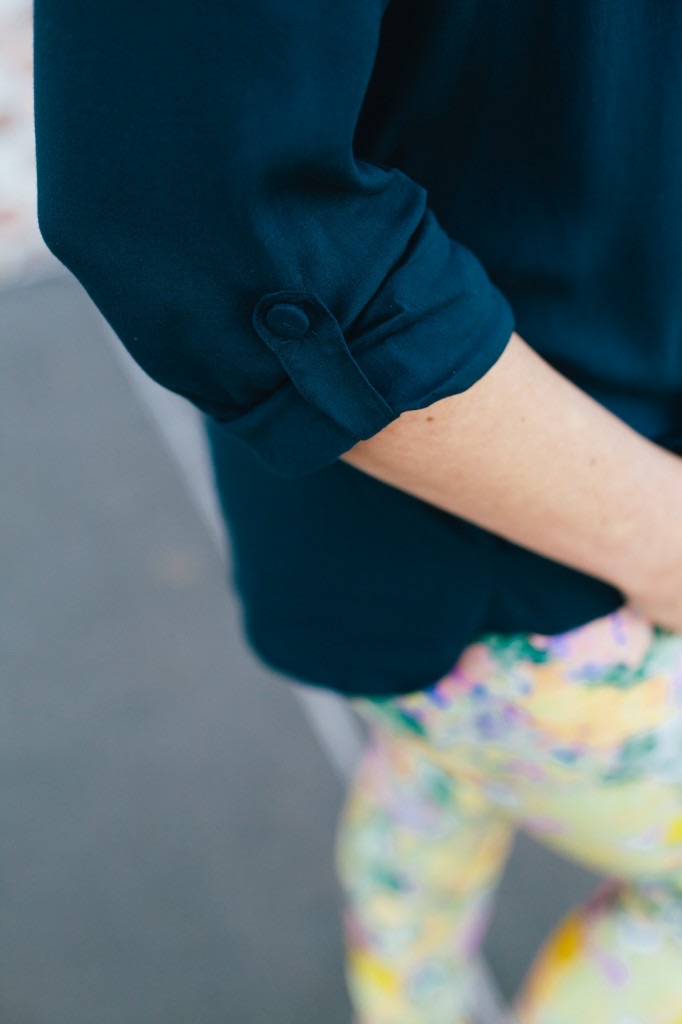 The sleeves are my favourite! The instructions are to gather them into narrow bands and left long. But I liked rolled up sleeves. I like their utilitarianism. Especially on a top with so much party in the front. Plus I thought that the addition of sleeve tabs could take this top some place special. So, after asking the deep questions about sleeves, I omitted the sleeve band, sewed a straight hem and ‘borrowed’ the sleeve tabs from another pattern. For the buttons, I covered some regular flat shirt buttons using a great little technique I learned here. I much prefer their compactness over the clunky store bought self cover buttons.
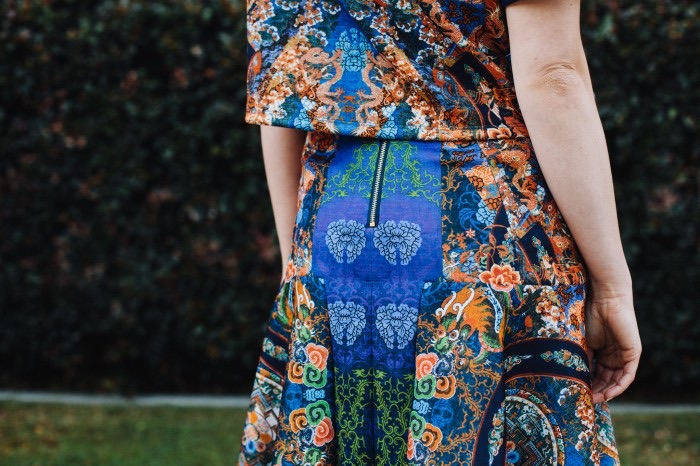
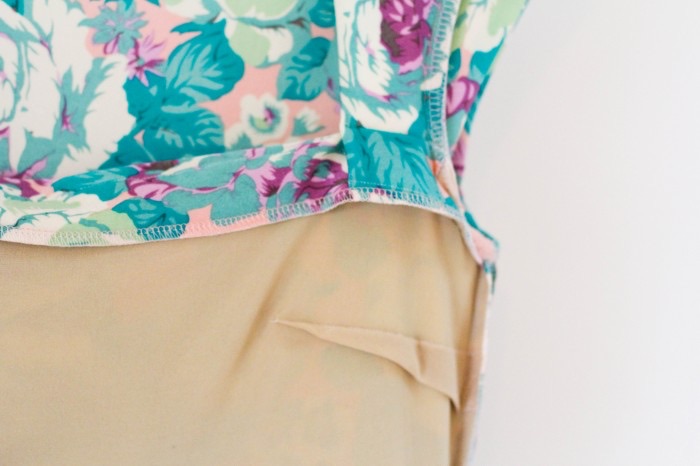
 Now seems a good time to address the pink elephant in the room: how is that front section staying shut?! Well, it’s not really and even standing relatively still on a not windy day, my photographer copped a few eyefulls. So, short of wearing a velcro bra, I’ll have to go back at attach a press stud, which I was trying to avoid but is what the pattern suggests anyway. I should also point out that even with the double yoke fussing, it was possible to French seam the whole thing, which makes this one of my most meticulous and most un-hand-made looking pieces yet. Save for a few dodgy bits sewing the curved hem…
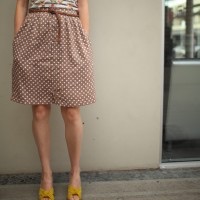
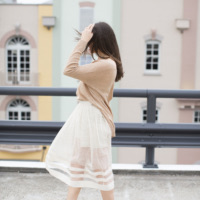
 Short and sweet for all involved, DIY leggings are the ultimate quickie project! These here were my demo pair for the Leggings Workshop I taught at the recent The Craft Sessions weekend. I chose leggings because they’re beginner friendly when you’re starting out with knit sewing and instantly satisfying. At the start of the workshop, I told the ladies they’d laugh once they realised how straightforward leggings are: one pattern piece + 4-way stretch fabric + a ball point needle + stretch stitch = DIY legging fabulousness. Anyway, they all produced beautiful leggings (some I wanted to snatch for myself) and left with new sewing confidence!
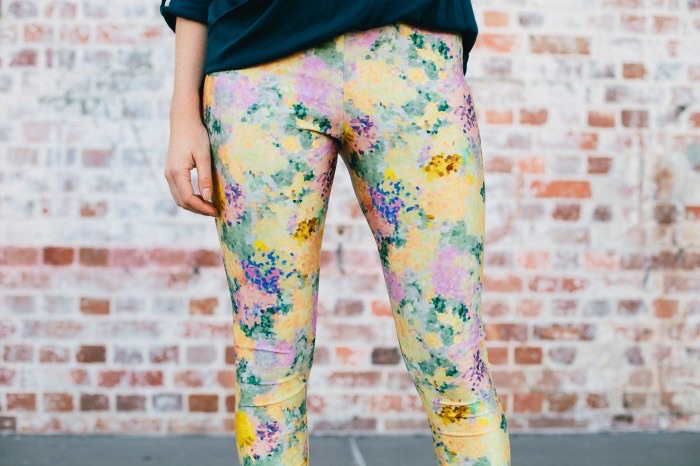 Now that leggings season is coming to an end here, these are finally making it to the blog. The fabric is swimwear lycra from here, which I really don’t mind against my skin. My favourite sources for leggings fabric are Tessuti Fabrics, Wanderlust Fabrics, Girl Charlee and random Etsy shop, Fabulace. I used the same Burdastyle pattern as this pair (now retired to pjs), which I love for the extra length in the legs and torso.
 (good butt coverage)
 To think I fretted over it being a
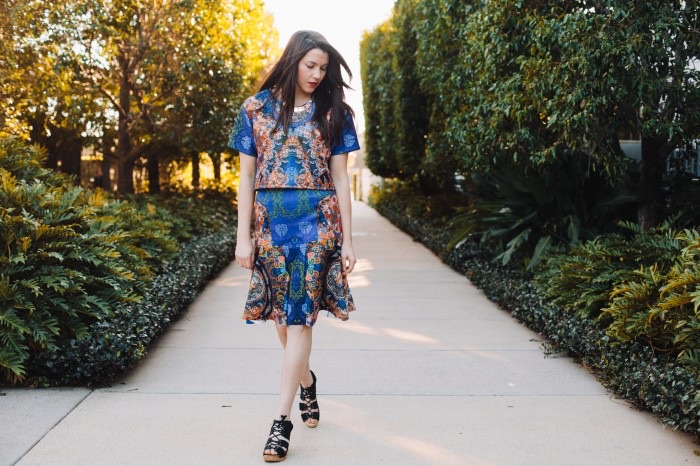
 A fun sew on both accounts and I want to stress the fun part because, if you’re like me and you harbour a lingering association between beautiful hand-makes and a certain amount of hard-labour / cussing, it’s always exciting to be proven wrong! What made these pieces both so fun were several things: firstly,
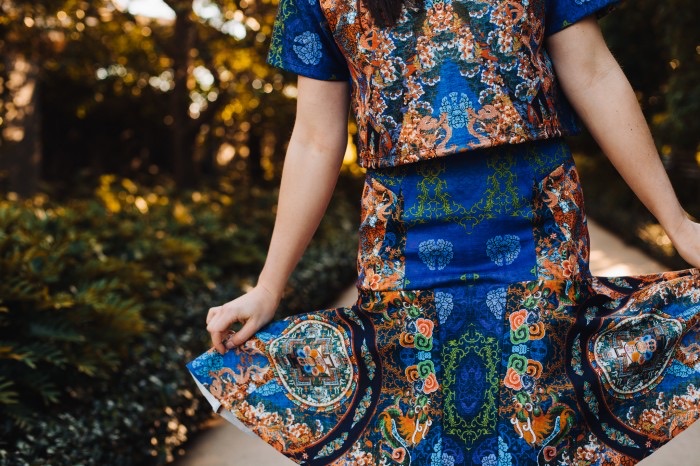
 One of the other nice things about scuba is you can be really lazy with hemming. You know, make your unfinished hems a design feature!
 So there it is, the last of the two-pieces! It’s been fun. If you’re thinking about dabbling in some scuba sewing of your own then you should jump in! I’ve been collecting scuba
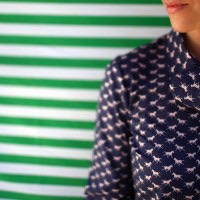
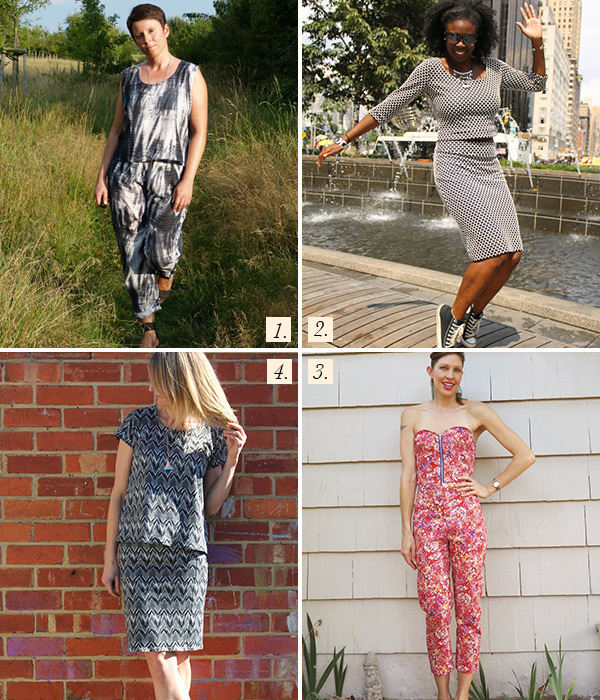
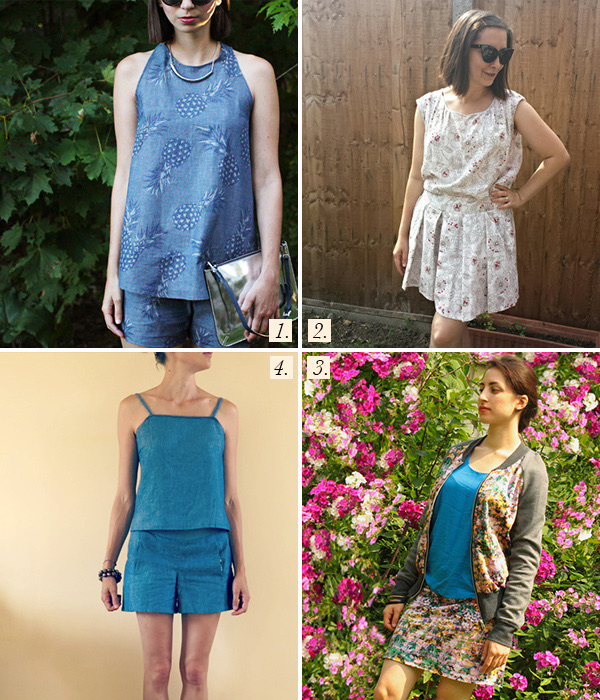
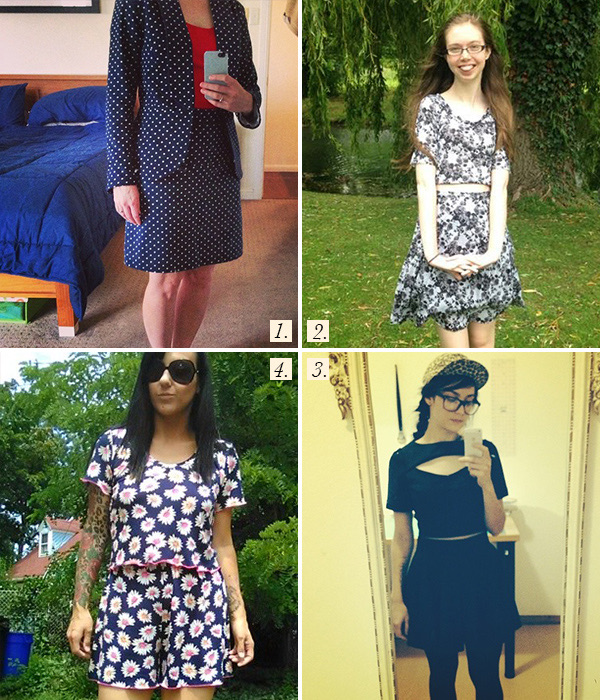
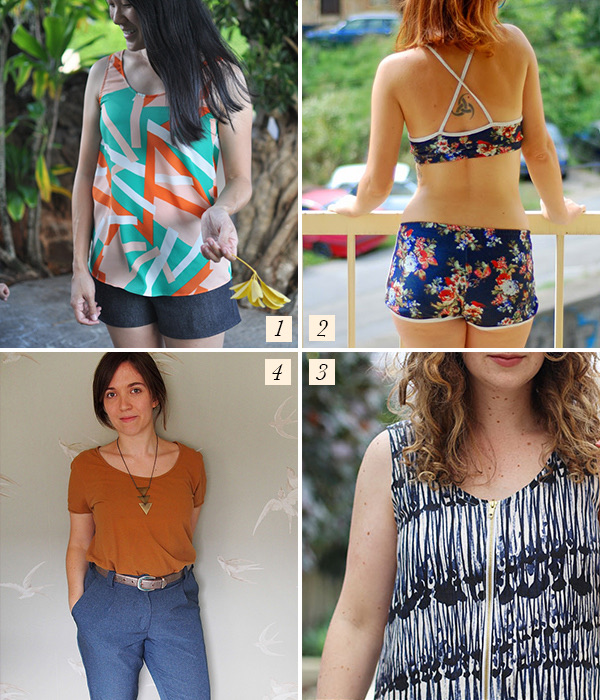 This week had me frothing at the mouth! And not due to cake over-indulgence but the explosion of inspiring makes coming from our little corner of the interwebs. It was another print-happy week in the sewing blogosphere, starting with 1// this gorgeous
 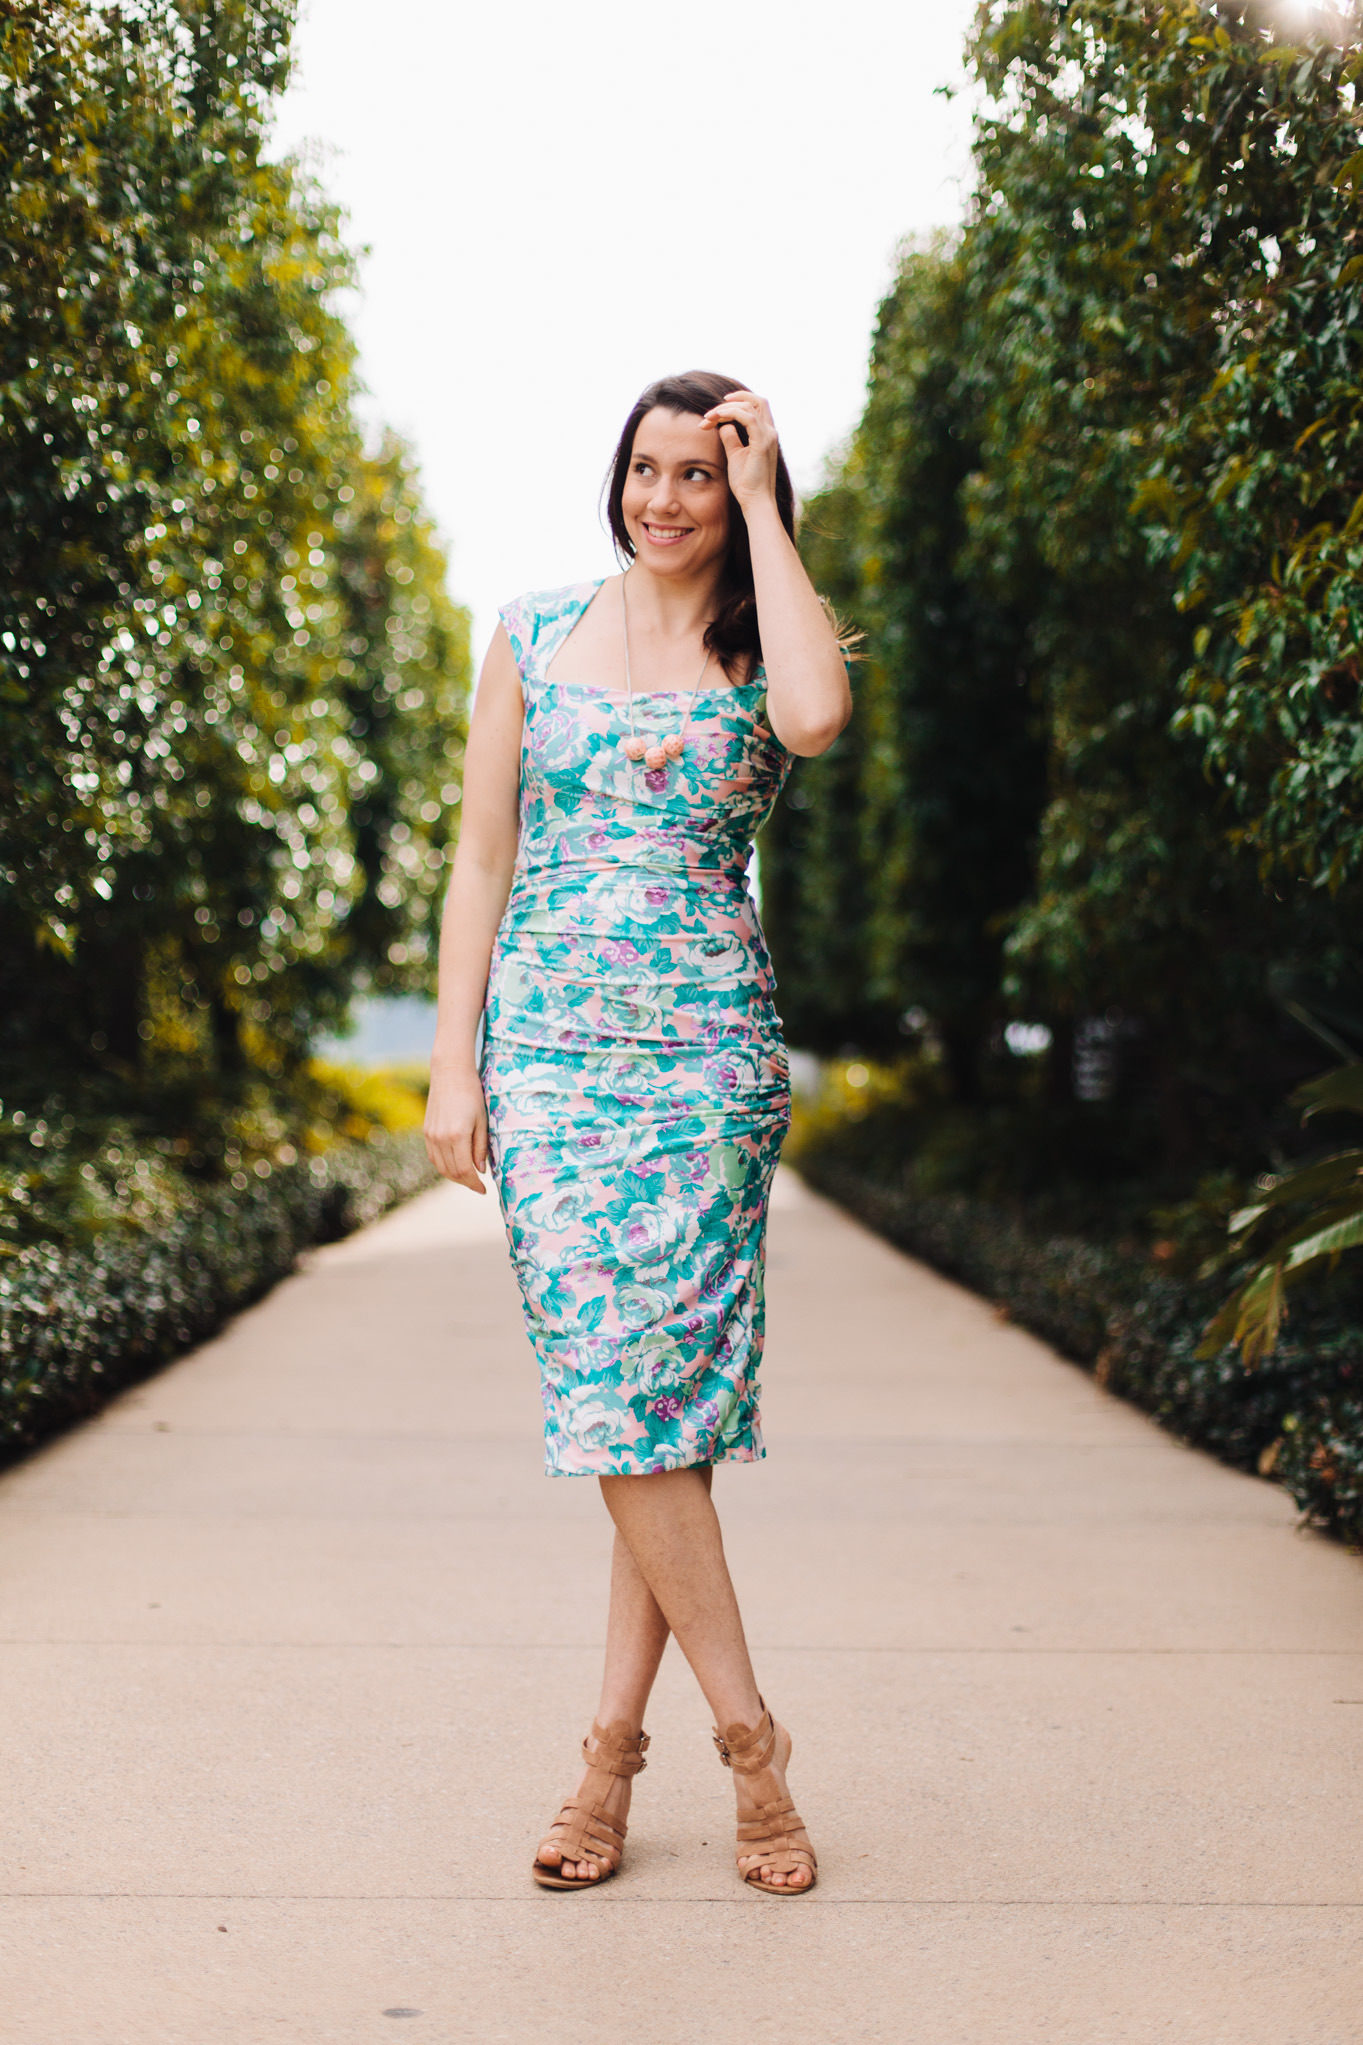 Just so you know, you’re in the presence of a ‘big deal’ dress here. Possibly even bigger deal than my actual birthday and being a Leo and all, that’s kind of a big deal. But I’m a chivalrous beast at heart, so I will step aside and let the dress sing…’It’s my partyyyy, I’ll DIY if I wannnnt tooo’. I’m sorry, it has terrible taste in music. Grab your maracas…this here is my first official hand-made birthday outfit in the history of ever! Momentous on it’s own, but now I feel I’ve arrived at some kind of winners circle where the seasoned Birthday Dress Makers reside…
 Which is cause for celebration! I mean Birthday outfits are a pretty important business. And maybe I chose the wrong outfit, maybe it was a bad astro crossing but last year I had a definite case of the birthday blues and if you’ve ever felt sub-par on your birthday, you’d know that it is truly suckfull. So this birthday, 28 by the way, was gonna be fabulous! It HAD to be fabulous! For a few years now I’ve been observing this really lovely tradition amongst the sewing community of DIY-ing your own birthday outfit. And each year I’ve toyed with the idea and each time gone the ready-to-wear option. Unlike sewing a swimsuit or jeans or lingerie, making a birthday-worthy outfit is a sewing milestone I didn’t even know I had. But when you voluntarily choose a hand-made option over something store-bought for your big day, it’s a big f$%*ing fabulous deal!
 Like all good birthday frocks, this one has a story. A tale of sewing triumph! But first, the deets. The fabric: a swimsuit lycra by one of my fav Aussie swimwear / fashion labels
 Errmm, not quite. This is probably the part where I tell you that this is actually my second attempt at this pattern. It may have something to do with the 60 pattern pieces you need to tape together. Wait, did you say SIXTY?!!!!! The first time I printed it out, over a year ago, I thought I must have made some mistake and printed it twice. Nuh-uhhh girlfraand, those sixty pages are all very much meant to be there and they’re waiting for you with your kinder scissors, sticky tape and sad face. And it may have had something to do with the 15 pattern pieces (that’s before you cut two of most), within those 60 pages, half of which are for the main fabric and half of which are for the lining. I’m sorry, did you say LINING?! Isn’t this a knit dress?! I didn’t sign up for lining. Next you’ll probably tell me it has DARTS! Oh, I see, it has darts. And it may also have something to do with the picture-less instructions, which is standard for Burdastyle, but all of which meant that last year I got as far as taping the 60 pages together. As for the “”instructions””, I could not even begin to get my head around WHY there were two layers of fabric, let alone how they merged together into one dress and what was all this talk of draping?! I actually wondered if maybe the pattern included two separate dresses and one of them was the one I was supposed to make. All in all, a total head you-know-what. So I did the thing that annoyed me almost as much as the pattern itself: I gave up. And donated the 60 pages, to Archie’s paper aeroplane factory.
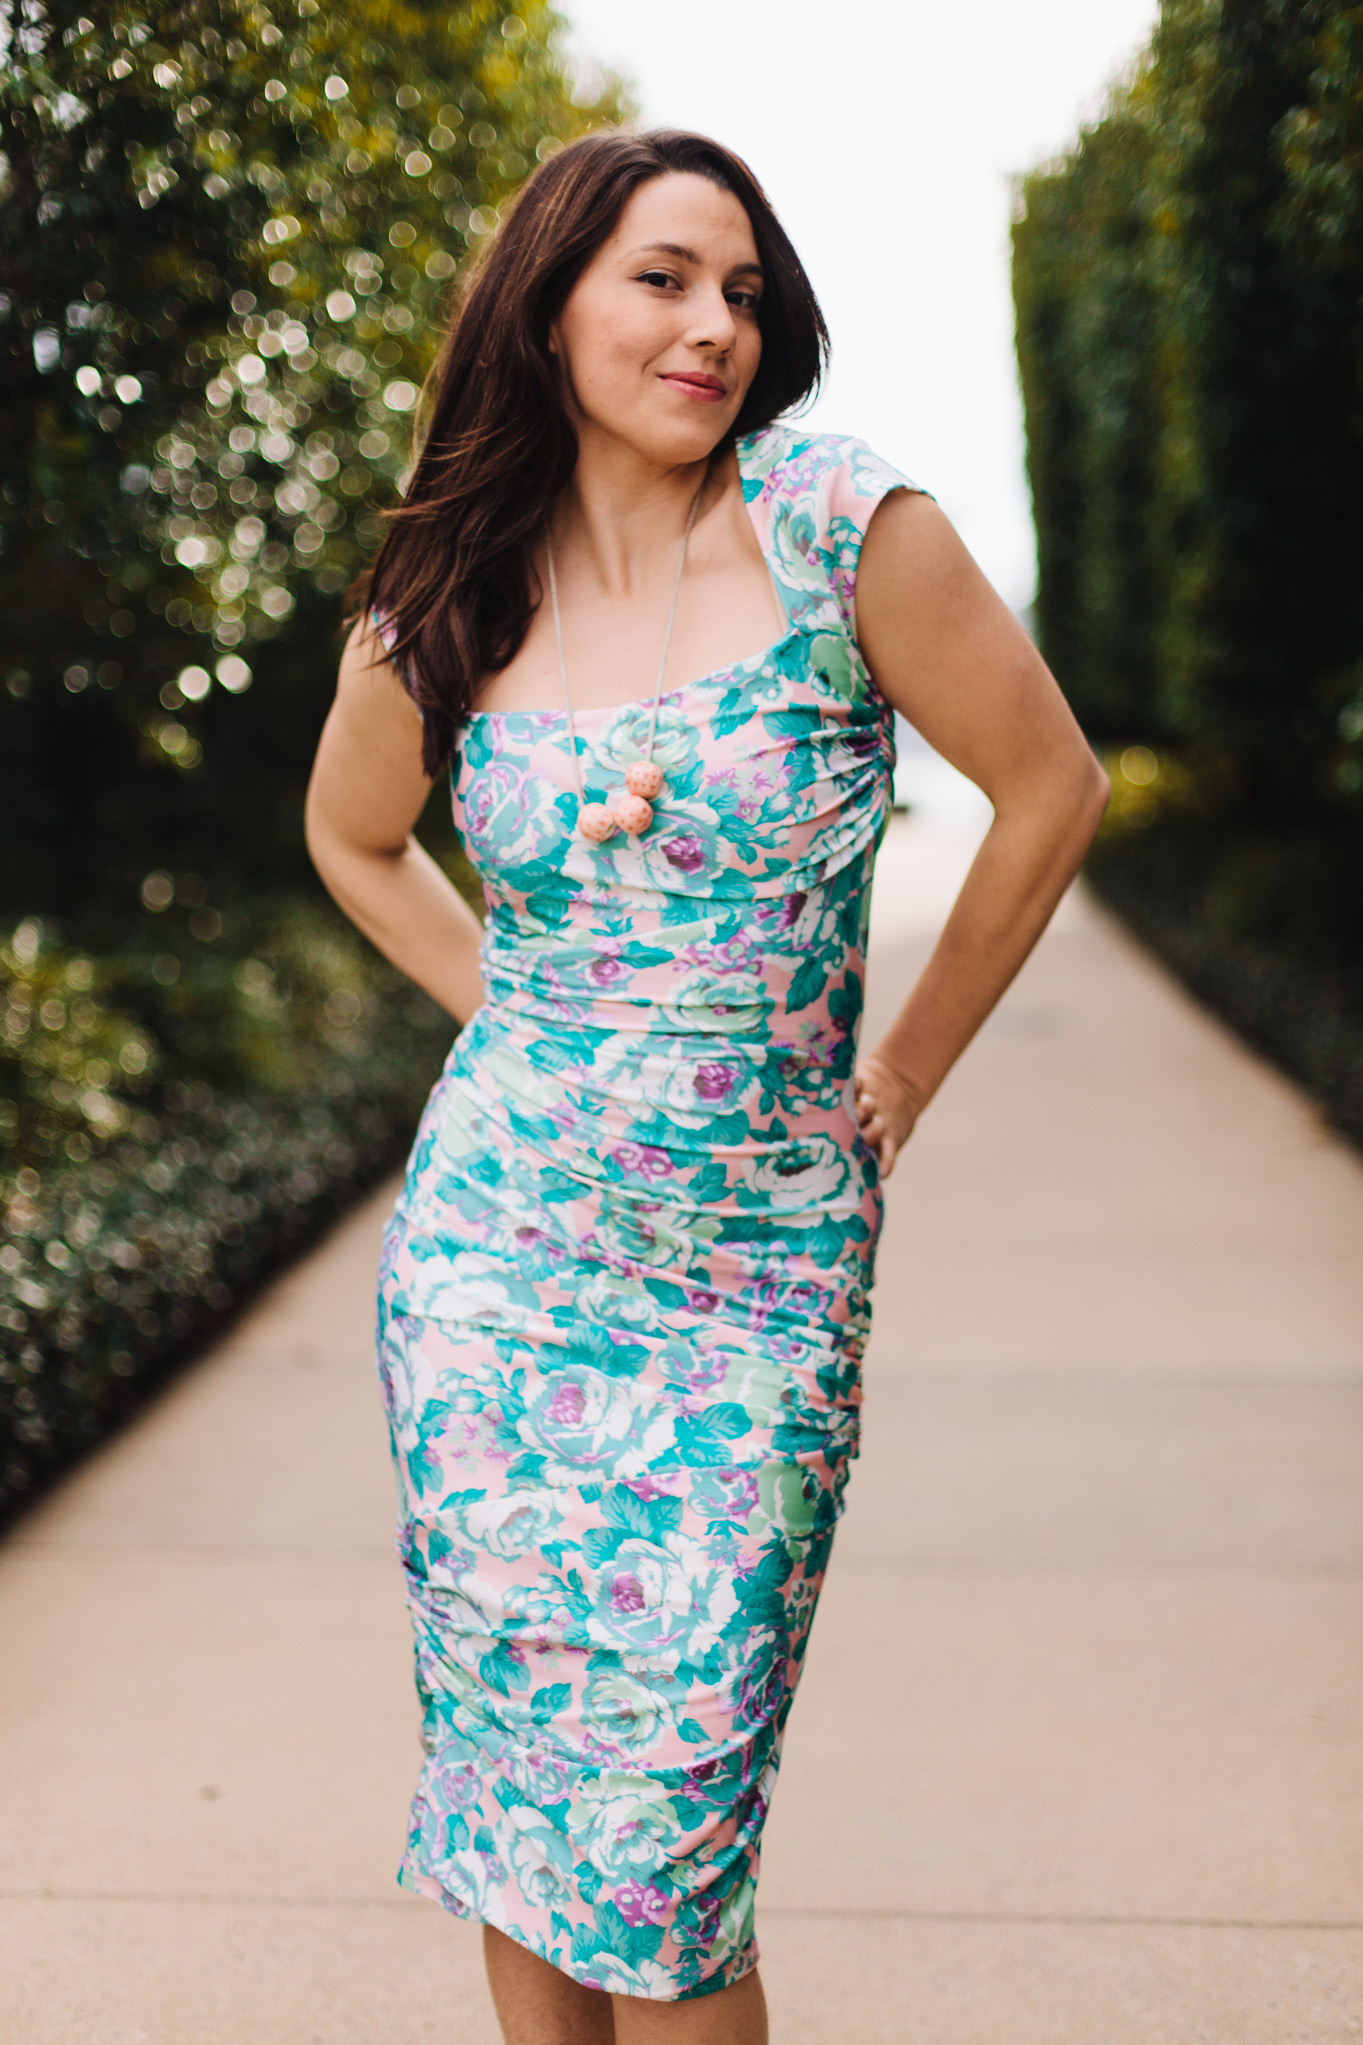 So, if you’re wondering what was so different the second time around, this is the truly exciting part. A year on, and obviously in a different sewing head space altogether, the thing that got me started again and past the taping stage was this glorious vision of that pattern with this fabric. I could not let it go to the point that I was just like ‘NO! This is going to work DAMMIT!’. Between this dress and
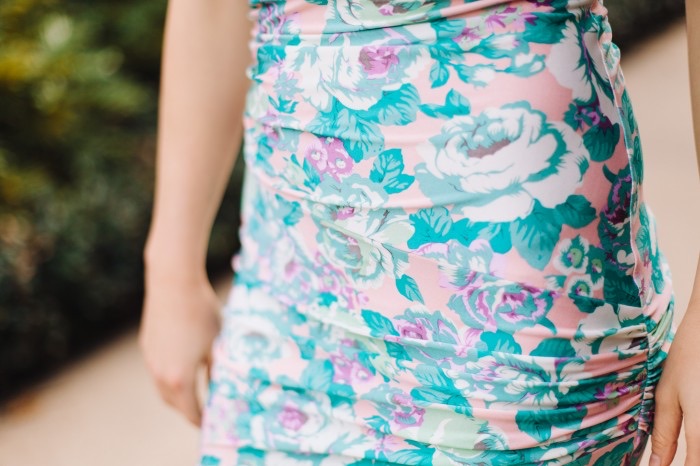
 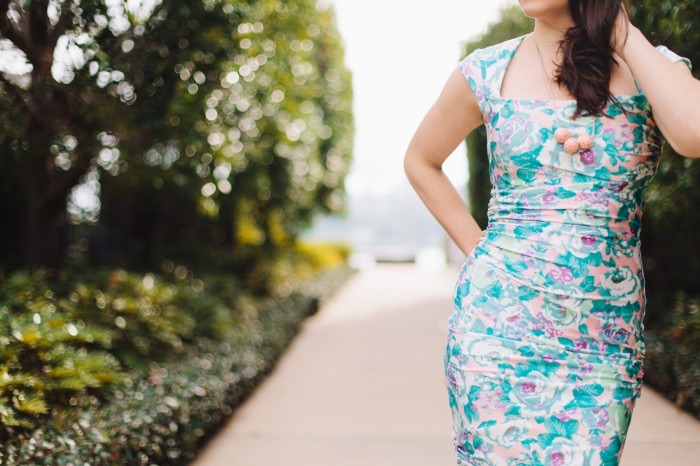 Dramatics aside, the instructions were o.k. and the construction was complicated but interesting. I eventually figured out that you have two dresses worth of fabric for a reason. The whole dress is made up of triangular pieces, which are gathered in different sections. Every gathered outside piece has a corresponding lining piece and the job of the lining layer is to sit flat against your skin (hence the darts, though I’m still not convinced they were necessary) and act as a base for the draping outside layer. So before you sew the triangles together into something resembling a dress, first you have to gather every individual outside piece to a particular length, which would then match perfectly in size with it’s lining piece, and you sew them together. Each little bit that worked out gave me confidence to move onto the next section!
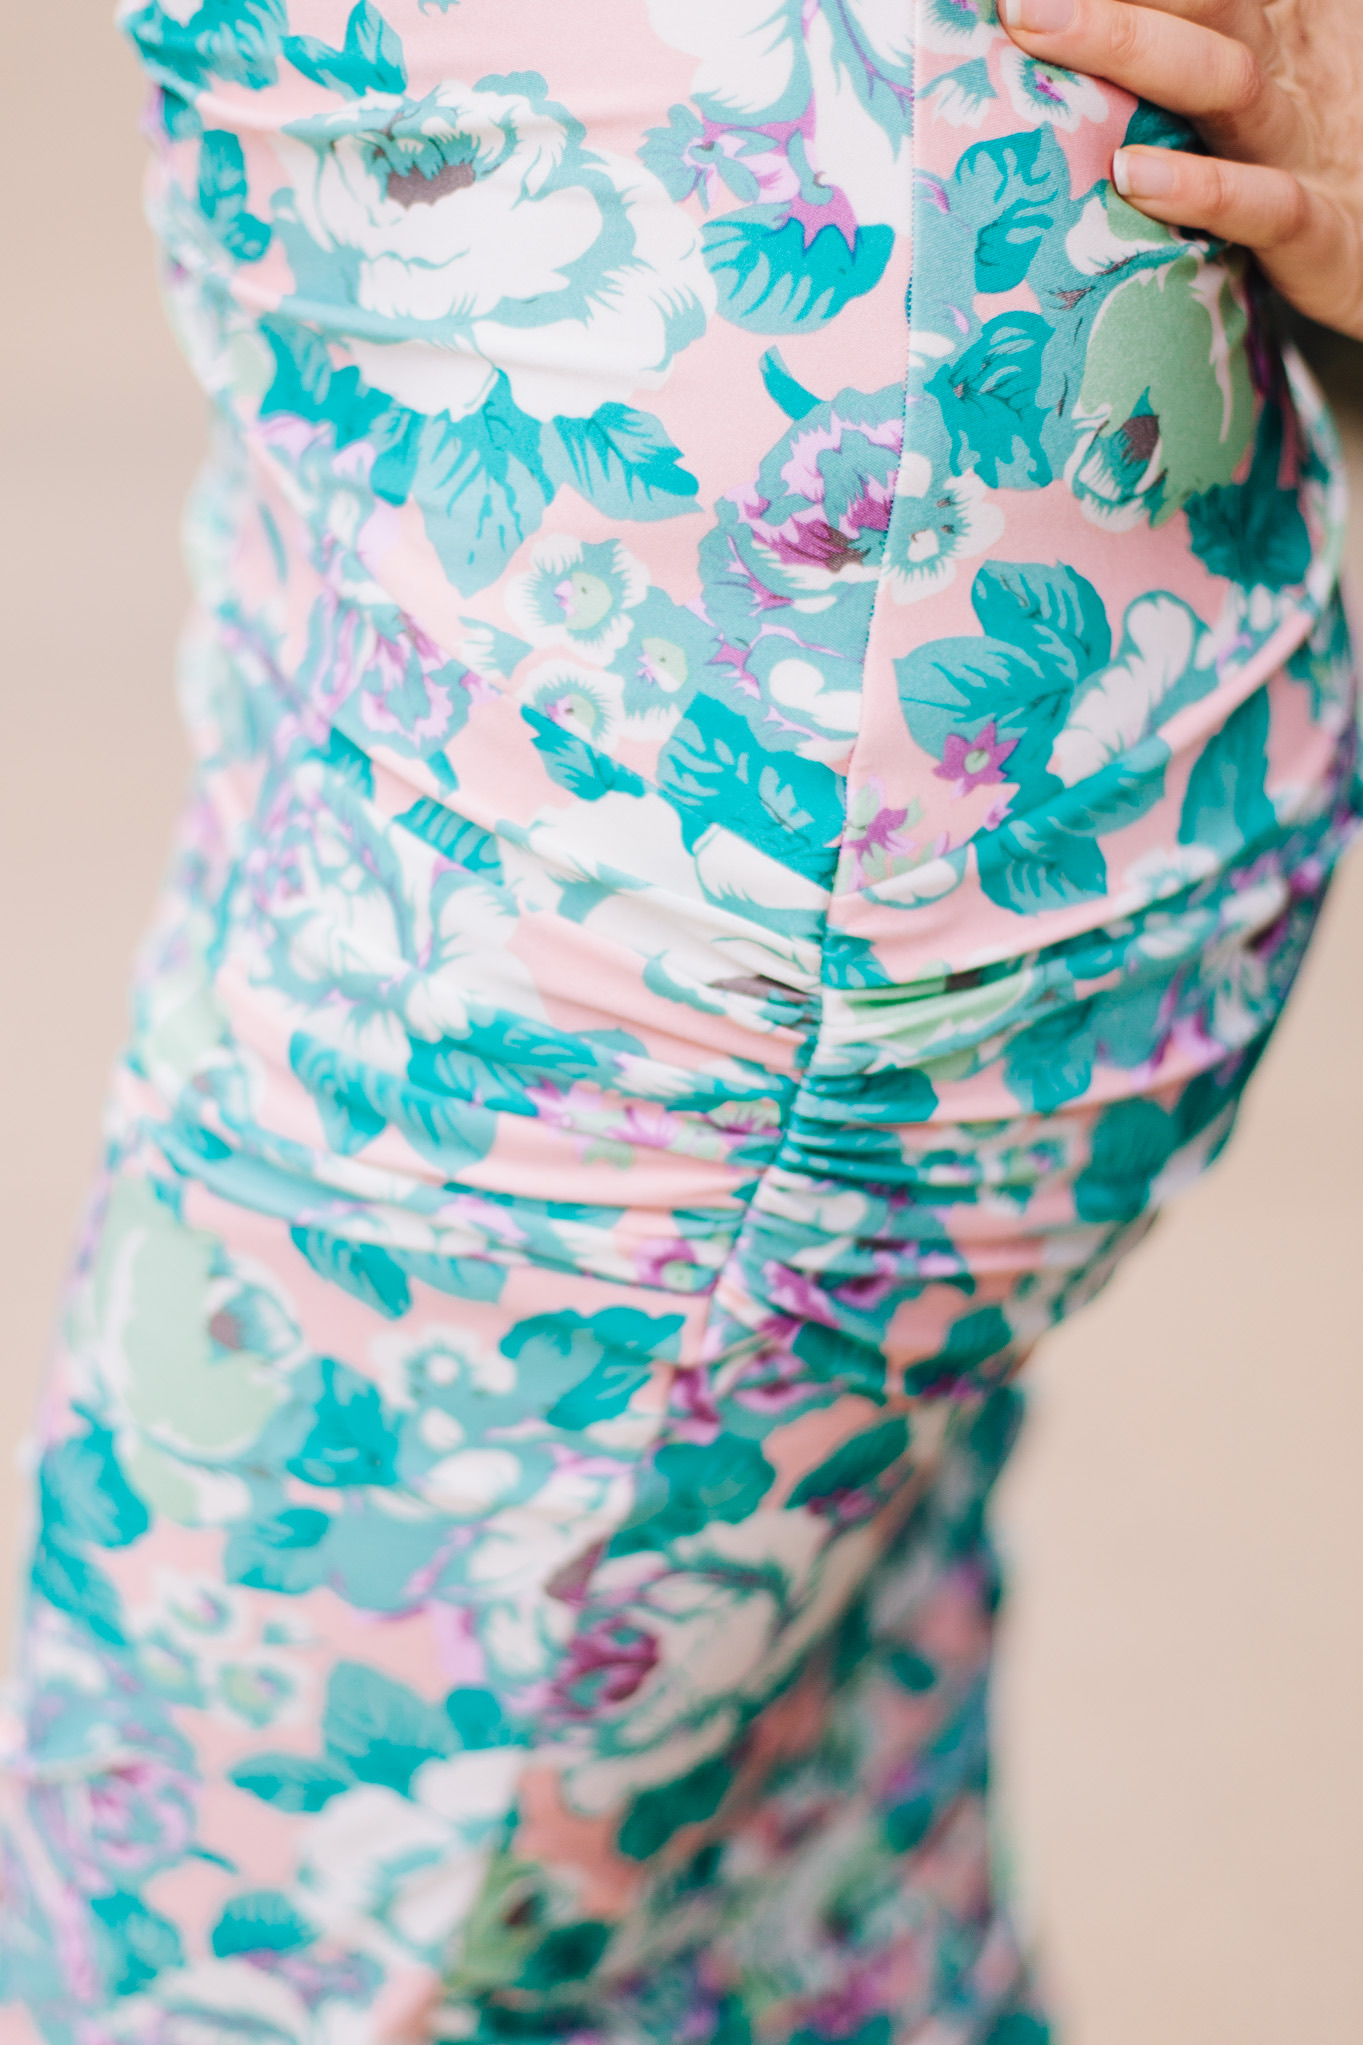 This is the first time I’ve made what Burdastyle categorize as a ‘tall’ pattern. Just looked it up and all it means is it’s drafted for a height of 176cm (69 1/4″) and up. I’m about 174cm, so it’s a pretty good length but could easily be shortened too. I cut a size 76, then deviated a little from the rules after that. The pattern requires you to add seam allowances but after comparing the width of the pieces to the width of my finished
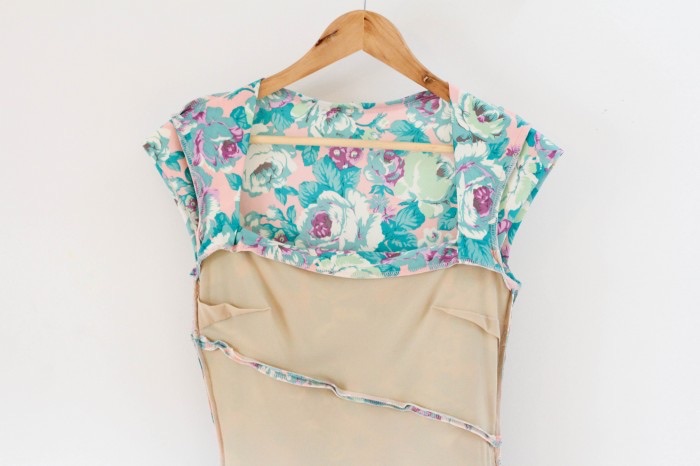
 Technically this dress is also a swimsuit! I used swimsuit lining for the inside layer as it was really the thinnest fabric I could think of that would still make this dress wearable in Queensland spring / summers. I really like the original winter version on the pattern cover and was going to keep the long sleeves, until I realised it’s wearability would be reduced to about 2 months of the year. Instead I traced these little half-cap sleeves of a favourite t-shirt of mine and just love them! I think as miniscule as they are, they create more width at the shoulders which adds more to the illusion of curves. One thing to note, is the original sleeves on the pattern, are extra long, about 20cm, and they’re also kind of poofy at the top, which you may like but I was not in love with. If I was going to make a long sleeve version I’d be pinching the sleeves of the Nettie bodysuit or similar. I was really impressed that the pattern included a facing for the back neckline. Well, you had to draft it yourself, but it was just a rectangle, folded into a smaller tube and sewn in. It made the whole area super neat and pretty and possibly more so after I got to COVERSTITCH it in place, thanks to the lovely
 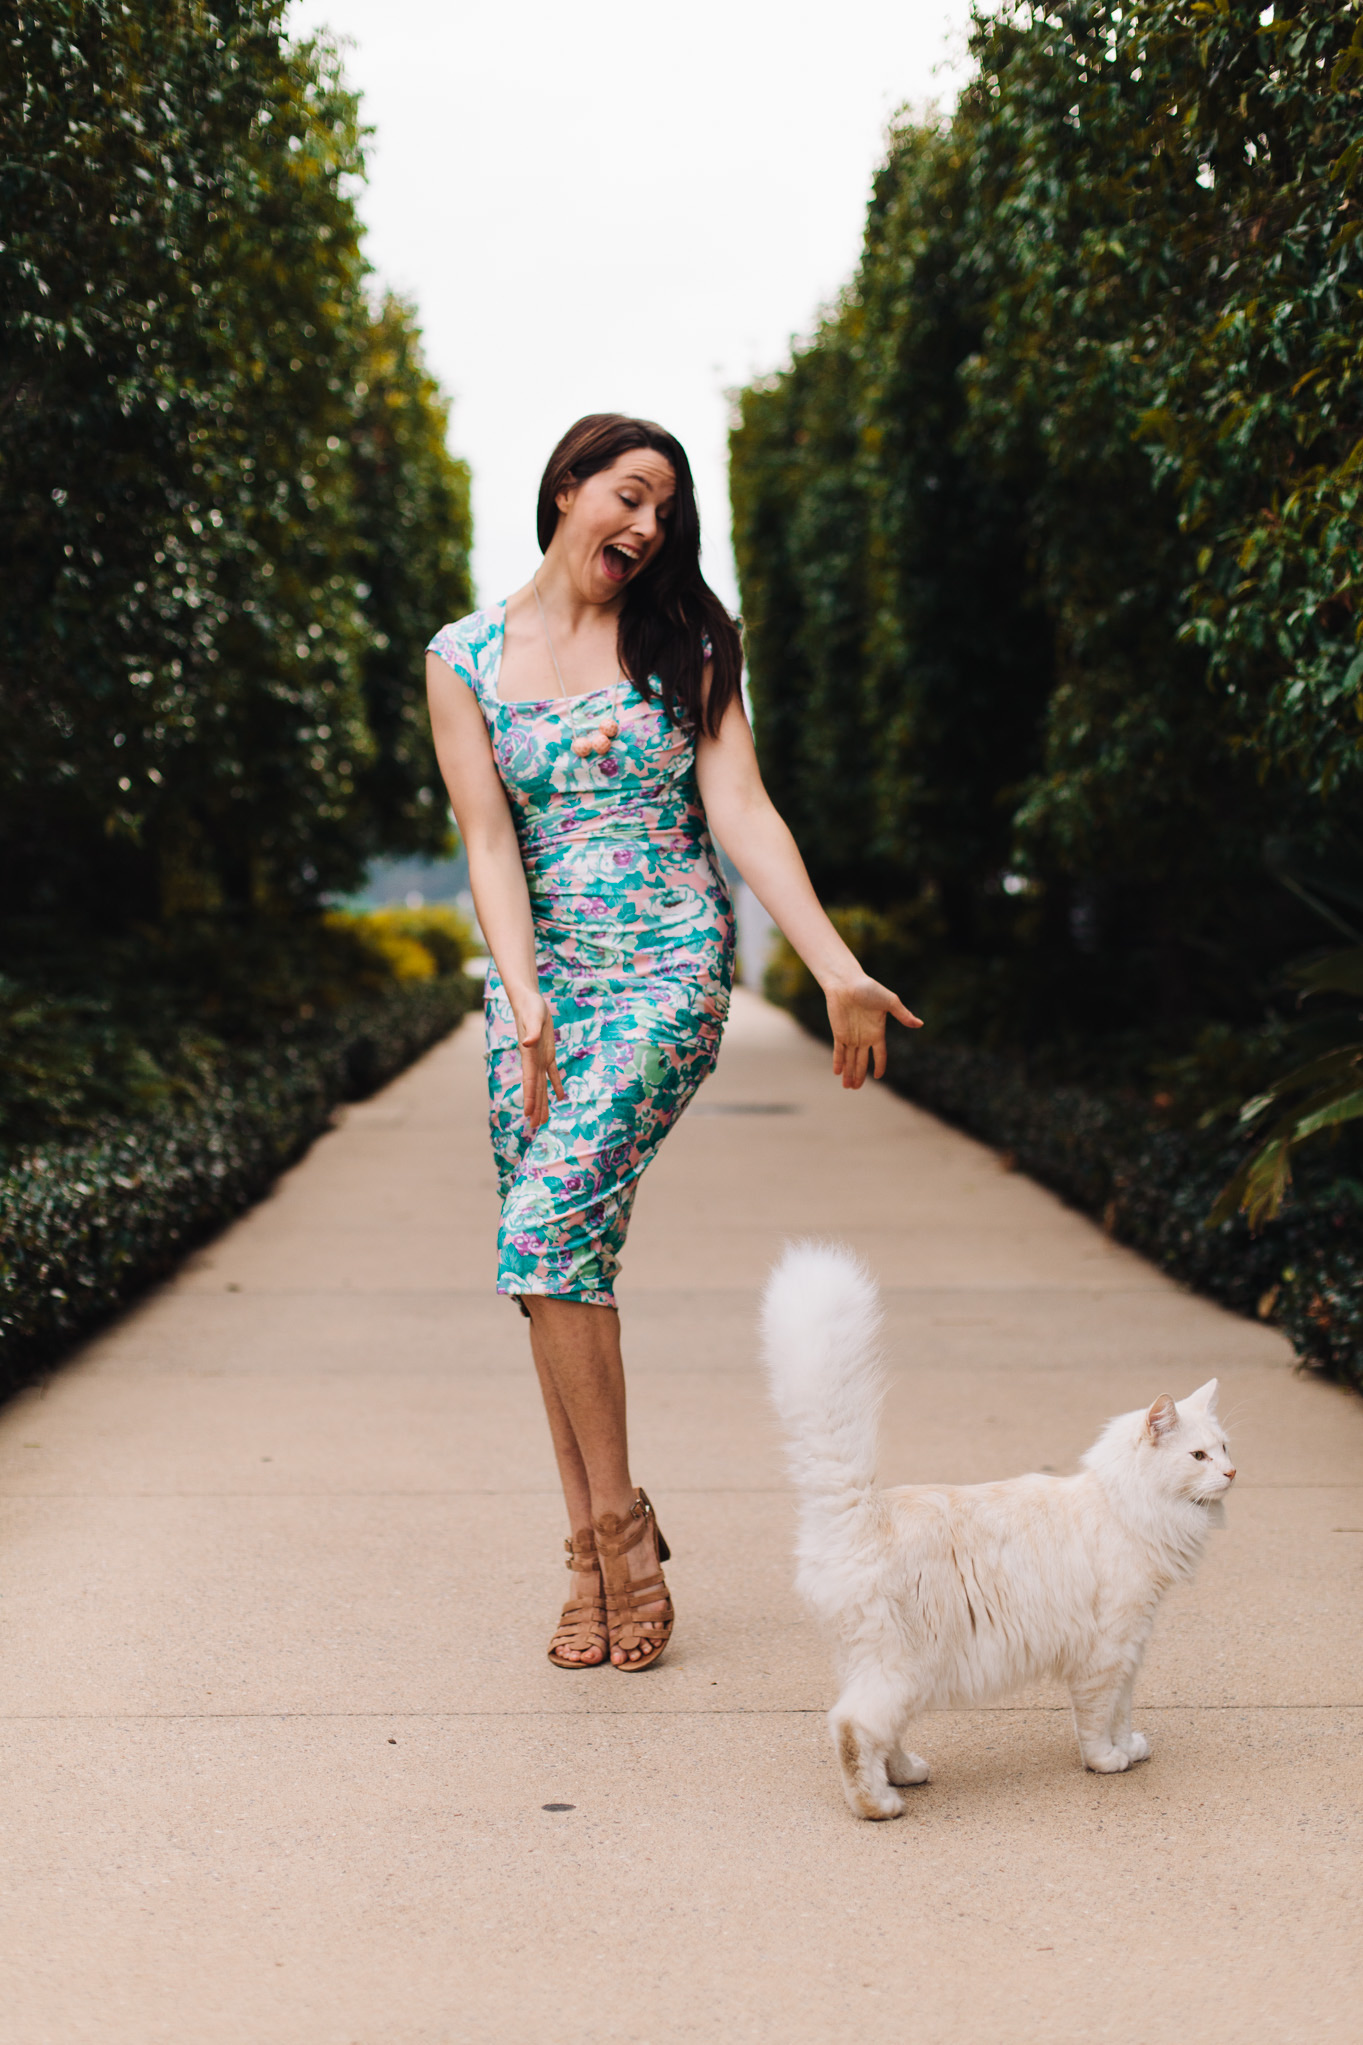 As you can see, things were going pretty swell. And then the Birthday Cat arrived…
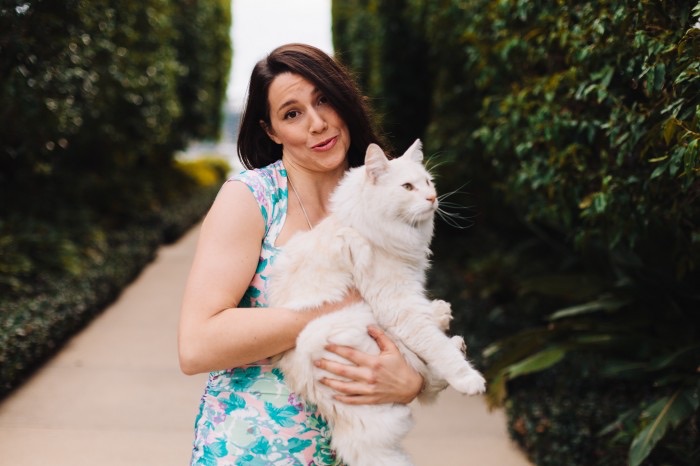 And I was all like ‘awwww’. And he was like ‘should have taken a left back at the park’.
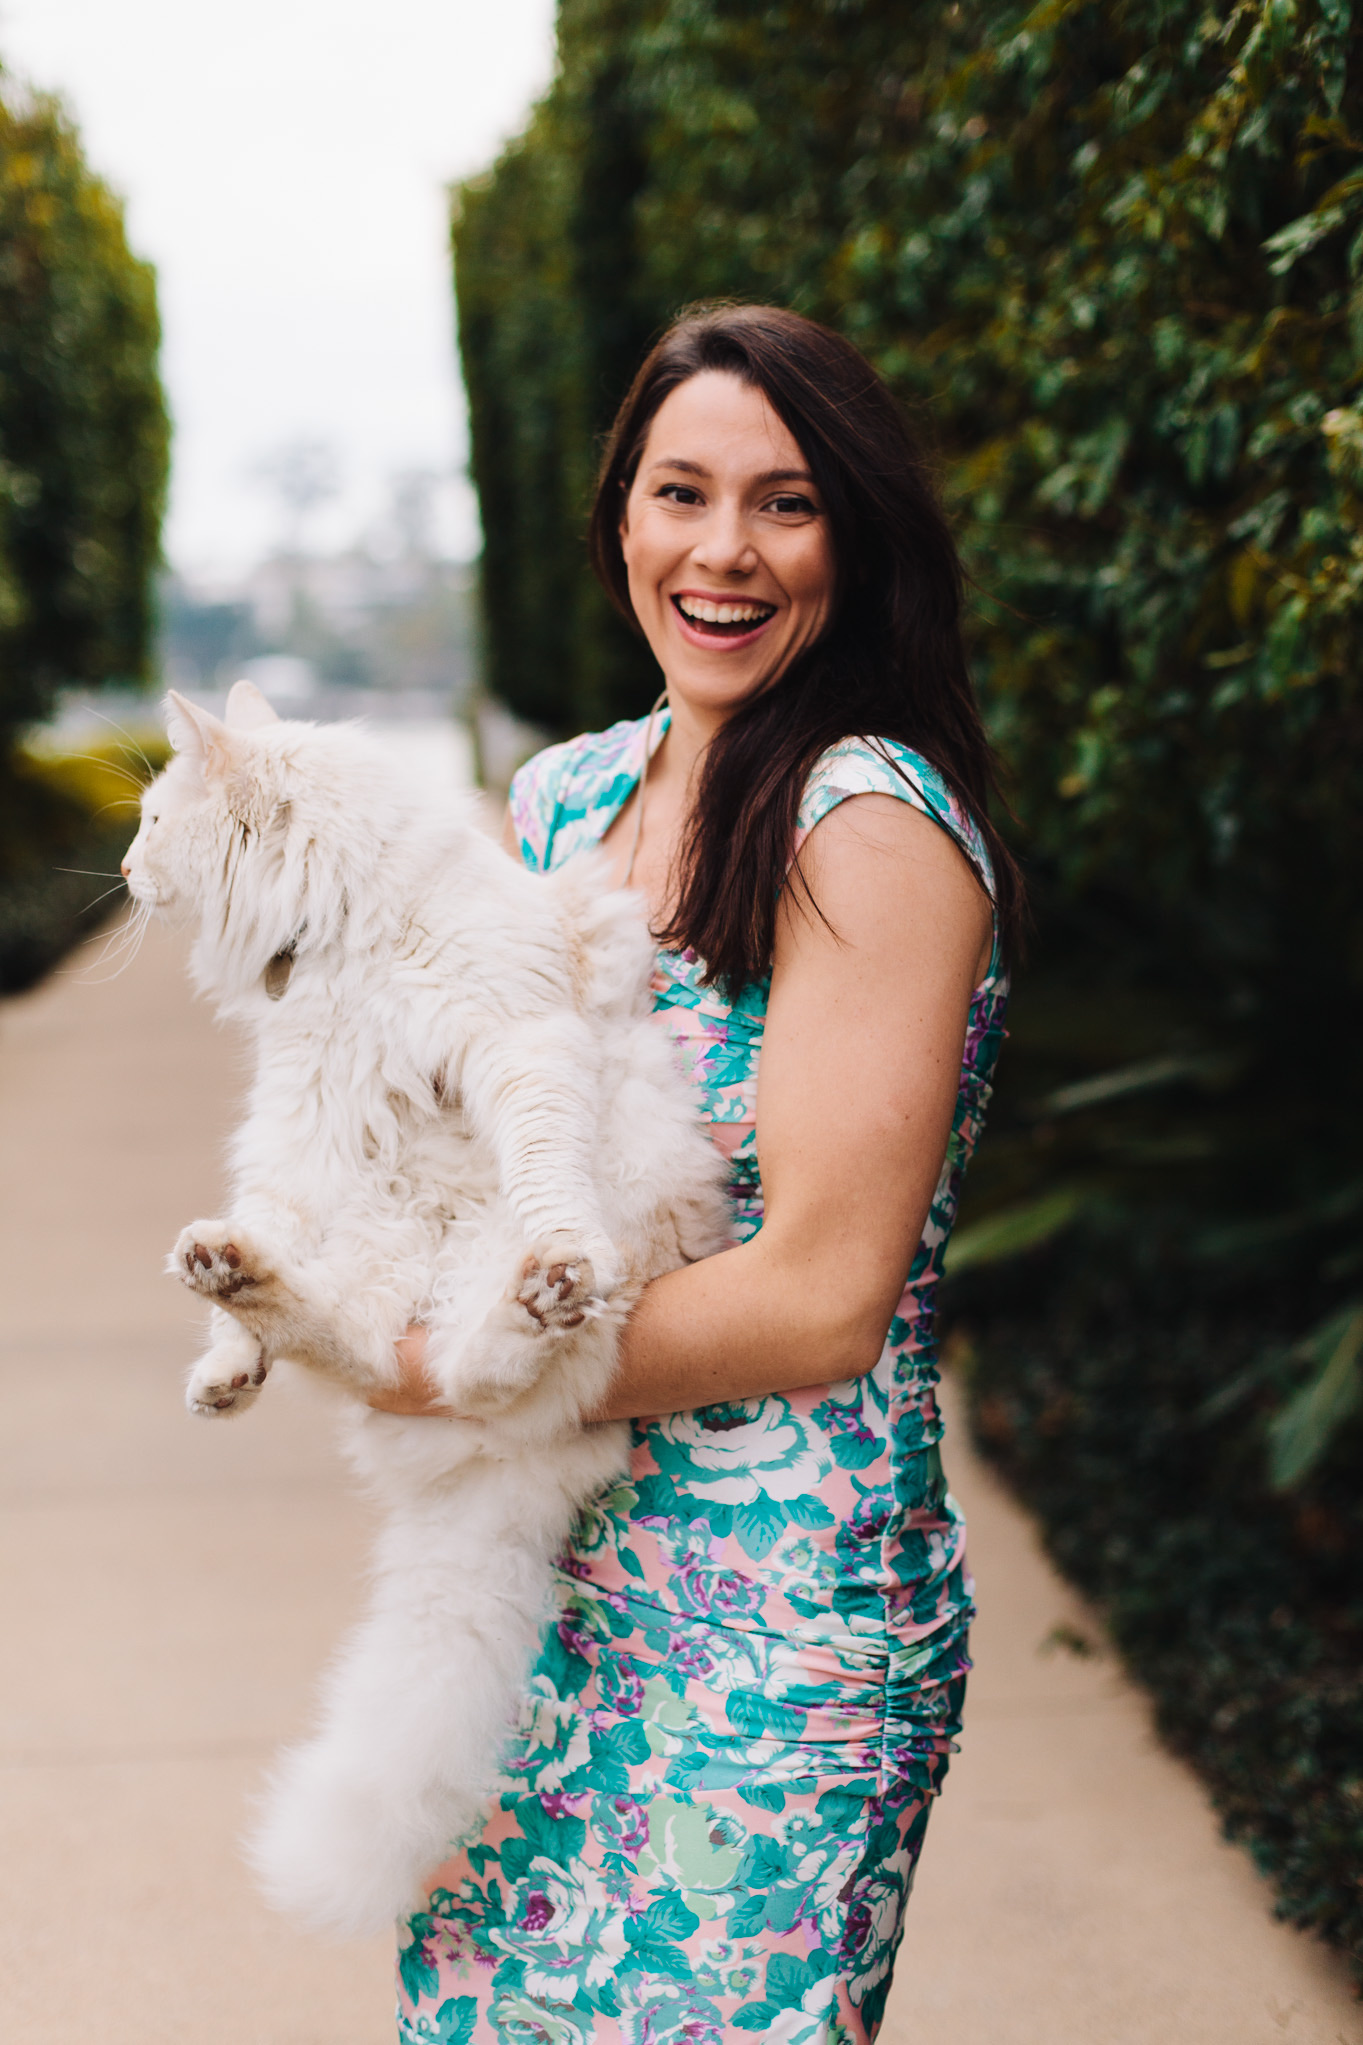 Still we bonded real good and at the risk of being banished from the entire sewing blogging community forever more…I’m not even a cat person! More a chicken person. Not sure what that says about me. But the rules say if the Birthday Cat comes to visit, you will get three birthday wishes. But first you must rub his belly! And because I can’t tell you what they are, I will just say that one of them sounds like Maybe Sock…


 Bloglovin
 Feedburner
 Feedly
 Kollabora
 In Your Inbox